Ovy wrote:I am back..u!
Let me dissect.
(Everything in CAPSU is to be read with a deep loud Japanese accent in your heads)
CHAPTER I
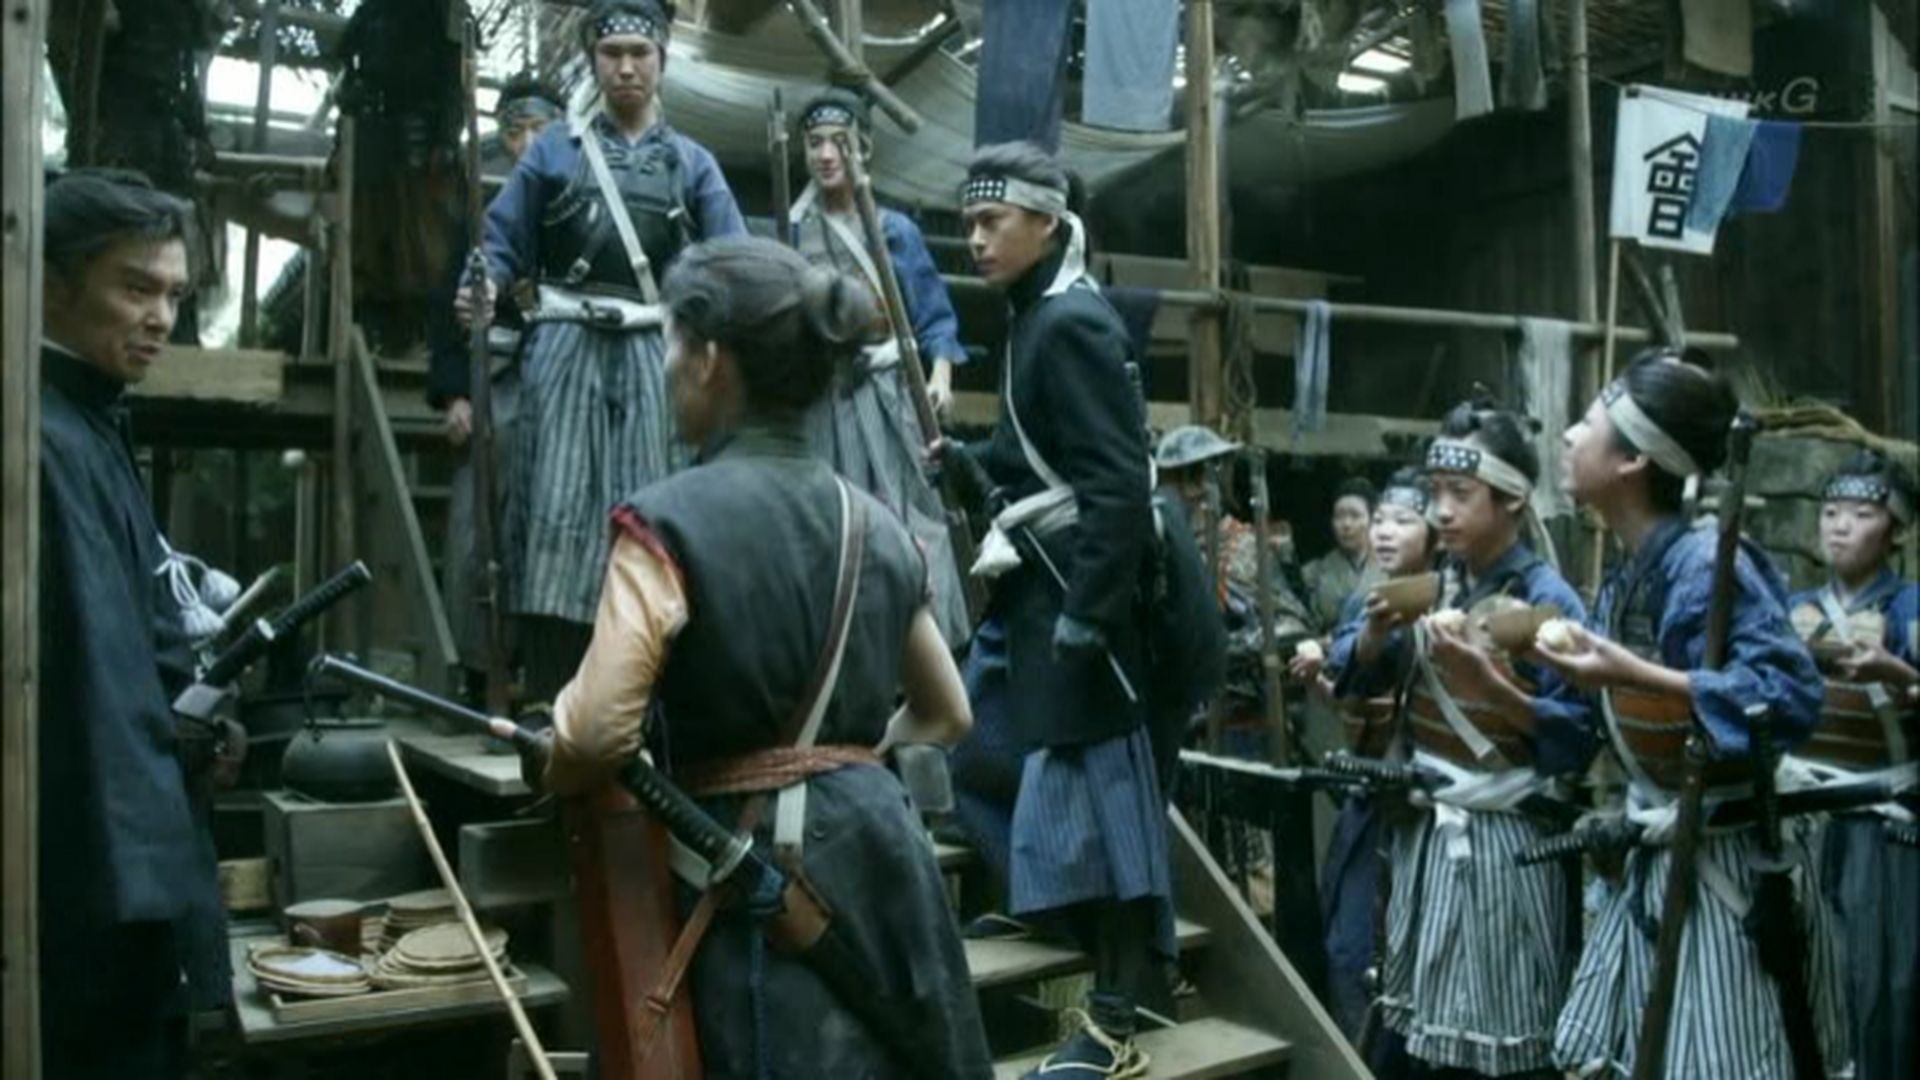
SAMURAI KOMANDERU
Yes, this is one beautiful dude.
After delving into the Chinese side of historical armor and weaponry for fantasy purposes first, I also became interested in Japan again recently. Partly your fault, haha, although it's some hundred years earlier.
These little 'lamellae' held together by string/cord are what frighten me the most about delving into self creating Japanese inspired fantasy stuff. While other complicated materials like chainmail can mostly be hidden or marginalized with plate and padding, these inconic lamellae looks just have to be somewhere for the mood. Stringing together a suit out of little squares would be a great and fun project, but also might kill my brain and time like so many other projects, haha.
So it makes sense these are offered as cheaper one piece molds.
Also interesting a Hideyoshi armor can still be used in the period you are depicting. But I could also see some European 16th century cuirasses used on characters living hundreds of years later.
Overall, great authorative aura this guy. Especially in combination with the other soldiers.
CHAPTER II
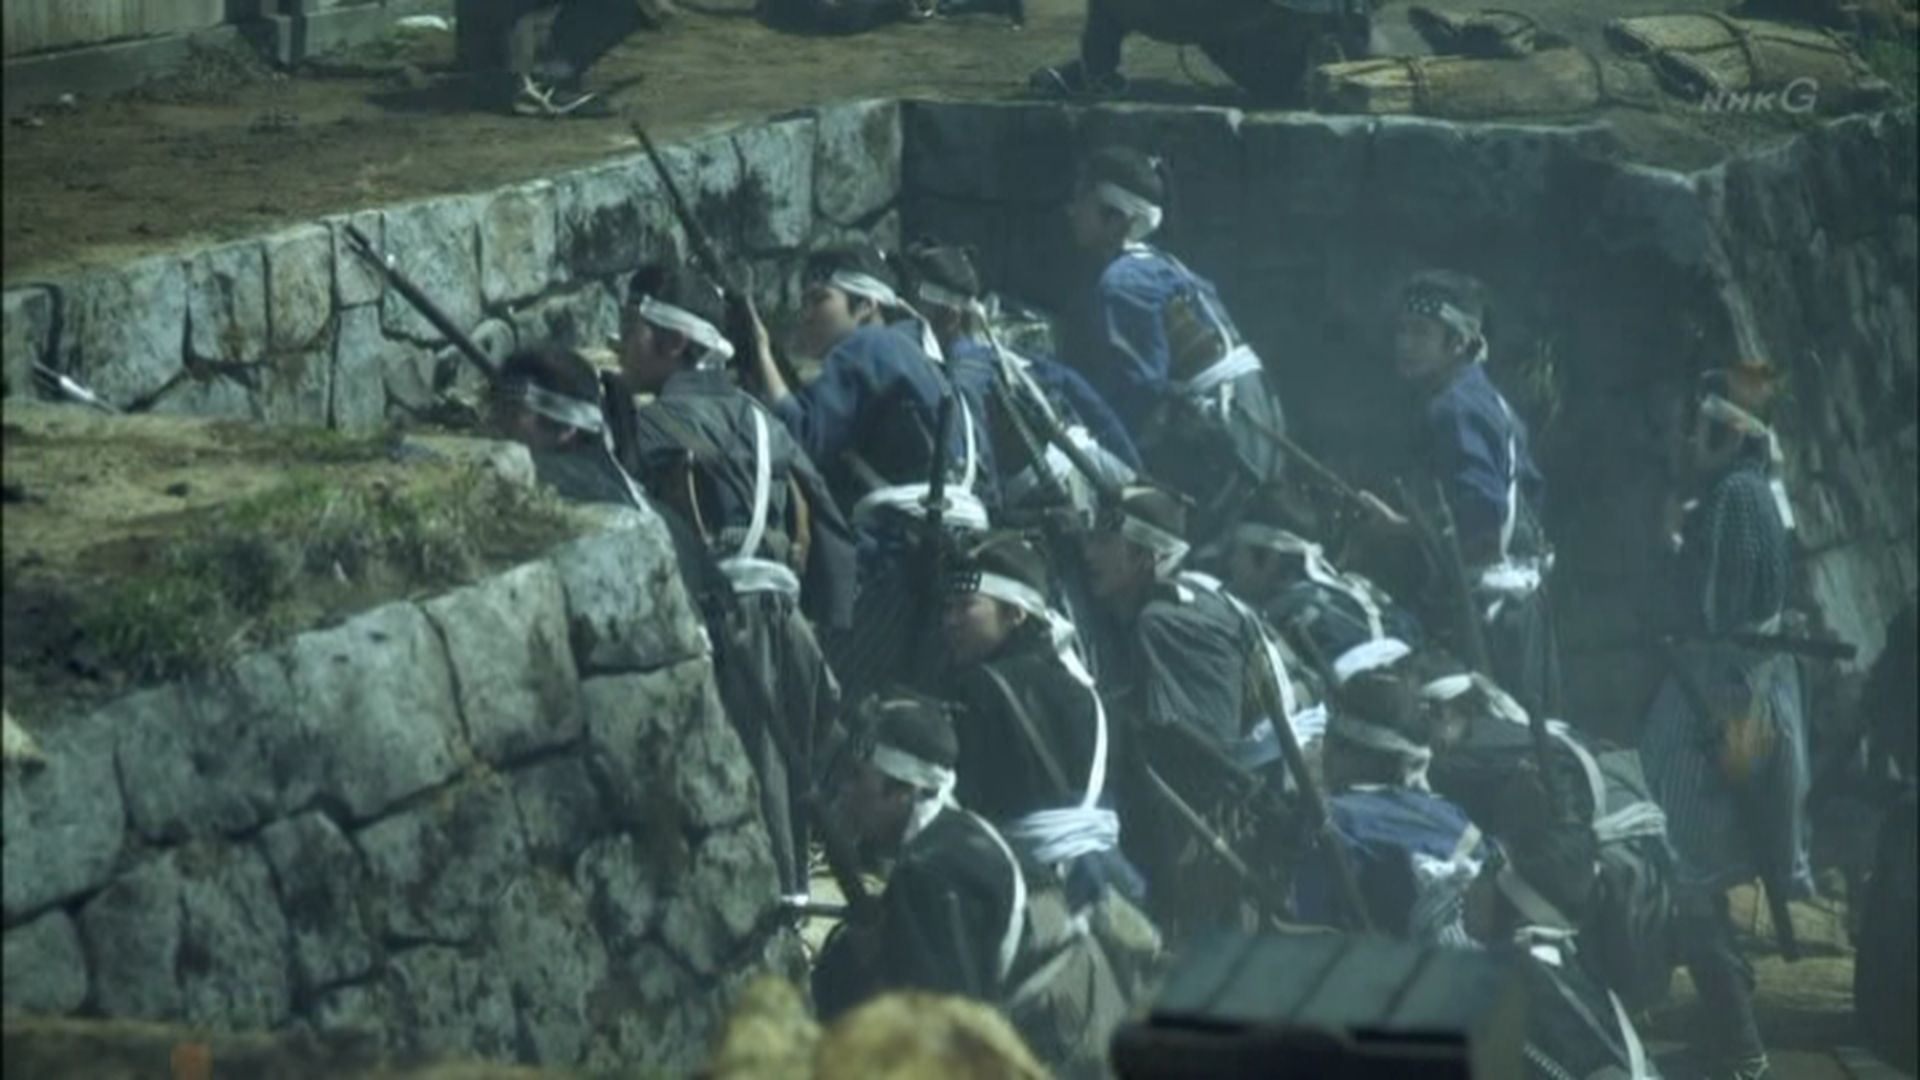
HACHIMAKI BOI
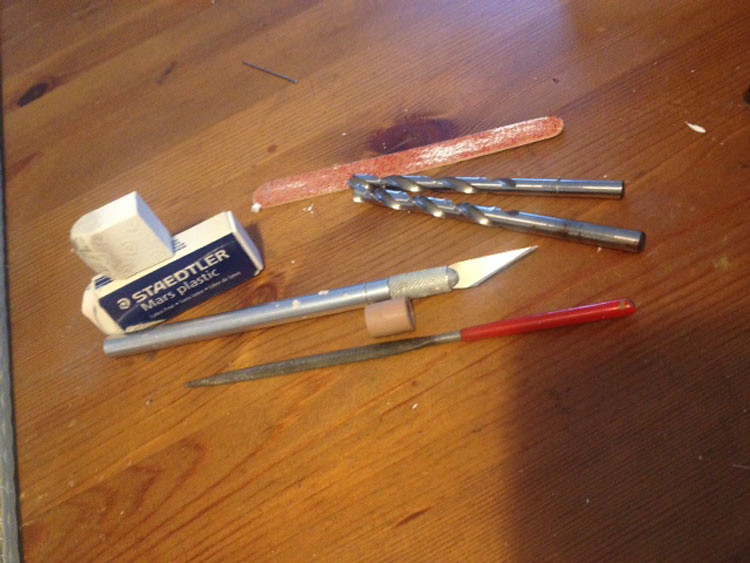
If it really is about age, just be glad he isn't 99 or something. Really appreciate the OCD patience of making it all right and accurate with the squares. Just skill an patience or do you use particular tools? I see myself creating ugly frizzy cut up edges when attempting this.
While the body armor does seem to look differently on the show, I really like the color combo of reddish brown and blue here.
I actually like these Ashigaru body armors more than the complicated strung together ones from the samurai. There are some segmented 'tassets' and 'pauldrons' held together by string but it's not too complicated, which I like. The fantasy armor I would bash one day would look more like Ashigaru I guess.
Btw, do you know your way around realistic Japanese head sculpts? I really can't find many on ebay etc. Actually I only found Takeshi Kitano yet. In three hair colours, haha.
CHAPTER III
FUTSOLDIERU
Ooh, that hat + strappings! It might look minor, but could you imagine him with just a simple leather strap? No, that would look wrong. Great job and detail attention.
And that solid chin beard is really a great help in holding the strings together I think.
Also really like this 'one piece' Ashigaru body armor, despite the anachronism (I wouldn't have known there was one if you didn't mention it).
CHAPTER IV
YAE
Kinda dejavueish..deja..vesque...to see someone's 'favourite' figure being reworked again and again, haha. And beating yourself up because having taken shortcuts. (Something I am doing too, recently.)
Speaking of which, these beautiful gloves are great, wanted to do something like this leather adding/lenghtening for a while now, with almost the same gloves. (But with adding armor finger segments).
Again, love how you found these tiny tiny flowers matching the show's right armband.
I made first thumb-up-like of video picture movie film!
The first transition makes her look like from a video game or animation show.
6 hours for one photo?? Yeah that's insane dedication.
Glad I am a normal person. Now let me get back to finding the right curve angle for the belly armor segment I am working on, so it can bend correctly when the character is sitting. After 4 prototypes I think I might be onto something.

CHAPTER V
BURIZKERIGARU
One minor critque though, already mentioned it earlier, I think you overran/steamrolled/blitzkrieged us with so many releases of so many figures happening at the same time. It is so much all at once, this mega release took away from each individual figure which could be appreciated in more depth otherwise. Now they are a team which is great, but I could have more easily processed it in smaller bits haha.

 IMG_2993 by Gary Menten, on Flickr
 IMG_2995 by Gary Menten, on Flickr
 IMG_2997 by Gary Menten, on Flickr
 IMG_2999 by Gary Menten, on Flickr
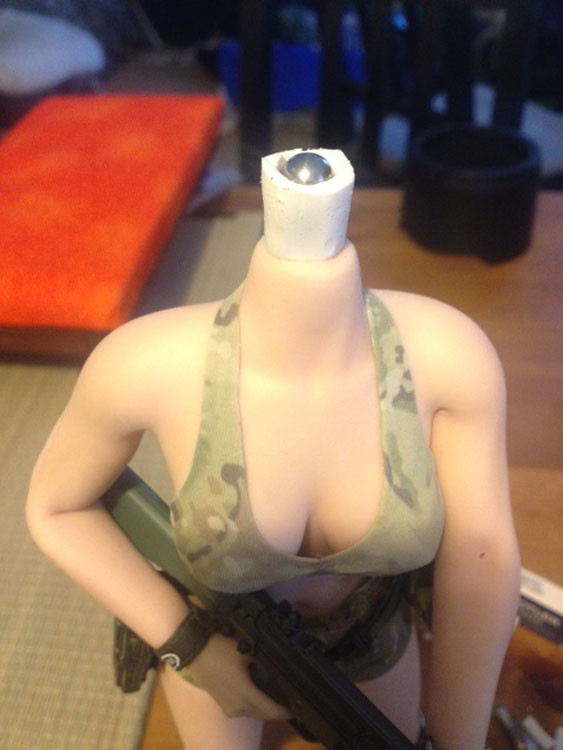 IMG_3005 by Gary Menten, on Flickr
 20190126_0186 by Gary Menten, on Flickr
 20190126_0178 by Gary Menten, on Flickr
 20190126_0181 by Gary Menten, on Flickr
 20190126_0162 by Gary Menten, on Flickr