Part II: some repaints, a new head, and something bigger...Since this is no longer just about painting 3D-printed heads, I've altered the title of the topic.
But first, to continue where we left off, I post a couple of shots of the previously shown heads, which I have repainted. After realizing that Brandon Alinger's
Star Wars Costumes book included the creature masks, I consulted them and concluded that my original renditions were too dark in color. In my defense, apart from me being slightly color blind, reference images, including stills from the films, can be inconsistent or outright misleading (Lucas is notorious about manipulating the images and their colors). So here are my repaints of three of the heads, Nikto, Barada, and Weequay. Nikto needed to become much warmer in color and his horns darker; Weequay also had to warm up a bit. The difference is most striking for Barada (but note that the colors look even brighter in the photos than in hand). The costumes book indicated that his coloring is much, much lighter than what I was looking at in movie stills, and more beige and yellowish than expected. I tried to replicate my new reference image, but it brings up a valid point -- when props and film frames disagree, which is more important to agree with? (The differences in height are largely due to the different sizes of the neck opening and the amount of makeshift stuffing, interacting with the makeshift stands.)


Realizing just how stylized the Barada head was, I looked for other options, and found a version that two Etsy printers/sellers were willing to blow up to sixth-scale for me. The credit goes to them, CBPrints3D in the UK and the Poison3DHarleyCstms here in the US, from whom I got the previous heads (and more). I recommend both of them very much. The 3D model is identical, but the British print came out a bit bigger than the US one. Some of the features appear slightly exaggerated, which is only natural, considering this 3D model was intended for a much smaller scale. So now we have a surfeit of detail. I painted it to match the costumes book, and took some creative liberty with the "horns" or "crests" which are not really seen (at least not in the Original Trilogy).


(As I was typing this up, the mail came in, and I received my next shipment from Poison3DHarleyCstms, so there will be more 3D printed head (and other stuff) painting to share later on.)
And while there are still more heads (and characters) in the works I'm not showing yet, saving the biggest piece for last, something that has nothing to do with 3D printing. Having despaired of finding a Sideshow Gamorrean (even though they made two, if my research is correct), I decided to give modifying the Hasbro 2002 12 inch-version a try. Despite the limited articulation (
5 points, which is
one more than the original Kenner 3.75-inch figure; *
correction, 7 points, I forgot the rotating wrists) and unfortunate placement of the vambraces (they should be turned to protect the arms more from the outer side), it is actually a very good sculpt. Ruined, I feel, by a bad paint job. So, my modifications were going to be primarily repainting, although I did do a bit more to the outfit and especially the circular ornament near the center of the chest.


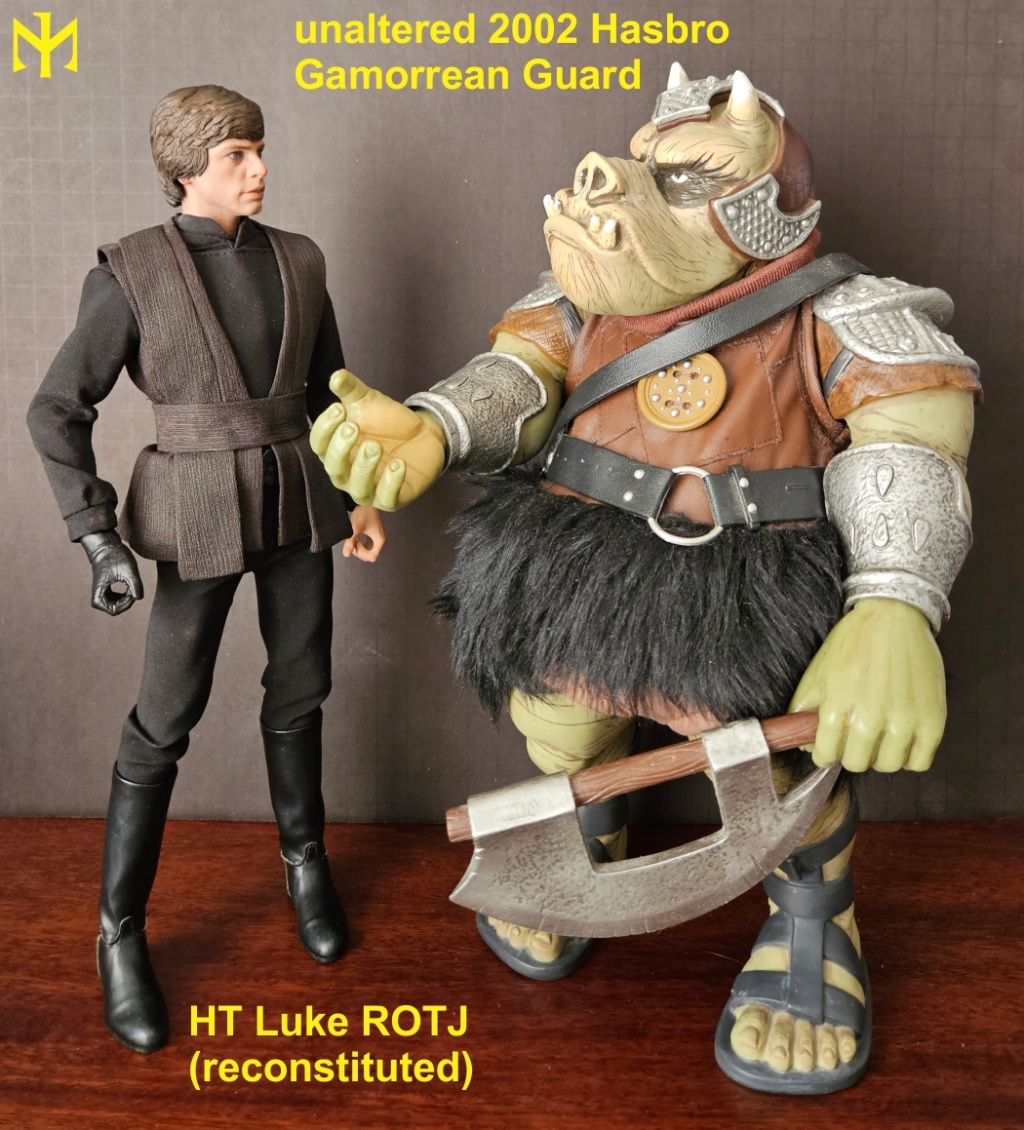
The figure above became the figure below:

Modifications included repainting the flesh, once again a difficult task to match the real costume (we think of them as green, but it is not really proper green), the nails, the sculpted leather and costume bits, additionally, using a fabric medium because it adds flexibility, I warmed up/browned-up the color of the soft plastic harness and of the artificial hair skirt, used a blackish wash to bring out the detail of the armor pieces and axe, adding some oily steel and gloss varnish to make them look more metallic, repainted the eyes blue and glossed them, repainted the teeth and horns to make them more realistic.

Finally, my proudest achievement, although I'm not sure how well it comes though in the photos, I created a lot of drool and snot for the nose and mouth, trying to replicate the actual costume and makeup. Using both gloss and matt varnish as appropriate can really help improve the realism and bring to life the character.

Overall, I think he turned out quite well. Of course, I wish he had the slightly better articulation of the Sideshow version, and that all the outfit and armor pieces were real separate pieces, but I think he looks pretty accurate in the end. In fact, there are some aspects of the look I prefer to what I've seen of the Sideshow version. I liked it so well, that even before completing the modifications, I ordered a second one to modify too (Jabba needs guarding, obviously he has inadequate security). And this allows for a proper comparison.


 For Part III, see HERE.
I hope this is useful or even entertaining. Perhaps it would encourage someone to try a similar project of their own.
As always, what do you think?


