OneSixthFigures
Would you like to react to this message? Create an account in a few clicks or log in to continue.
OneSixthFigures

An online community to discuss and share news about sixth-scale figures, with an emphasis on either custom or commercial articulated figures.


You are not connected. Please login or register

Help request for digital action photography

Go to page : 1, 2  Next

Go down  Message [Page 1 of 2]

Ghost_Rider_1970


Hi, I would be so very grateful for any help and advice in relation to extending digital photographs for use as scenes or backdrops. Possibly using Adobe Photoshop (although admittedly I'm a complete novice!).

I'm just starting out in the world of 1/6 figures and appreciate I may be running before I'm walking. As I've been thinking about taking some pictures of my figures set against computerised photographic backdrops. I've seen a few really good techniques using a digital camera and either a laptop or TV screen displaying the backdrop with the character set against it.

Some look absolutely fantastic, and I think this method will be my best starting point. However, I've noticed that the vast majority of the pictures either focus on the upper portion of the figure, or are at ground level to get the whole of the body into the frame without the end result breaking the scene. Especially as there often isn't any supporting foreground diorama.

I did notice one technique though that really piqued my interest. This is by taking an existing picture with a wall and floor area then digitally extending the lower section for printing. By placing this underneath the character it gives a three dimensional effect when set against the backdrop. I really am quite taken by this idea with this allowing a more elevated view, and am hoping to use this to create some action photographs with my own figures so they look immersed within the scene.

From my understanding, 'transform' is used in Adobe Photoshop to extend the floor area so when printed along with the original backdrop and placed together creates an illusion of a three dimension environment.

With me hoping to take this forward the questions I kindly have are:


  • If there is a basic step by step process anyone knows that I could follow to achieve this?


  • How do I join the extended section to the backdrop so it aligns and matches?, and


  • How to maintain perspective so the extended floor isn't either angled too high or too low?


I appreciate this won't be quite as good as having an actual diorama, where I would be so very grateful for any advice or critique that may help me go some way to producing the overall desired effect I'm hoping to achieve.

With my very kind regards
Paul

GubernatorFan

GubernatorFan
Founding Father
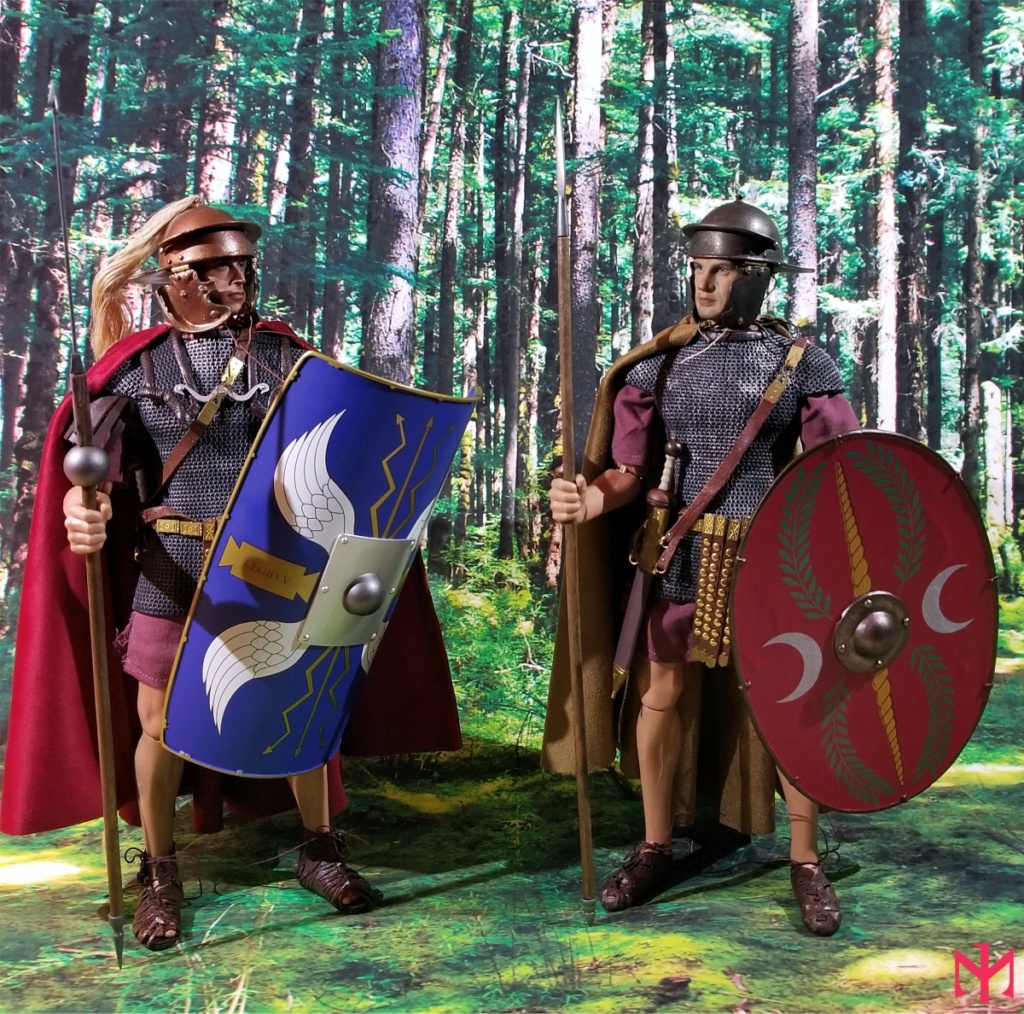
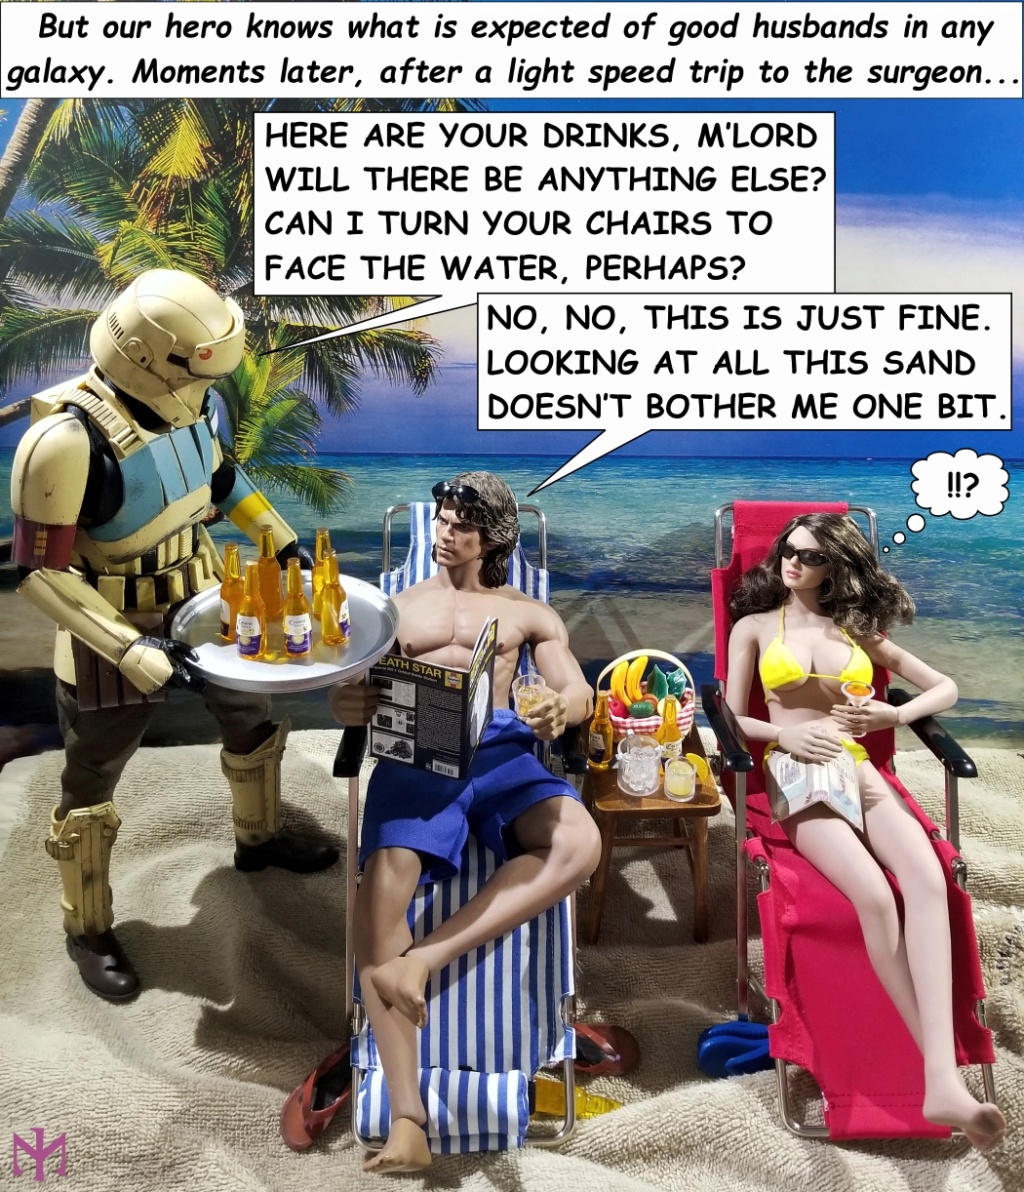
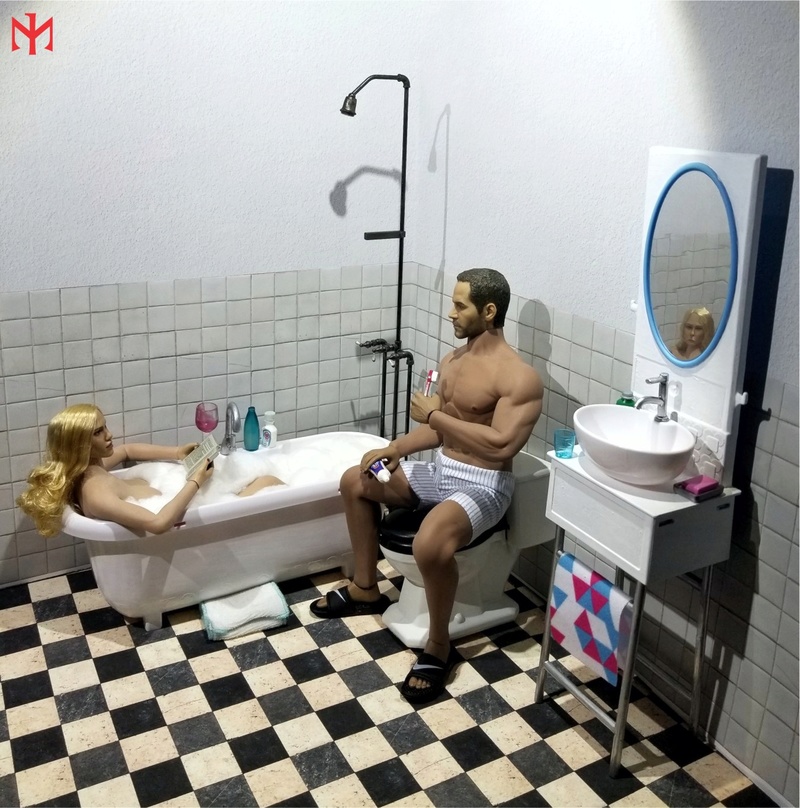
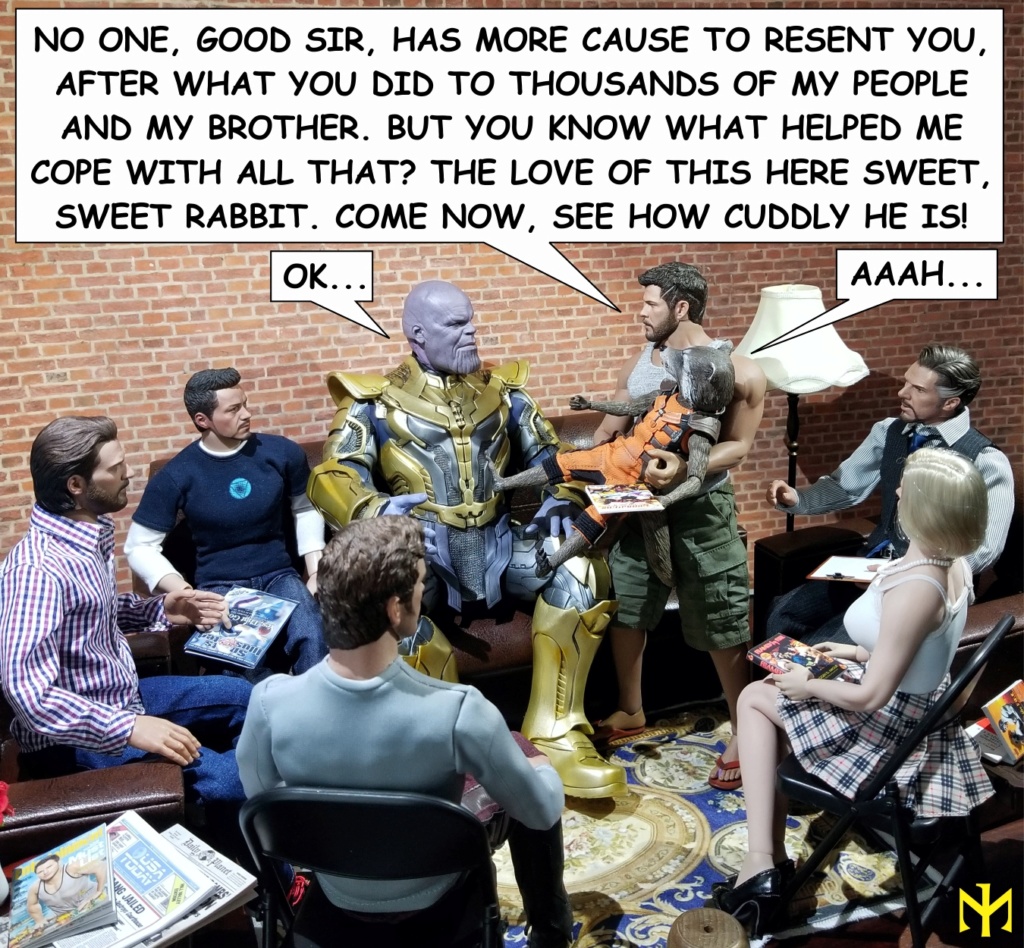
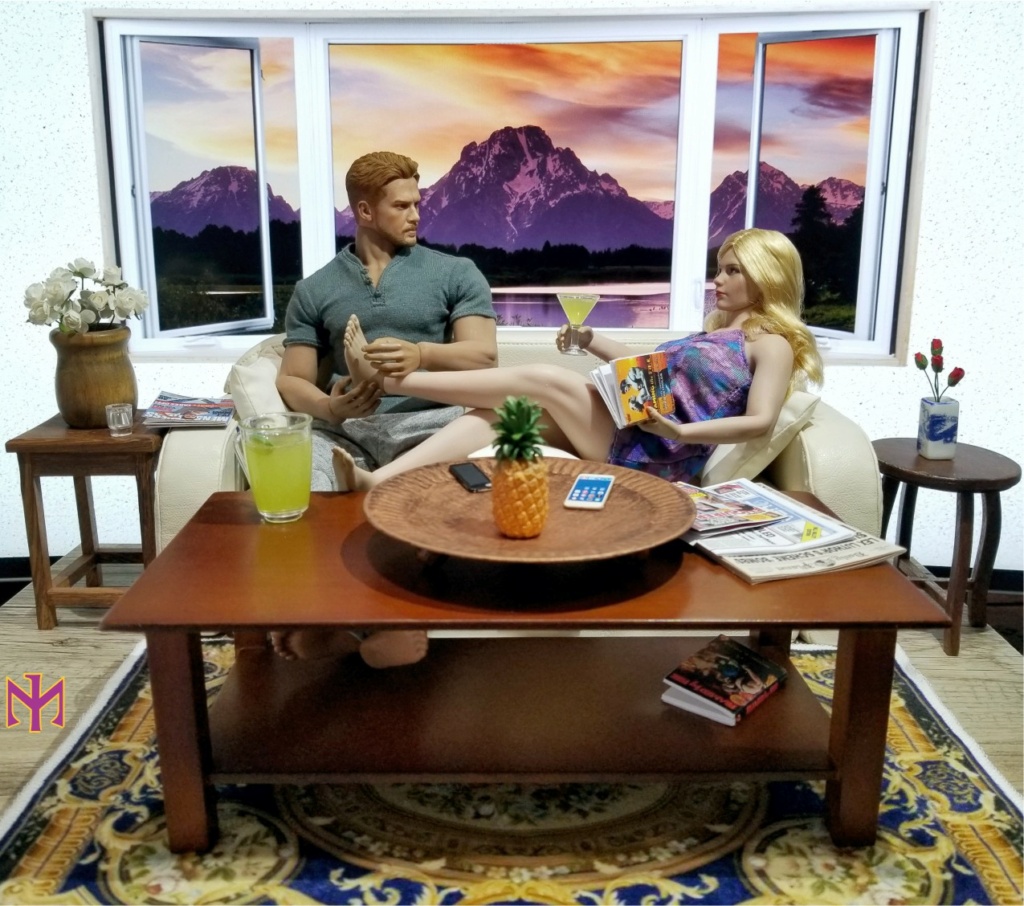
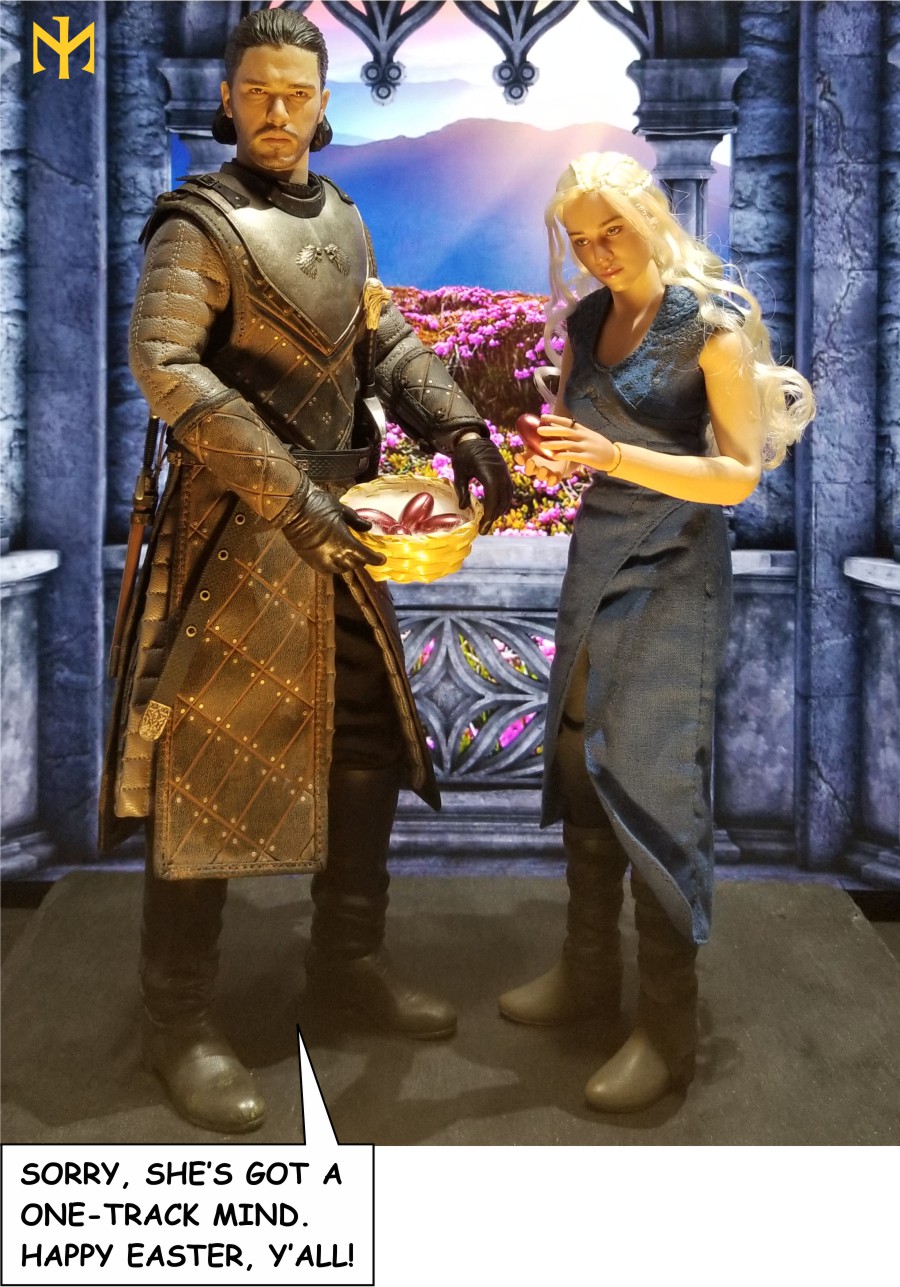
Nothing beats a real 3D diorama environment, like the ones in the recent posts by ReverendSpooky, Valiarde and BAMcomix (they are worth looking up). A second best would be the use of printed backdrops. If it is supposed to be nature, it helps for it to have enough depth that it could roll down and forward to allow your figures to stand on its "ground" portion. If it is an artificial environment like a room (and if you are not doing forced perspective), it helps to have two or three surfaces -- for floor and a wall or two, and you don't have to worry about your figures casting shadows onto the backdrop (in fact, they should). Some examples of printed backdrops and real 3D elements -- in the first one the ground and backdrop are a continuous image printed on the same piece of paper:

Help request for digital action photography Kpr0110

Help request for digital action photography Hls1210

Help request for digital action photography Htrjs015

Help request for digital action photography Swacc114

Help request for digital action photography Swhe2410

Help request for digital action photography Nbi0510

Help request for digital action photography Bbb0410

Help request for digital action photography Avds0310


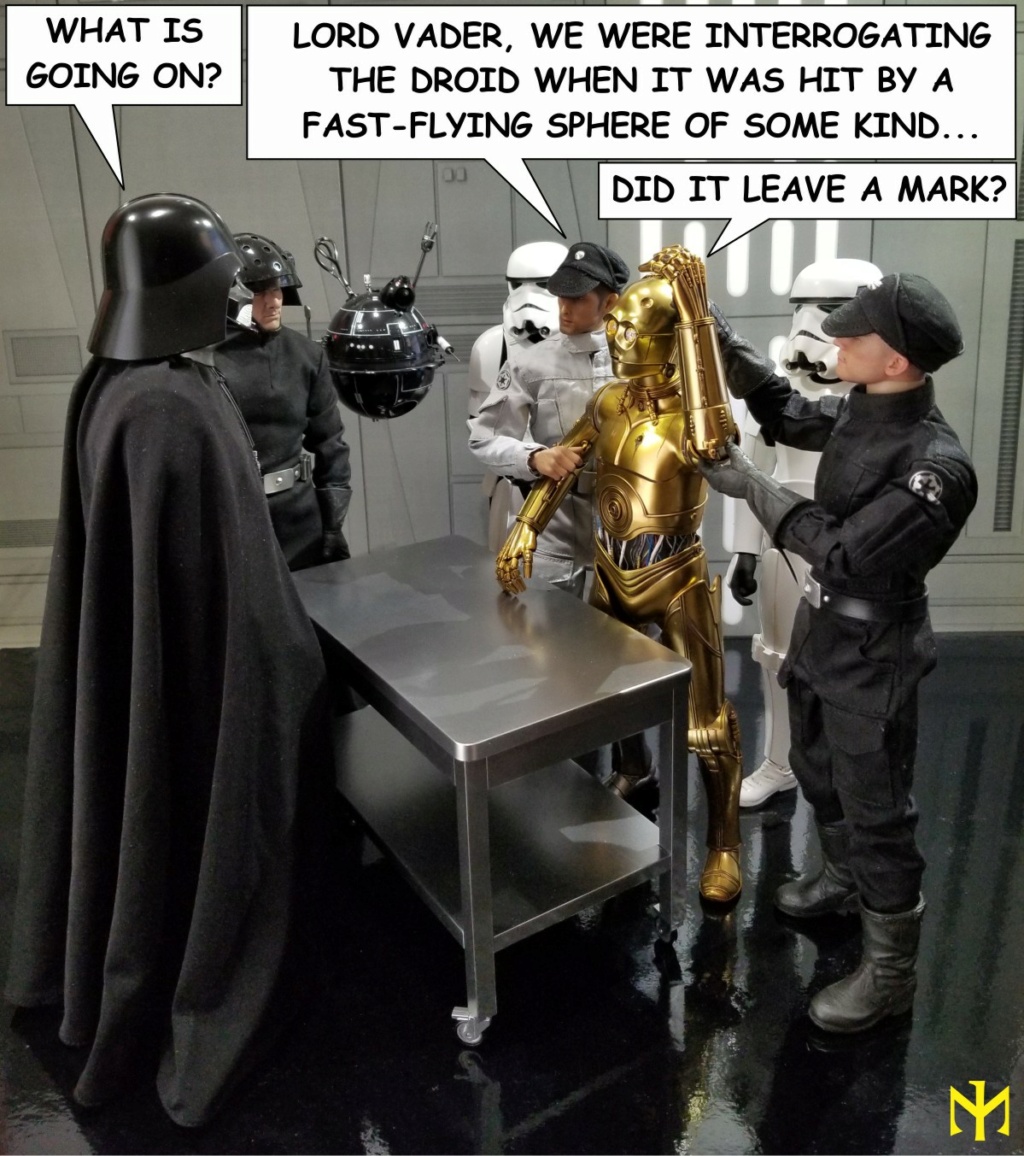
With backlit-screen-projected backdrops there are pros and cons. If you don't want your figures casting a shadow onto the backdrop, you're going to be generally in luck, as that would be largely offset by the backlight. On the other hand, if you do need it, that's a problem, as would be reflection on a shiny screen. It helps to get yourself an Ultra-Wide screen, but remember to consider the height of the screen as well. And keep in mind that even if your screen proper's height is greater than that of sixth-scale figures, if you have them placed anywhere except right against it, that specific advantage would largely disappear. And if you can make your figures work right against the screen, you will run into another problem, the camera catching the pixellation of the screen, as it will be focusing close enough to its surface. If you put your figures a bit farther out in front of the screen and focus on them, no such problem, but their heads may poke above the top of the screen in the perspective. It's a catch-22. Moreover, Ultra-Wide screens tend to curve, making it more difficult to have a ground/floor surface (whether printed or not) sit flush against the screen (I will not speculate on digital extensions). All told, for all of the convenience and nearly instant and cost-effective possibilities, shooting your figures with a digital backdrop is a pain. Some examples of digital backdrops and real 3D elements:

Help request for digital action photography Idotw013

Help request for digital action photography Doma0410

Help request for digital action photography Tblbar25

Help request for digital action photography He0410

Help request for digital action photography Ttss1410

Help request for digital action photography Ttws1610

One could, of course, try different "blue" or "green" (etc) screens (usually cloth or cardboard/foamboard), then use the graphic software to cut out the figures, then superimpose them over a desired image, and apply various effects and additions. The resolution of the artificially added elements like the background does not matter, unless it is heinously low -- but being lower than that of your figures may help create a realistic focus (or lack thereof) effect -- so pixellation is not (need not) be an issue. Here the challenge is accurate cropping, dealing with color glare from the original background screen, and transferring or recreating shadows. Once again, a pain, especially if you are trying to process a whole sequence of images. Some examples of figures photographed against a color screen, then cropped out and integrated over/into different images -- in the last one you can see the effect a bad angle can have, making Riddick look like he is floating or at best smooth-videogame-jumping:

Help request for digital action photography Slsws025

Help request for digital action photography Htsm1210

Help request for digital action photography Rid0110


_________________
I'll be back!
https://onesixthfigures.forumotion.com

Stryker2011

Stryker2011
Founding Father
Geez, Ian. Show off! Wink


_________________
Mark

He who dies with the most toys wins!

Help request for digital action photography C8485110

GubernatorFan

GubernatorFan
Founding Father
Stryker2011 wrote:Geez, Ian. Show off! Wink

Not all of us possess the most glorious diorama in the world (in fact only one of us does: you). Smile Some of us have to make do with printed, projected, or photo-edited backgrounds... Sad


_________________
I'll be back!
https://onesixthfigures.forumotion.com

Stryker2011

Stryker2011
Founding Father
Well, I can honestly say, I'm envious of what you can achieve with PS or printed backgrounds.


_________________
Mark

He who dies with the most toys wins!

Help request for digital action photography C8485110

GubernatorFan

GubernatorFan
Founding Father
Stryker2011 wrote:Well, I can honestly say, I'm envious of what you can achieve with PS or printed backgrounds.

Why, thank you! But nothing beats the real thing, and you got the perfect playset for that. Others (blackpool, for example) can do much more with PhotoShop than I. By the way, I use Corel PhotoPaint, but it is a similar sort of thing.


_________________
I'll be back!
https://onesixthfigures.forumotion.com

londonroadhog


Hi Ghost_Rider_1970, this might actually be my first post on this forum... Well, reply...

I use Photoshop quite a bit with my figures. I have been known to mix 1/6. 1/42, and 1/1 in the same image. Compositing, as it is called, can be tricky to get right.

I am far from an expert, but enjoy the fun and challenge of combining the scales. The first two images the background was taken in Wales, and then the 1/6 figures or heads edited in from a separate photo shoot, and composited into the background.

The last image, was an image of a real helipad, and a 1/42 scale toy helicopter, 1/6 scale RocHobby Willys Jeep. and 1/6 figures all composited. I had to work on the shadows of the helicopter and keep, and should have made the figures' shadows more prominent. But it was all fun.

Help request for digital action photography Henrhyd-Falls-165-Edit

Help request for digital action photography Showcaves-006-Edit

Help request for digital action photography Transport-2-001-Edit

When you see an image that only shows the top 3/4 of a figure, that is so that the person doing the editing doesn't have to worry about creating shadows, and the such, to give that extra realism.

I mainly use my editing and figures to make a Comic-Style story on another forum. An action sequence from that below.

Help request for digital action photography Phicen-Training-Camp-session-2-018-Edit

Hope this might give you some encouragement, and ideas.

BAMComix

BAMComix
GubernatorFan wrote:Nothing beats a real 3D diorama environment, like the ones in the recent posts by ReverendSpooky, Valiarde and BAMcomix (they are worth looking up). A second best would be the use of printed backdrops. If it is supposed to be nature, it helps for it to have enough depth that it could roll down and forward to allow your figures to stand on its "ground" portion. If it is an artificial environment like a room (and if you are not doing forced perspective), it helps to have two or three surfaces -- for floor and a wall or two, and you don't have to worry about your figures casting shadows onto the backdrop (in fact, they should). Some examples of printed backdrops and real 3D elements -- in the first one the ground and backdrop are a continuous image printed on the same piece of paper:

Help request for digital action photography Kpr0110

Help request for digital action photography Hls1210

Help request for digital action photography Htrjs015

Help request for digital action photography Swacc114

Help request for digital action photography Swhe2410

Help request for digital action photography Nbi0510

Help request for digital action photography Bbb0410

Help request for digital action photography Avds0310


With backlit-screen-projected backdrops there are pros and cons. If you don't want your figures casting a shadow onto the backdrop, you're going to be generally in luck, as that would be largely offset by the backlight. On the other hand, if you do need it, that's a problem, as would be reflection on a shiny screen. It helps to get yourself an Ultra-Wide screen, but remember to consider the height of the screen as well. And keep in mind that even if your screen proper's height is greater than that of sixth-scale figures, if you have them placed anywhere except right against it, that specific advantage would largely disappear. And if you can make your figures work right against the screen, you will run into another problem, the camera catching the pixellation of the screen, as it will be focusing close enough to its surface. If you put your figures a bit farther out in front of the screen and focus on them, no such problem, but their heads may poke above the top of the screen in the perspective. It's a catch-22. Moreover, Ultra-Wide screens tend to curve, making it more difficult to have a ground/floor surface (whether printed or not) sit flush against the screen (I will not speculate on digital extensions). All told, for all of the convenience and nearly instant and cost-effective possibilities, shooting your figures with a digital backdrop is a pain. Some examples of digital backdrops and real 3D elements:

Help request for digital action photography Idotw013

Help request for digital action photography Doma0410

Help request for digital action photography Tblbar25

Help request for digital action photography He0410

Help request for digital action photography Ttss1410

Help request for digital action photography Ttws1610

One could, of course, try different "blue" or "green" (etc) screens (usually cloth or cardboard/foamboard), then use the graphic software to cut out the figures, then superimpose them over a desired image, and apply various effects and additions. The resolution of the artificially added elements like the background does not matter, unless it is heinously low -- but being lower than that of your figures may help create a realistic focus (or lack thereof) effect -- so pixellation is not (need not) be an issue. Here the challenge is accurate cropping, dealing with color glare from the original background screen, and transferring or recreating shadows. Once again, a pain, especially if you are trying to process a whole sequence of images. Some examples of figures photographed against a color screen, then cropped out and integrated over/into different images -- in the last one you can see the effect a bad angle can have, making Riddick look like he is floating or at best smooth-videogame-jumping:

Help request for digital action photography Slsws025

Help request for digital action photography Htsm1210

Help request for digital action photography Rid0110

Fantastic use of the backgrounds Ian, I like how you have included some foliage in the foreground to create depth to the scene bounce bounce bounce That bathroom shot made me laugh Laughing

londonroadhog wrote:Hi Ghost_Rider_1970, this might actually be my first post on this forum... Well, reply...

I use Photoshop quite a bit with my figures. I have been known to mix 1/6. 1/42, and 1/1 in the same image. Compositing, as it is called, can be tricky to get right.

I am far from an expert, but enjoy the fun and challenge of combining the scales. The first two images the background was taken in Wales, and then the 1/6 figures or heads edited in from a separate photo shoot, and composited into the background.

The last image, was an image of a real helipad, and a 1/42 scale toy helicopter, 1/6 scale RocHobby Willys Jeep. and 1/6 figures all composited. I had to work on the shadows of the helicopter and keep, and should have made the figures' shadows more prominent. But it was all fun.

Help request for digital action photography Henrhyd-Falls-165-Edit

Help request for digital action photography Showcaves-006-Edit

Help request for digital action photography Transport-2-001-Edit

When you see an image that only shows the top 3/4 of a figure, that is so that the person doing the editing doesn't have to worry about creating shadows, and the such, to give that extra realism.

I mainly use my editing and figures to make a Comic-Style story on another forum. An action sequence from that below.

Help request for digital action photography Phicen-Training-Camp-session-2-018-Edit

Hope this might give you some encouragement, and ideas.

Very nice Colin! I love the last shot of the training room, you have captured the movement wonderfully! bounce bounce

londonroadhog


Thanks Dal...

Stryker2011

Stryker2011
Founding Father
Welcome aboard, londonroadhog. I really dig that first shot. How, may I ask, do you layer shots like that in PS? I have that program, but haven’t really spent much time learning how to do much more than crop images (in squares) or block out objectionable body parts.


_________________
Mark

He who dies with the most toys wins!

Help request for digital action photography C8485110

londonroadhog


Thanks for the welcome Stryker. I've been a member for a while, but until today, hadn't really figured out how the site worked, and had too many other things that took priority.

You kind of, in a way, answered you own question. But I'll try to give you some more detail.

First, of course you need the images. So one was of a scene from Wales, the other was taken in my attic - where I do my hobbies. You could use a green or blue screen, however, Photoshop does a very good attempt at selecting subjects, so I didn't bother. Also, sometimes with green screens you get a green colour hue, cast, or even shadow. So, I just used a plain background. Here's that image.

Help request for digital action photography Crossover-2-136

Initially, I open the background image into Photoshop.
I was always taught to perform a Control J - to copy the original background, so you have a place to return to if I mess it up.

Then I load the figure image into Photoshop as a separate image (I use lightroom as my photo library, so it was just a case of right clicking, and selecting Edit In -> photoshop)

Then I use Select > Subject. That "should" do a pretty good selection of the figures. I then press Control C to copy that. If it hasn't selected everything I want, then I add to that selection with the Quick Selection Tool.

Next, select the background image, and then press Control-V to paste the selection into a new layer.

Using the Move Tool, I resize that layer to be more realistic size.

Once I've done that. I then add a Mask to the figure layer, and paint black where I want the original image to appear again. Like the handrails.

I will also add an adjustment layer or two on that figure layer to make sure the colours are in line with the main image.

Then shadows, if necessary. In this image, I don't believe I worried about shadows, as it was pretty overcast on that day. Plus shadows would only be light on the wood bridge.

Does that help?

GubernatorFan

GubernatorFan
Founding Father
BAMComix wrote:Fantastic use of the backgrounds Ian, I like how you have included some foliage in the foreground to create depth to the scene bounce bounce bounce That bathroom shot made me laugh  Laughing

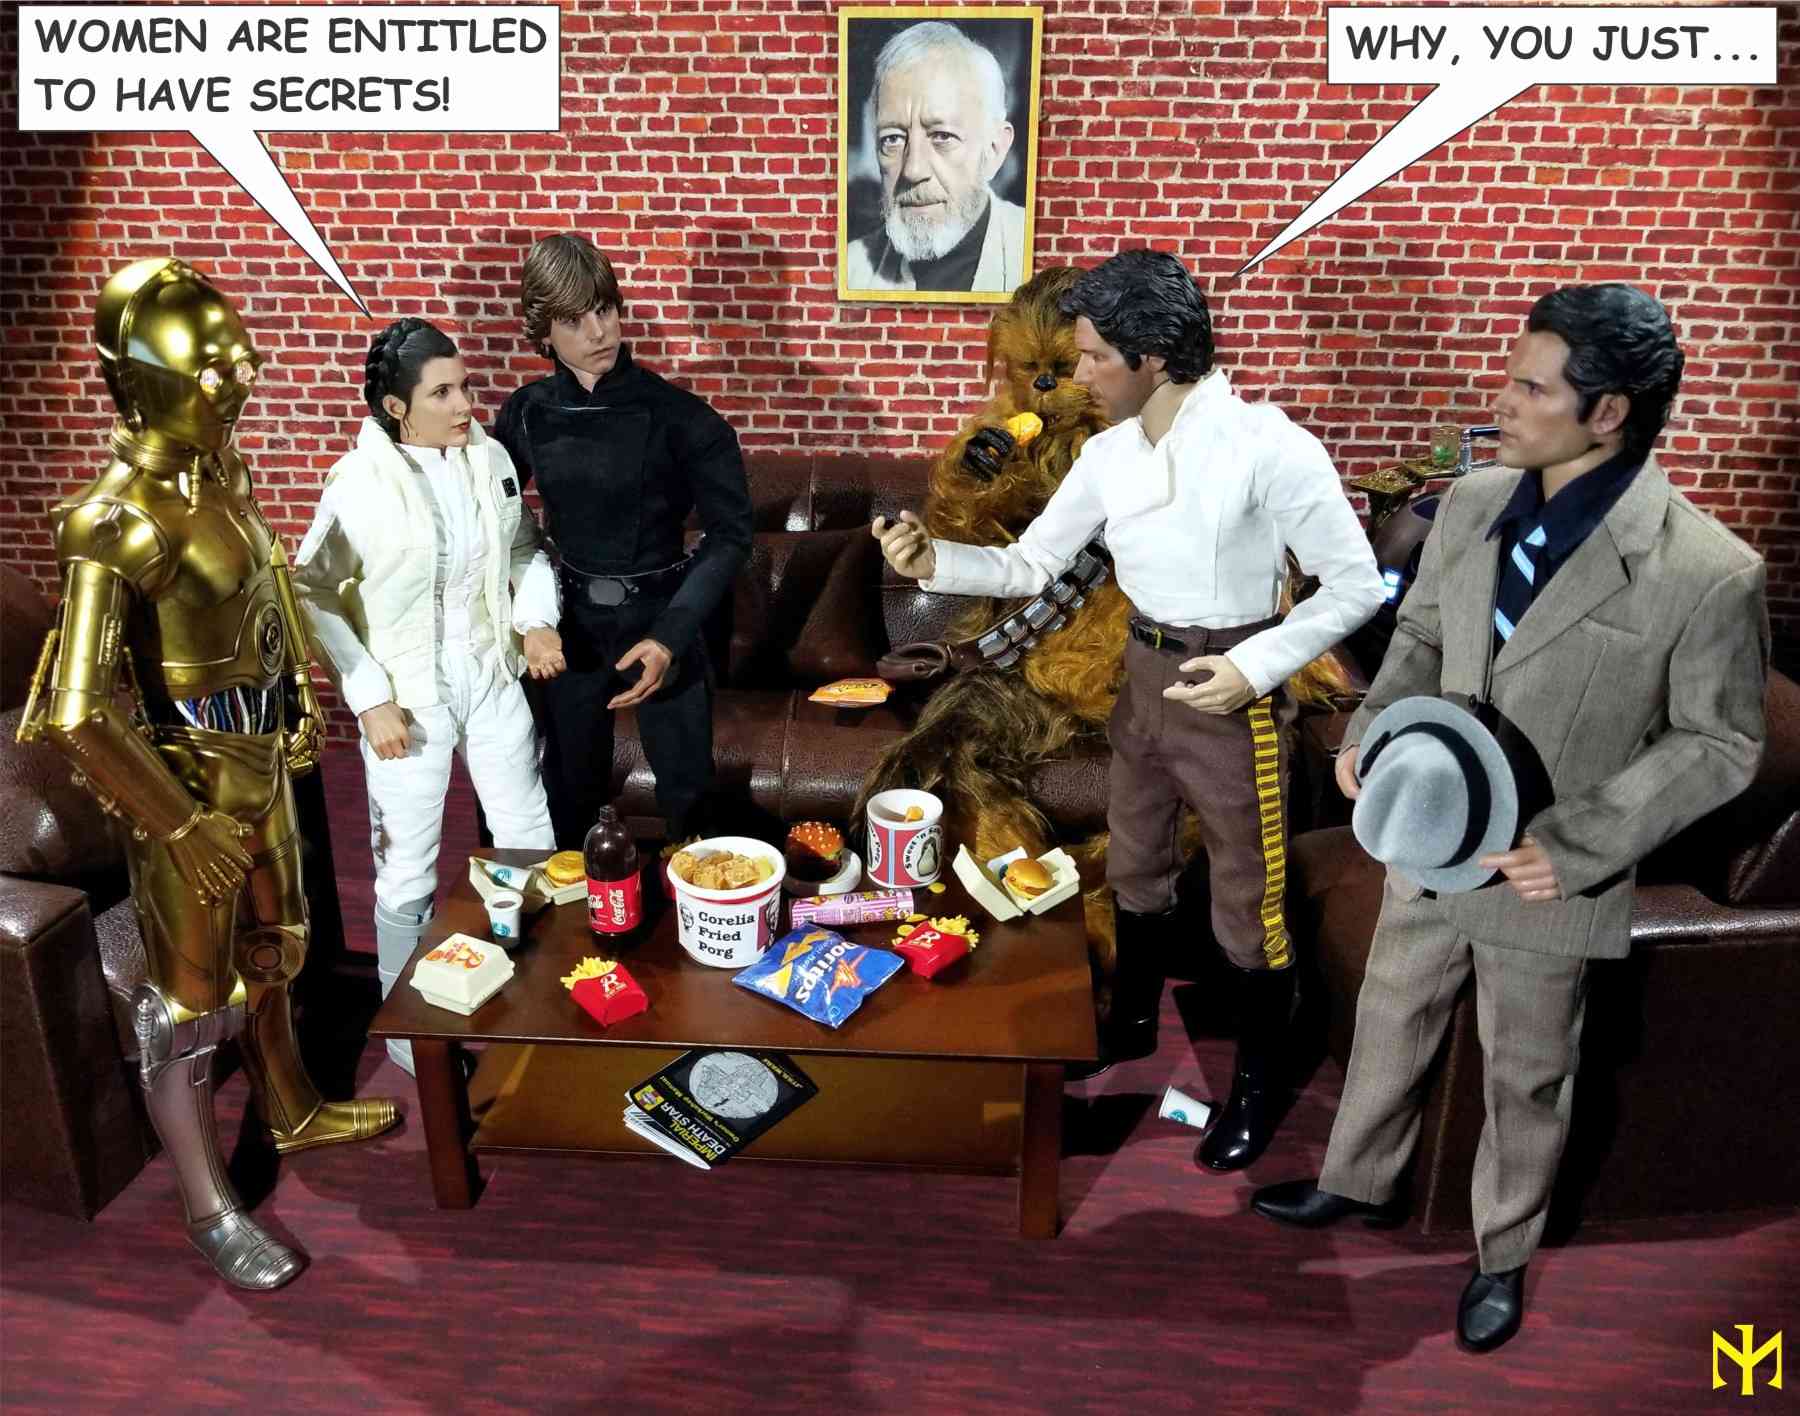
Thank you very much, Dal. Yeah, I found some neat high-resolution foliage with transparent backgrounds that I can use as an overlay in such scenes for the very purpose you mention. Of course, I agree that plastic aquarium vegetation, such as you used, is an excellent 3D option, and have picked up a few pieces but rarely put them to use (some of them make an appearance in the Useful Items thread and in the ROTJ stormtrooper review alongside other plastic plants and some sort of decorative moss that gave me an allergic reaction). But I'd much rather use more 3D pieces like you. The bathroom shot is one of many at the beginning of the Barbie Debarbiefied thread.

londonroadhog wrote:I use Photoshop quite a bit with my figures. I have been known to mix 1/6. 1/42, and 1/1 in the same image. Compositing, as it is called, can be tricky to get right.

I am far from an expert, but enjoy the fun and challenge of combining the scales. The first two images the background was taken in Wales, and then the 1/6 figures or heads edited in from a separate photo shoot, and composited into the background.

The last image, was an image of a real helipad, and a 1/42 scale toy helicopter, 1/6 scale RocHobby Willys Jeep. and 1/6 figures all composited. I had to work on the shadows of the helicopter and keep, and should have made the figures' shadows more prominent. But it was all fun.

You do magic with Photoshop. These are beautiful composites, with very realistic results. I realize practice makes perfect, but Photoshop sounds like a pretty complex software to use. Which makes your creations all the more impressive.

@davidd -- I don't know what happened to your post, but those were some amazing photos and great examples. You use shadows masterfully, and colors very effectively. I absolutely loved the attack of the crab monsters. The MurderWithMirrors images that you pointed to are also very effective, although I seem to realize that there is little or very subtle use of shadows. And that is something I was on the lookout for, because it is something I struggle with when I do this.


_________________
I'll be back!
https://onesixthfigures.forumotion.com

Valiarde

Valiarde
This thread is a perfect example why this board is so awesome. Asking a good question and getting an answer like that from GF is just something great. Big post, relevant information and many example pics. Top! (and also a thank you for the name dropping)
Interesting read to get some nice options.
Also thanks for londonroundhog for explaining the steps behind your image. I knew some of the steps, but forgot what the best way for selecting the subject was


_________________
The knight is darkest just before the dawn.

Stryker2011

Stryker2011
Founding Father
Thanks for the detailed info -- I'll have to try messing around with it some to see how that works.


_________________
Mark

He who dies with the most toys wins!

Help request for digital action photography C8485110

GubernatorFan

GubernatorFan
Founding Father
Valiarde wrote:This thread is a perfect example why this board is so awesome. Asking a good question and getting an answer like that from GF is just something great. Big post, relevant information and many example pics. Top! (and also a thank you for the name dropping)
Interesting read to get some nice options.

Awww... thank you kindly. Although the notion that you can learn from me (as opposed to me learning from you) is almost funny. I'd much rather have your impeccable 3D dioramas at my disposal. Perhaps you can share some hints as to how you make them -- in another thread I speculated you may be doing them along the lines of the amazing D&D and Warmhammer smaller scale foam core dioramas I've seen tutorials for on YouTube.

In Corel PhotoPaint there is nice cutout lab for photos, which works quite well, except when a color is too close to the background you're trying to cut out or if the background's color is reflected/taken on by light or reflective surfaces on a figure.


_________________
I'll be back!
https://onesixthfigures.forumotion.com

Ghost_Rider_1970


Oh wow!!!!! There really are some sensational and breath-taking pictures here along with some fantastic advice. I really do appreciate all your posts that has inspired me to create a few of my own scenes.

Admittedly this is my first attempt where I hope you like them and I'll look to elaborate on this with different backdrops; more characters; and maybe even a simple diorama.  Very Happy

Help request for digital action photography 110
Help request for digital action photography 210

Ghost_Rider_1970


A couple more too!

Help request for digital action photography 310
Help request for digital action photography 410

GubernatorFan

GubernatorFan
Founding Father
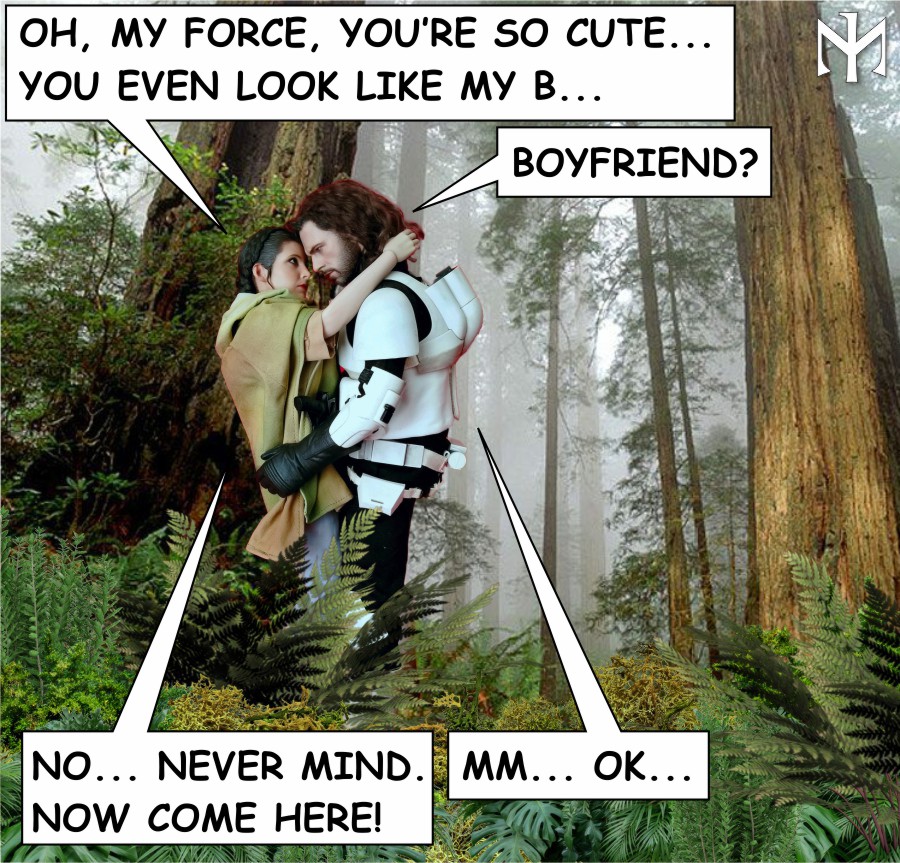
You are welcome, I hope it is helpful. I like your composite images. The dark, subtle light on your figure helps make it work naturally in the background you have chosen as backdrop (is this displayed on a TV?). I can see why you were asking these questions, as the very bottom of your figure and vehicle are cut off. In a scene like this perhaps a mist or a dark shadow would work well to mask such difficult points of contact. You can find various transparent background PNGs of smoke or mist that you can download and superimpose as a top layer over your photo in whose areas that you choose. It is the same principle as the vegetation I tossed in front of Leia and her "date" in one of the photos above, except semi-transparent. And if it does not hide enough, toss in a semi-transparent dark shadow for good measure; or just the latter. Smile

You can also probably create basic shadow shapes as needed for your individual figures and vehicles, make them semi-transparent, and soften their edges with Gausian Blur. If your figure and vehicle are shot in front of the digital background, none would be the wiser if you just crop the shadow polygons around them to accommodate them. If, on the other hand, you have shot them against a "blue" or "green" screen, and are cutting them out and superimposing them digitally over the background, the shadow polygons can be inserted as a separate layer between the background (below them) and the figures (above them).


_________________
I'll be back!
https://onesixthfigures.forumotion.com

Valiarde

Valiarde
GubernatorFan wrote:
Valiarde wrote:This thread is a perfect example why this board is so awesome. Asking a good question and getting an answer like that from GF is just something great. Big post, relevant information and many example pics. Top! (and also a thank you for the name dropping)
Interesting read to get some nice options.

Awww... thank you kindly. Although the notion that you can learn from me (as opposed to me learning from you) is almost funny. I'd much rather have your impeccable 3D dioramas at my disposal. Perhaps you can share some hints as to how you make them -- in another thread I speculated you may be doing them along the lines of the amazing D&D and Warmhammer smaller scale foam core dioramas I've seen tutorials for on YouTube.

In Corel PhotoPaint there is nice cutout lab for photos, which works quite well, except when a color is too close to the background you're trying to cut out or if the background's color is reflected/taken on by light or reflective surfaces on a figure.


Don't be too humble there isn't just one way to get reuslts. And merged images are a perfectly fine option for telling stories, whereas Diorama parts are just another way (taking much more space).

But yeah, I could add some Tutorials here on Diorama parts like others posted them too. Those DnD youtube tutorials are definately helpful (I have a bigger piece nearly finished since month' for which I took inspiration on a little game foam piece Razz ) For other parts, I had good teachings from a friend who does awesome diorama work too - he was quiet helpful during our phone talks in the beginning of that hobby.


Thanks for mentioning Corel PP as an option - but since I'm paying a Photoshop licence anyway (it came together with the Adobe Lightroom, which is the far more useful tool for me 95% of time) I might as well go learning cutouts in PS then. Smile


_________________
The knight is darkest just before the dawn.

Stryker2011

Stryker2011
Founding Father
Those are some pretty cool composites, GhostRider. Really cool actually -- and I love the bike, it looks massive.


_________________
Mark

He who dies with the most toys wins!

Help request for digital action photography C8485110

BAMComix

BAMComix
Nice work indeed, he looks right at home in the images you have chosen Very Happy

Ghost_Rider_1970


Thank you so much for you kind words and support, where you are quite right that this highlights my initial questions. Especially with my pictures showing that the bottom is cut off due to my figures being stood on a piece of card that I edited out of the shot.

Indeed, the background is displayed on a TV so I'm looking for a simple digital solution like printing an extended floor area so gives a more natural three dimensional effect.

I also like the idea kindly outlined by londonroadhog, where if I understand the steps correctly there are two pictures. The main backdrop, and a picture taken of the characters. Using Photoshop, the characters are then isolated from the rest of the image and can then be rescaled and superimposed on the backdrop.

Please can you confirm if my understanding is correct?

Thank you all once again, Paul Very Happy

GubernatorFan

GubernatorFan
Founding Father
Ghost_Rider_1970 wrote:Thank you so much for you kind words and support, where you are quite right that this highlights my initial questions. Especially with my pictures showing that the bottom is cut off due to my figures being stood on a piece of card that I edited out of the shot.

Indeed, the background is displayed on a TV so I'm looking for a simple digital solution like printing an extended floor area so gives a more natural three dimensional effect.

You are welcome (and I think I can say that for all). I figured a backdrop this massive must be displayed on a TV. That makes pixellation even more of a possible concern, although in general focusing on the figure(s) and having a slightly blurrier background is not going to a bit problem. So you have two basic options, fairly advanced digital editing apart.

1 - simulate the ground cover on the screen with something you can put the figure(s) on top of. It can be a material that looks more or less like the same color or texture or maybe a few sheets of paper printed to look that way and arranged carefully.
2 - introduce a somewhat sensible additional element that does not have fit what you have on the screen but can make sense with it - for example, a ramp, a sidewalk, a platform, a balcony, a different surface of the same kind (e.g., another road/street, but at a slightly different "level") - of course your options would be limited by the context.

For the photo you shared, I think it would be easier perhaps to go with option 1.

As for adding something digitally, I will leave that to the gods of PhotoShop. I would guess that short of digitally cutting out your figure(s) and inserting them into a digital backdrop as a composite (and then you don't have to take the photo against a projected digital backdrop on a screen), perhaps place your figure(s) on more limited ground area (again, maybe paper with an appropriate printed design on it), and then use a clone tool to extend that digitally in the various directions (left, right, backwards) you need to make it "join" the image. Alternately, with a dark street surface like in your photos, maybe clone the background's ground area (but it would have to be high enough resolution) forward, carefully enveloping your figure(s), you will have to do some cutting or masking to keep it from overlapping them.


_________________
I'll be back!
https://onesixthfigures.forumotion.com

Ghost_Rider_1970


GubernatorFan wrote:
Ghost_Rider_1970 wrote:Thank you so much for you kind words and support, where you are quite right that this highlights my initial questions. Especially with my pictures showing that the bottom is cut off due to my figures being stood on a piece of card that I edited out of the shot.

Indeed, the background is displayed on a TV so I'm looking for a simple digital solution like printing an extended floor area so gives a more natural three dimensional effect.

You are welcome (and I think I can say that for all). I figured a backdrop this massive must be displayed on a TV. That makes pixellation even more of a possible concern, although in general focusing on the figure(s) and having a slightly blurrier background is not going to a bit problem. So you have two basic options, fairly advanced digital editing apart.

1 - simulate the ground cover on the screen with something you can put the figure(s) on top of. It can be a material that looks more or less like the same color or texture or maybe a few sheets of paper printed to look that way and arranged carefully.
2 - introduce a somewhat sensible additional element that does not have fit what you have on the screen but can make sense with it - for example, a ramp, a sidewalk, a platform, a balcony, a different surface of the same kind (e.g., another road/street, but at a slightly different "level") - of course your options would be limited by the context.

For the photo you shared, I think it would be easier perhaps to go with option 1.

As for adding something digitally, I will leave that to the gods of PhotoShop. I would guess that short of digitally cutting out your figure(s) and inserting them into a digital backdrop as a composite (and then you don't have to take the photo against a projected digital backdrop on a screen), perhaps place your figure(s) on more limited ground area (again, maybe paper with an appropriate printed design on it), and then use a clone tool to extend that digitally in the various directions (left, right, backwards) you need to make it "join" the image. Alternately, with a dark street surface like in your photos, maybe clone the background's ground area (but it would have to be high enough resolution) forward, carefully enveloping your figure(s), you will have to do some cutting or masking to keep it from overlapping them.

Thank you so much for your wonderful advice GubernatorFan. Your excellent ideas really do give me more diverse options to explore for which I am so very grateful. I'll definitely be experimenting with these and see what wizardry I can come up with, haha!

I really do appreciate all your time and help, Paul Smile

GubernatorFan

GubernatorFan
Founding Father
Ghost_Rider_1970 wrote:Thank you so much for your wonderful advice GubernatorFan. Your excellent ideas really do give me more diverse options to explore for which I am so very grateful. I'll definitely be experimenting with these and see what wizardry I can come up with, haha! I really do appreciate all your time and help, Paul Smile

You're very welcome, I hope it works and you will show us the results. I will just note, again, that my experience is with Corel PhotoPaint. But I'm certain PhotoShop has corresponding functions and indeed more capabilities, as the leading graphics software.

Below, see an example of a partly (I didn't bother doing it completely) digitally extended background -- onto the real foreground surface. See how the gravel of the road extends unevenly (and naturally?) over the dark surface (actually slate slab) on which the figure stands? That was for a quick solution (don't look too closely at the shadows). Smile

Help request for digital action photography Chad210


_________________
I'll be back!
https://onesixthfigures.forumotion.com

Sponsored content


Back to top  Message [Page 1 of 2]

Go to page : 1, 2  Next

Permissions in this forum:
You cannot reply to topics in this forum