Stryker2011 wrote:Ian, which technique did you use for the Maul in the middle? And which Gundam markers did you use (there seem to be a few different variants)? Thanks.
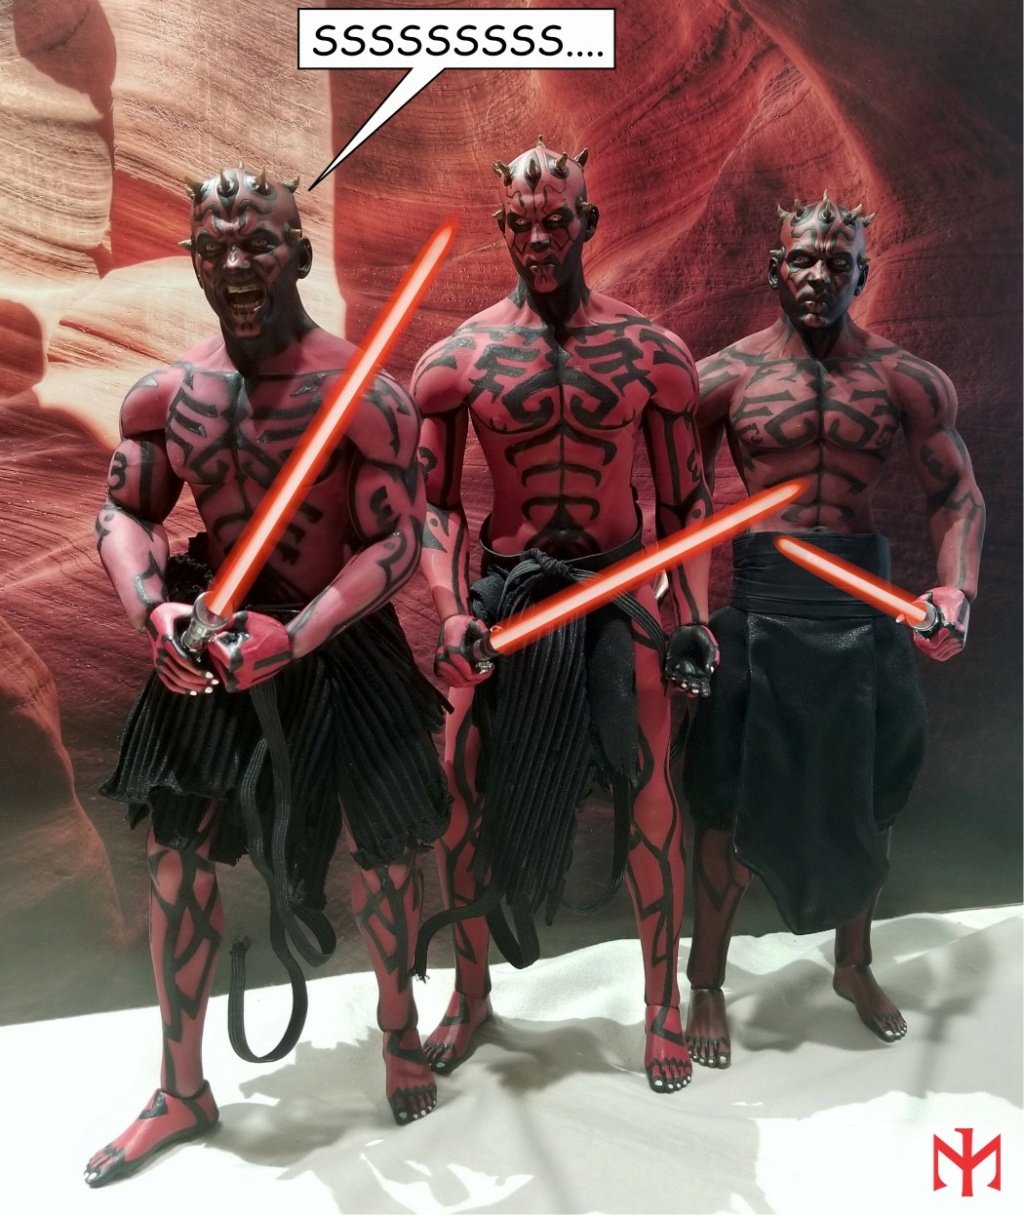
The taller Maul in the middle is
Maul 2.0. See here for more details:
https://onesixthfigures.forumotion.com/t260p225-painting-seamless-bodies-nsfw#39904and here:
https://onesixthfigures.forumotion.com/t2773-star-wars-updated-darth-maul-custom-part-v-maul-3-0-updated-may-13-2021#39902Maul 2.0 had an Staedtler red oil pastel blend with the black details in Markal Pro-Line XT Paint Marker. For small details you need to squeeze/pump some of the paint out and apply with a thinner applicator (toothpick, whatever). Do not apply on
stretched TPE! Also, eventually, I noticed a little bit of flaking/cracking (though not as bad as early experiments with acrylics or acrylic markers).
For
Maul 3.0, the Gundam technique is discussed in the relevant section of painting seamless bodies or custom Maul. But anyway, these are specifically
Gundam Real Touch Markers (
not regular Gundam Markers, which would not work).
Set 1 includes red;
Set 2 includes black. Amazon links below. I'd say get yourself a couple of sets of each, just so you don't run out in the middle of working on it (at this point I don't remember how much of a problem this was -- or not).
Insofar as I remember it, the technique is as follows. The Gundam Real Touch markers have two tips, one finer and one wider (the caps are counter-intuitive), so select what you need at different points of the application. Apply a little bit at a time, in single layers over a limited area, so that you can soak up immediately any of the extra paint left on the surface with (ideally) a cotton swab (q-tip) -- this works best. Soaking up is key. If you are using the red first as a base for most of the body (you can skip it in any larger areas covered by black), you don't have to worry much about smearing it outside of its intended area, but you still want to soak up the extra paint. With the black, for the most part you will be trying to go for precise lines (at least wherever it borders on red), so soaking up carefully with a clean cotton swab surface is more critical -- make sure not to smear or smudge as you are soaking up. For the smaller detail, remember to use the finer tip of the marker. Everything can be retouched, a little later, after soaking up the extra paint and letting it dry for a while. Between major stages of the work, and when you decide you are done (even if you end up touching up something later), wrap carefully in paper towels (Viva cloth-like paper towels might be best) and let it be for a day or a few. You can gently massage the surface (but fairly statically, so that you do not potentially smudge), to try soaking up any remaining extra paint. Repeat with new paper towels until you see now transfer of color. After this, it should be safe to handle the body, although I would still advise some caution, especially in the first days and weeks.
If you absolutely need to undo an erroneous stroke of the marker, try to do so immediately, and some determined washing with soap and water is likely to work. But I suppose working in thin layers in small areas at a time and being extra careful with the black details, would minimize the need for resorting to that.
Amazon links for the two sets (maybe you can find them for less elsewhere) --
https://www.amazon.com/GSI-Creos-Gundam-Marker-Markers/dp/B0009AFN08?th=1
https://www.amazon.com/Gundam-Marker-GMS113-Touch-Color/dp/B0009AFN0I?th=1


