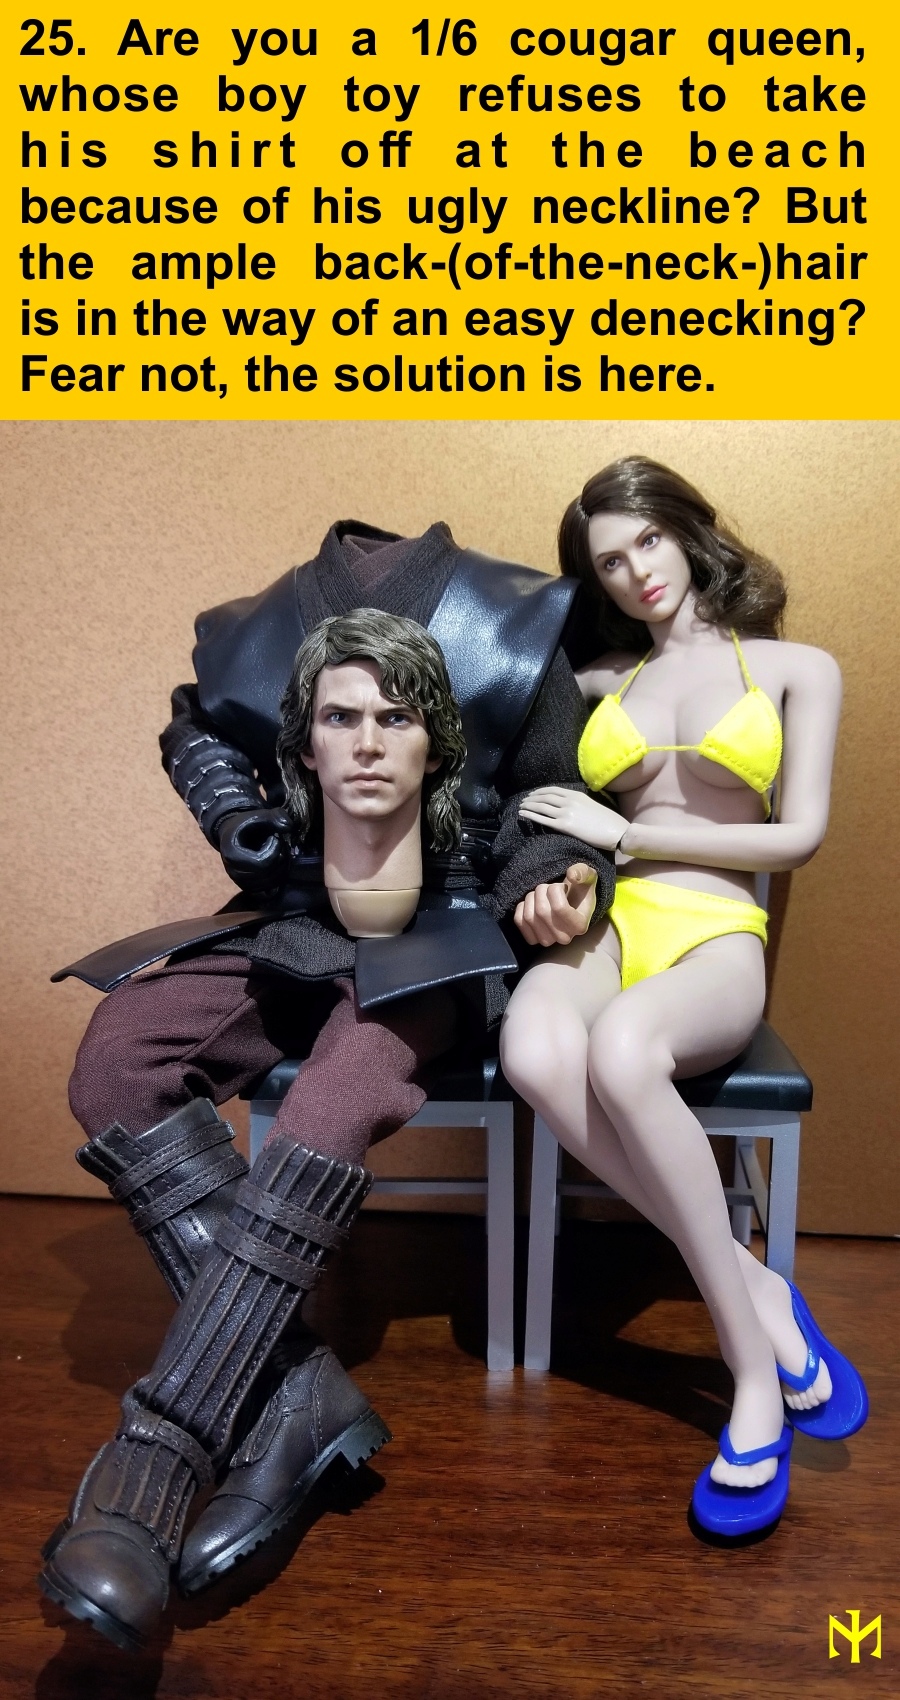
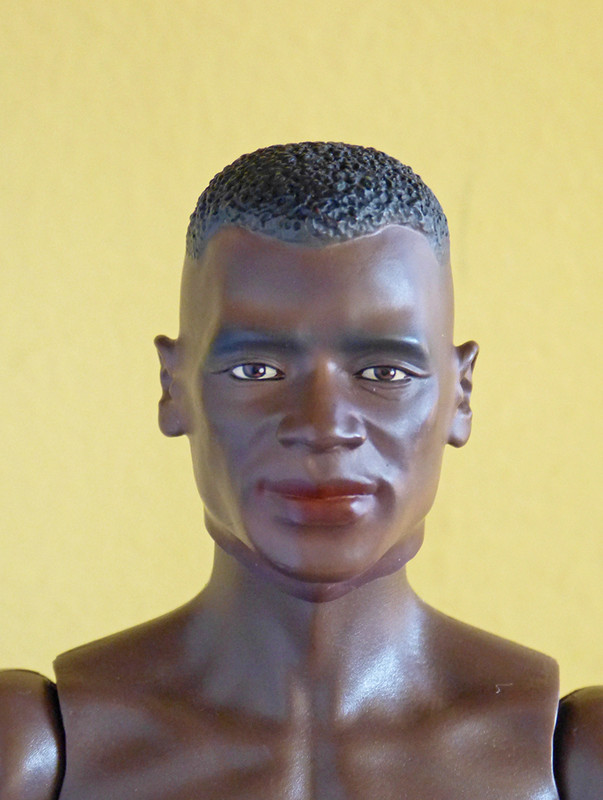
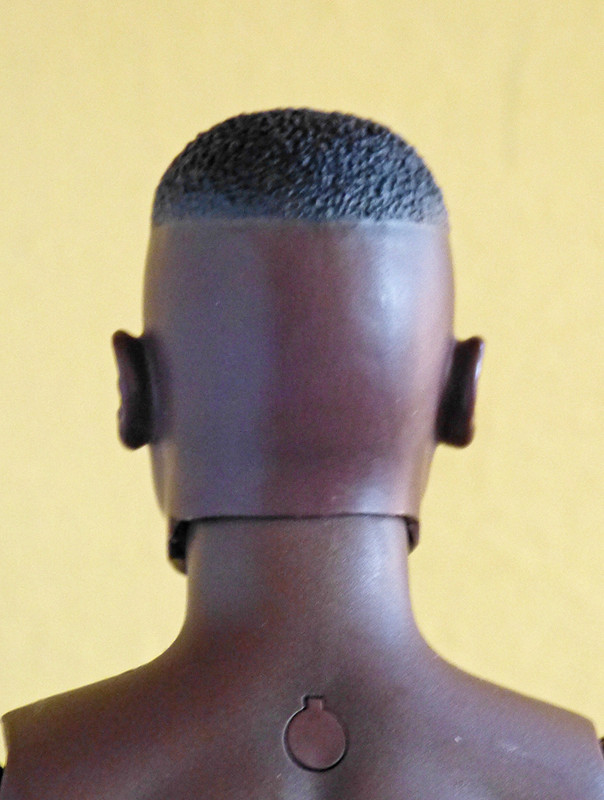
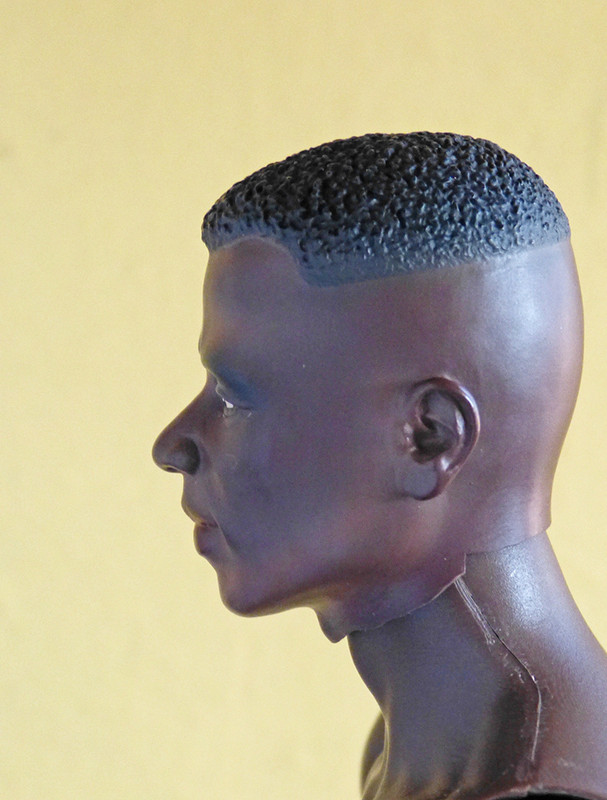
useful and fun!!! Thanks a lot for that continuation of the tutorial! (starlord makes a great animator showman lol)
OneSixthFigures

An online community to discuss and share news about sixth-scale figures, with an emphasis on either custom or commercial articulated figures.
Go to page : 1, 2, 3 
 Re: Head Conversion Tutorial (updated with Part III - June 2019) Thu May 31, 2018 7:05 am
 Re: Head Conversion Tutorial (updated with Part III - June 2019) Thu May 31, 2018 8:15 am
 Re: Head Conversion Tutorial (updated with Part III - June 2019) Thu May 31, 2018 8:41 am
 Re: Head Conversion Tutorial (updated with Part III - June 2019) Thu May 31, 2018 11:19 pm
 Re: Head Conversion Tutorial (updated with Part III - June 2019) Fri Jun 01, 2018 8:46 am
 Re: Head Conversion Tutorial (updated with Part III - June 2019) Fri Jun 01, 2018 9:45 am
Rogerbee wrote:I fell into that trap with my HT Godfather, just getting the head, hands and gear cost me more than the boxed figure would have! I spread the cost, but, I was shocked when I found out my total spend.
 Re: Head Conversion Tutorial (updated with Part III - June 2019) Wed Jan 16, 2019 3:17 pm
 Re: Head Conversion Tutorial (updated with Part III - June 2019) Wed Jan 16, 2019 3:54 pm
 Re: Head Conversion Tutorial (updated with Part III - June 2019) Thu Jan 17, 2019 12:00 am
Adeno wrote:Very educational and useful, thanks!
Peaches wrote:I honestly wouldn't have known how important it was to heat the head, I really appreciate this tutorial because I see this in my futureThanks @GubernatorFan
 Re: Head Conversion Tutorial (updated with Part III - June 2019) Thu Mar 21, 2019 5:00 pm
 Re: Head Conversion Tutorial (updated with Part III - June 2019) Thu Mar 21, 2019 5:08 pm
teamweapon wrote:this was helpful in my first de-necking! especially the tip of filling the head with sticky sponge THANKS!!!!
 Re: Head Conversion Tutorial (updated with Part III - June 2019) Fri May 03, 2019 8:29 pm
 Re: Head Conversion Tutorial (updated with Part III - June 2019) Sat May 04, 2019 12:55 pm
Aria wrote:My bank account will not be thanking you, but I am.
 Re: Head Conversion Tutorial (updated with Part III - June 2019) Wed Jun 19, 2019 11:10 am
 Re: Head Conversion Tutorial (updated with Part III - June 2019) Mon Jun 24, 2019 8:40 pm


 Re: Head Conversion Tutorial (updated with Part III - June 2019) Mon Jun 24, 2019 9:02 pm
 Re: Head Conversion Tutorial (updated with Part III - June 2019) Tue Jun 25, 2019 8:05 am
 Re: Head Conversion Tutorial (updated with Part III - June 2019) Tue Jun 25, 2019 11:18 am
skywalkersaga wrote:Ahhh, brilliantly done! Thanks so much for taking the plunge and trying this out. As always, excellent photos, easy to understand directions, and delightful humour. This is the tutorial I’ve been waiting for! :’D I also appreciate how you cleverly avoided the mechno arm situation in that final pose.
Stryker2011 wrote:Nicely done on the Anakin head. Having the pieces be separate, though glued together, makes the job that much easier.
 Re: Head Conversion Tutorial (updated with Part III - June 2019) Wed Jun 26, 2019 1:30 pm
 Re: Head Conversion Tutorial (updated with Part III - June 2019) Tue Nov 26, 2019 9:24 pm
 Re: Head Conversion Tutorial (updated with Part III - June 2019) Wed Nov 27, 2019 2:09 am
ironman1188 wrote:Have you ever denecked a head where the head and hair was all one piece?
 Re: Head Conversion Tutorial (updated with Part III - June 2019) Wed Nov 27, 2019 11:17 am
GubernatorFan wrote:ironman1188 wrote:Have you ever denecked a head where the head and hair was all one piece?
Yes, all the time. Look at the very first example. But I suspect you mean where there is long sculpted hair that covers the normal cut line at the back of the neck and an integral neck all parts of a single continuous sculpt. That I generally try to avoid, but it is doable -- especially if we are talking PVC rather than resin (that is just too messy and hazardous to one's health). I can't think of specific heads where I have done it, but the the front part works the same as above. The back part, on the outside, trace the hairline (where it meets the neck) with the cut, then whittle/dremel away the interior a bit (for any protruding hair you only really need the outside/easily visible surface), and paint over it as needed, just in case something shows.
 Re: Head Conversion Tutorial (updated with Part III - June 2019) Wed Nov 27, 2019 11:19 am
ironman1188 wrote:Thanks! I may be getting "adventurous" this weekend!
 Re: Head Conversion Tutorial (updated with Part III - June 2019) Sat Dec 12, 2020 7:24 pm
 Re: Head Conversion Tutorial (updated with Part III - June 2019) Sun Dec 13, 2020 6:04 am
Chip wrote:Superb tutorial , very confidently done , and well explained . I don`t think I would be brave enough to do it personally , but you never know and it`s great to have such a good guide to follow if I ever did .

 Re: Head Conversion Tutorial (updated with Part III - June 2019) Sun Dec 13, 2020 7:12 am
Stryker2011 wrote:Chip wrote:Superb tutorial , very confidently done , and well explained . I don`t think I would be brave enough to do it personally , but you never know and it`s great to have such a good guide to follow if I ever did .
Get ahold of a cheap head sculpt with a neck for practice. I think you’ll find once you do it, it’s easier than you might think, as long as you keep heating the head up. Do it once, and then suddenly modding head sculpts in general doesn’t seem so terrifying anymore. Same with adding real hair; it’s a messy, ad time consuming process, but it gets easier the more you do it.
 Re: Head Conversion Tutorial (updated with Part III - June 2019) Sun Dec 13, 2020 3:50 pm
Chip wrote:Superb tutorial , very confidently done , and well explained . I don`t think I would be brave enough to do it personally , but you never know and it`s great to have such a good guide to follow if I ever did .
 Re: Head Conversion Tutorial (updated with Part III - June 2019) Mon Feb 15, 2021 1:00 pm


 Re: Head Conversion Tutorial (updated with Part III - June 2019) Tue Feb 16, 2021 4:31 pm
Chip wrote:I had ago .


I am fairly happy how it turned out too . This was my first attempt , I just threw caution to the wind and went for it . This is a Dragon head onto a Coomodel body . I did have spares of this head so it wouldn`t of been a total loss . But it went o.k , and not as hard as I thought . It`s not perfect , but I can live with it .At least you know your time and shared techniques are helping us out Ian . Thank You .

Go to page : 1, 2, 3 
Similar topics
Permissions in this forum:
You cannot reply to topics in this forum
|
|
|