Description Part 1:
I decided I’d break this down as it did take me many weeks to create. This is obviously part 1... LOL.
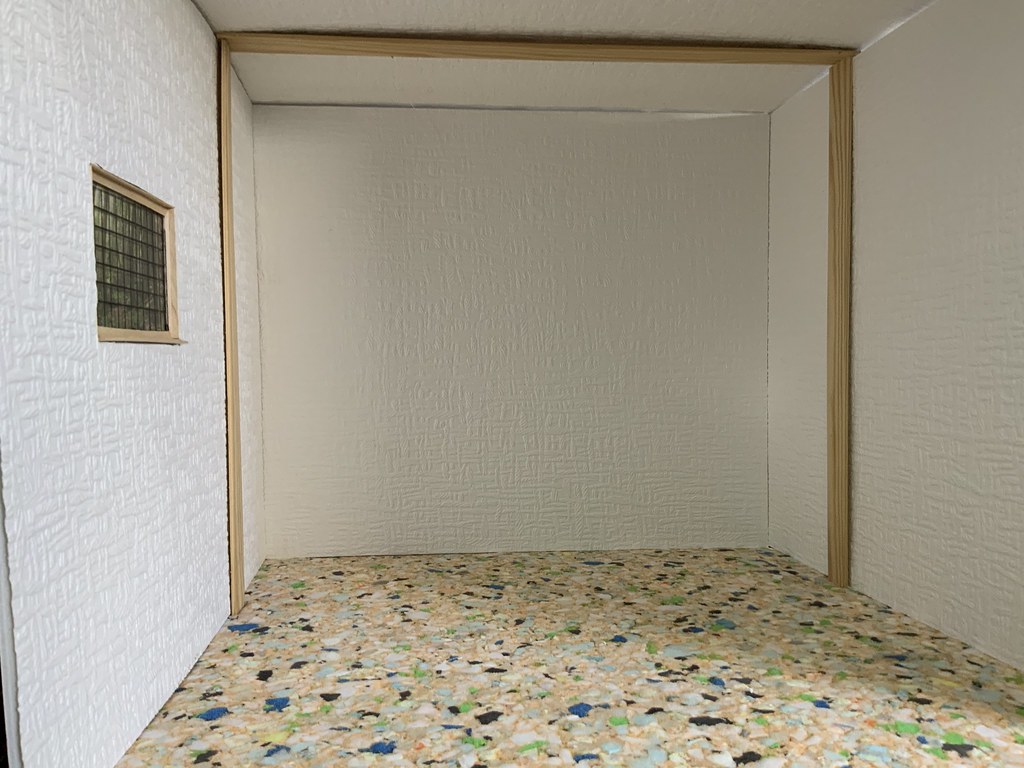
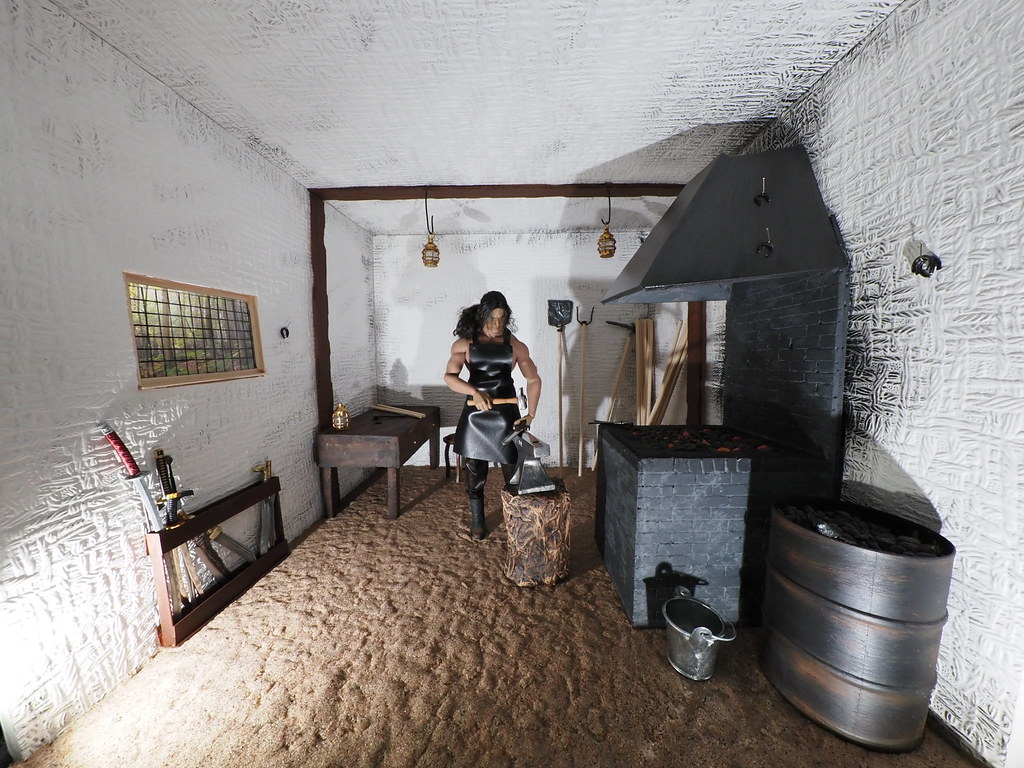
Firstly, which I probably don’t need to describe, was the decision to do a Blacksmiths Workshop, and try to make it fairly old, so that it would fit in my friend’s and my fantasy theme. We weren’t trying to create a modern day Blacksmith.
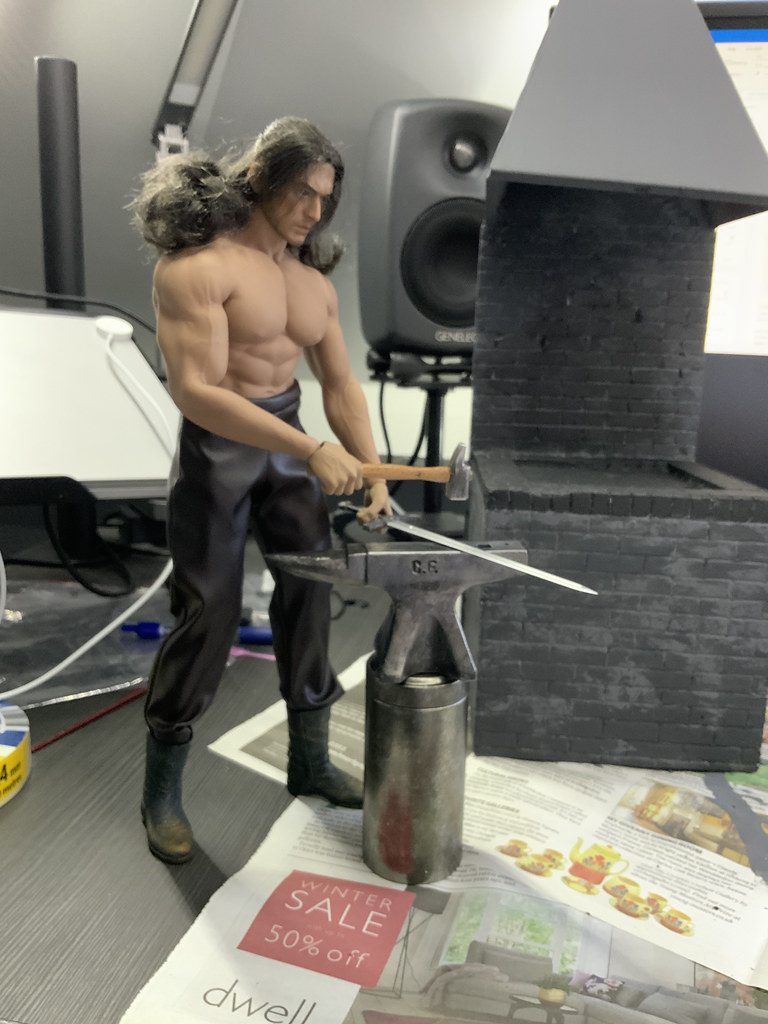
Next was the outfit. The trousers were made, and then I made a waistcoat that would be worn when not doing Smithying. The final article of clothing was the apron.

Above it the blacksmith with his outfit (minus the apron).
The next task as a bit more of a challenge, the Forge. I wanted it to be able to be lit from underneath, so that the ‘coals’ would look as though they were lit. That was the hope anyway. So I ordered a bunch of Foam Boards. I am not sure what everyone calls these around the world, but basically they are sheets of foam with a paper-like covering over them. They are thin, these ones were 5mm in thickness.
I basically measured from the ground up to Mr Phicen’s middle area, and decided that needed to be the height. My maximum height planned was 18 inches. Why 18 inches you might ask? Well, originally I thought I’d have it contained within my Photo Cube, which has a height of 24 inches, so to give some leeway I decided on 18 inches. Also with the Phicen being around the 12 inch height, I knew I’d need some more height above him. So 18 inches it was.
I looked at various forges online, including one from the Minecraft game, and others that were pictures that google came back with. This helped me come up with a design. I figured it would need some form of chimney, and in order to keep the chimney in position, there would need to be some wall from the forge to the chimney. That pretty much gave me my design. Then it was a case of measuring and cutting out all the pieces from the form board, and using glue to stick them all together. That gave me the below image:

At this point the forge was lying on its back. Next was to see what happens when I put a tea light in the bottom of it. Plus to check the height of where the coals out be to the height of Phicens.

This highlighted a problem. I only want the light to come out from the top, not the sides of the forge. I didn’t know whether painting it would stop the light leakage or not, but continued on regardless.
Next, I needed to try to get some for of brick work on the forge. So for a test, I took a piece of foam board, and carefully pealed off the paper on one side. Then with an exacto knife, lightly scored brick lines, and then went over those lines with a scoring tool. This looked very promising:
Next I wanted to test this with a bigger off cut:

Happy with that, even with some errors with scoring. I then placed this in front of the forge to gauge whether I was happy with this.

happy with how it looked. I then proceeded to score the forge itself:

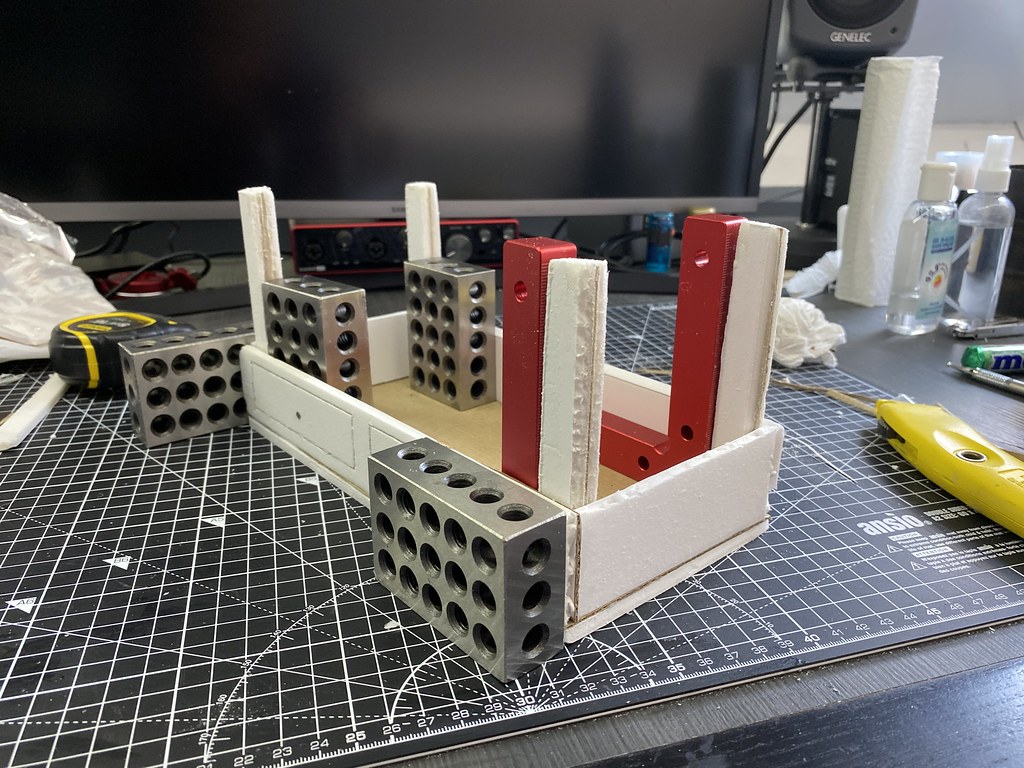
I was happy with the results, however, upon scoring the wall between the forge and the chimney I discovered that the wall was now weaker, and couldn’t hold the weight of the chimney. I had to reinforce the back of the forge wall, using some dowels and more foam board:

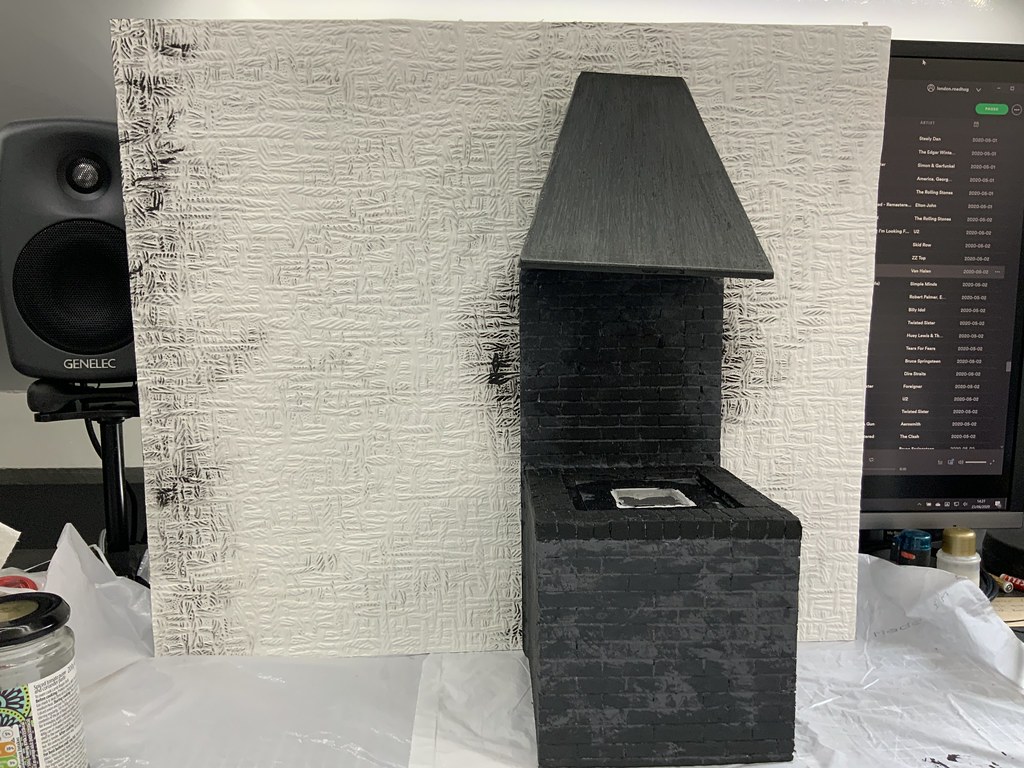
Once this was dry, It was time to paint. I mixed some black and white acrylic paint, to create grey and put on the first coat:

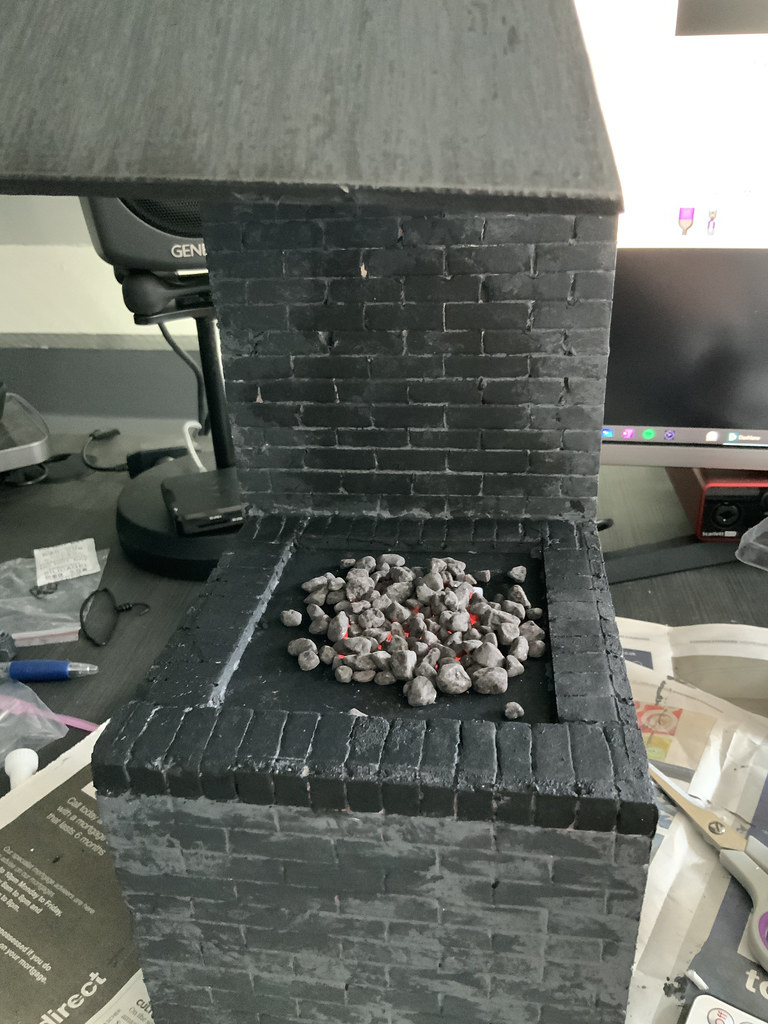
Then I mixed up a darker grey, and dabbed it onto the bricks, to appear used. Then followed the same process to add some black, to give the appearance of being used, and soot staining on the brick.

This was the main part of the forge completed.
I’ll continue on another post...
I decided I’d break this down as it did take me many weeks to create. This is obviously part 1... LOL.
Firstly, which I probably don’t need to describe, was the decision to do a Blacksmiths Workshop, and try to make it fairly old, so that it would fit in my friend’s and my fantasy theme. We weren’t trying to create a modern day Blacksmith.
Next was the outfit. The trousers were made, and then I made a waistcoat that would be worn when not doing Smithying. The final article of clothing was the apron.
Above it the blacksmith with his outfit (minus the apron).
The next task as a bit more of a challenge, the Forge. I wanted it to be able to be lit from underneath, so that the ‘coals’ would look as though they were lit. That was the hope anyway. So I ordered a bunch of Foam Boards. I am not sure what everyone calls these around the world, but basically they are sheets of foam with a paper-like covering over them. They are thin, these ones were 5mm in thickness.
I basically measured from the ground up to Mr Phicen’s middle area, and decided that needed to be the height. My maximum height planned was 18 inches. Why 18 inches you might ask? Well, originally I thought I’d have it contained within my Photo Cube, which has a height of 24 inches, so to give some leeway I decided on 18 inches. Also with the Phicen being around the 12 inch height, I knew I’d need some more height above him. So 18 inches it was.
I looked at various forges online, including one from the Minecraft game, and others that were pictures that google came back with. This helped me come up with a design. I figured it would need some form of chimney, and in order to keep the chimney in position, there would need to be some wall from the forge to the chimney. That pretty much gave me my design. Then it was a case of measuring and cutting out all the pieces from the form board, and using glue to stick them all together. That gave me the below image:
At this point the forge was lying on its back. Next was to see what happens when I put a tea light in the bottom of it. Plus to check the height of where the coals out be to the height of Phicens.
This highlighted a problem. I only want the light to come out from the top, not the sides of the forge. I didn’t know whether painting it would stop the light leakage or not, but continued on regardless.
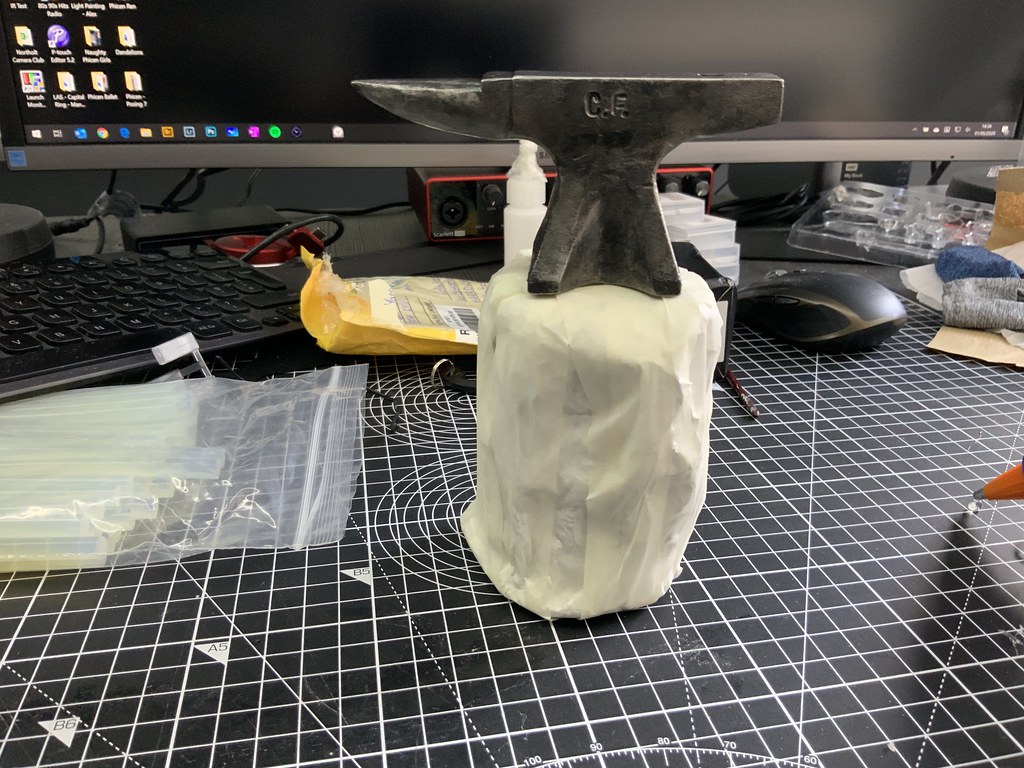
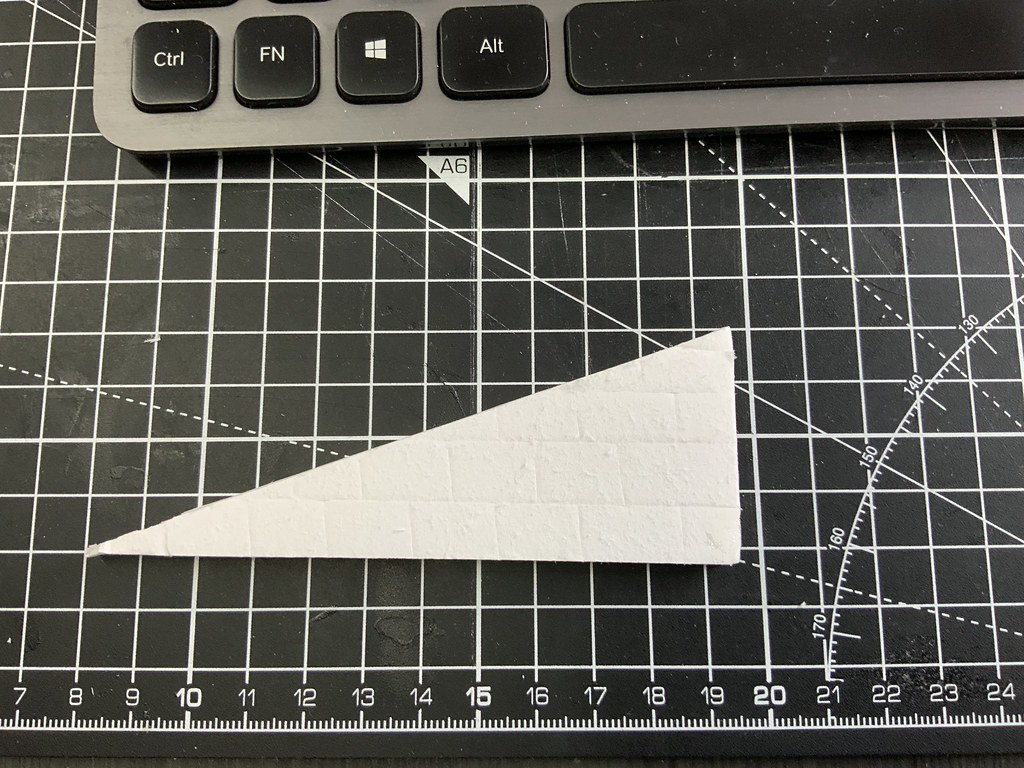
Next, I needed to try to get some for of brick work on the forge. So for a test, I took a piece of foam board, and carefully pealed off the paper on one side. Then with an exacto knife, lightly scored brick lines, and then went over those lines with a scoring tool. This looked very promising:
Next I wanted to test this with a bigger off cut:
Happy with that, even with some errors with scoring. I then placed this in front of the forge to gauge whether I was happy with this.
happy with how it looked. I then proceeded to score the forge itself:
I was happy with the results, however, upon scoring the wall between the forge and the chimney I discovered that the wall was now weaker, and couldn’t hold the weight of the chimney. I had to reinforce the back of the forge wall, using some dowels and more foam board:
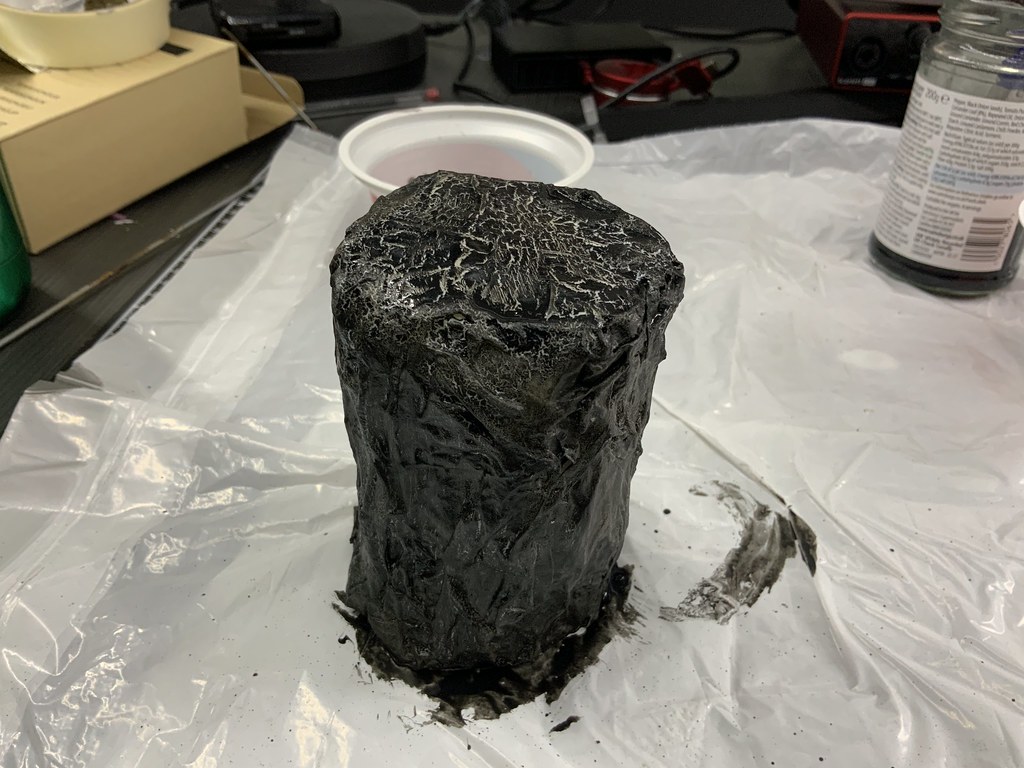
Once this was dry, It was time to paint. I mixed some black and white acrylic paint, to create grey and put on the first coat:
Then I mixed up a darker grey, and dabbed it onto the bricks, to appear used. Then followed the same process to add some black, to give the appearance of being used, and soot staining on the brick.
This was the main part of the forge completed.
I’ll continue on another post...