Loving that lightbox experimental picture, came out very well.
OneSixthFigures

An online community to discuss and share news about sixth-scale figures, with an emphasis on either custom or commercial articulated figures.
Go to page :  1, 2, 3
 ![]()
Message [Page 2 of 3]
Re: MeMyself&Projects (to be updated continuously) Thu Dec 28, 2023 11:00 pm Re: MeMyself&Projects (to be updated continuously) Fri Dec 29, 2023 1:26 am Re: MeMyself&Projects (to be updated continuously) Fri Dec 29, 2023 7:39 pm Re: MeMyself&Projects (to be updated continuously) Sat Dec 30, 2023 4:56 am Re: MeMyself&Projects (to be updated continuously) Sat Dec 30, 2023 12:23 pm
MeMyself&I wrote:Melancholy comfort by T E, on Flickr
 Re: MeMyself&Projects (to be updated continuously) Sun Dec 31, 2023 7:10 am
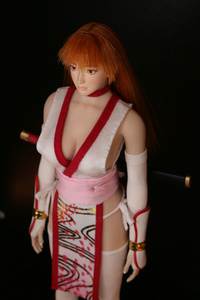
Stryker2012 wrote:The lighting in this pic is awesome. I like what you’ve done here with her outfit and hair. Despite the “perfectionism” and OCD, don’t sell yourself short on how great this figure and head looks. Excellent work.
TREX Mon Jan 01, 2024 4:40 am Trex by T E, on Flickr
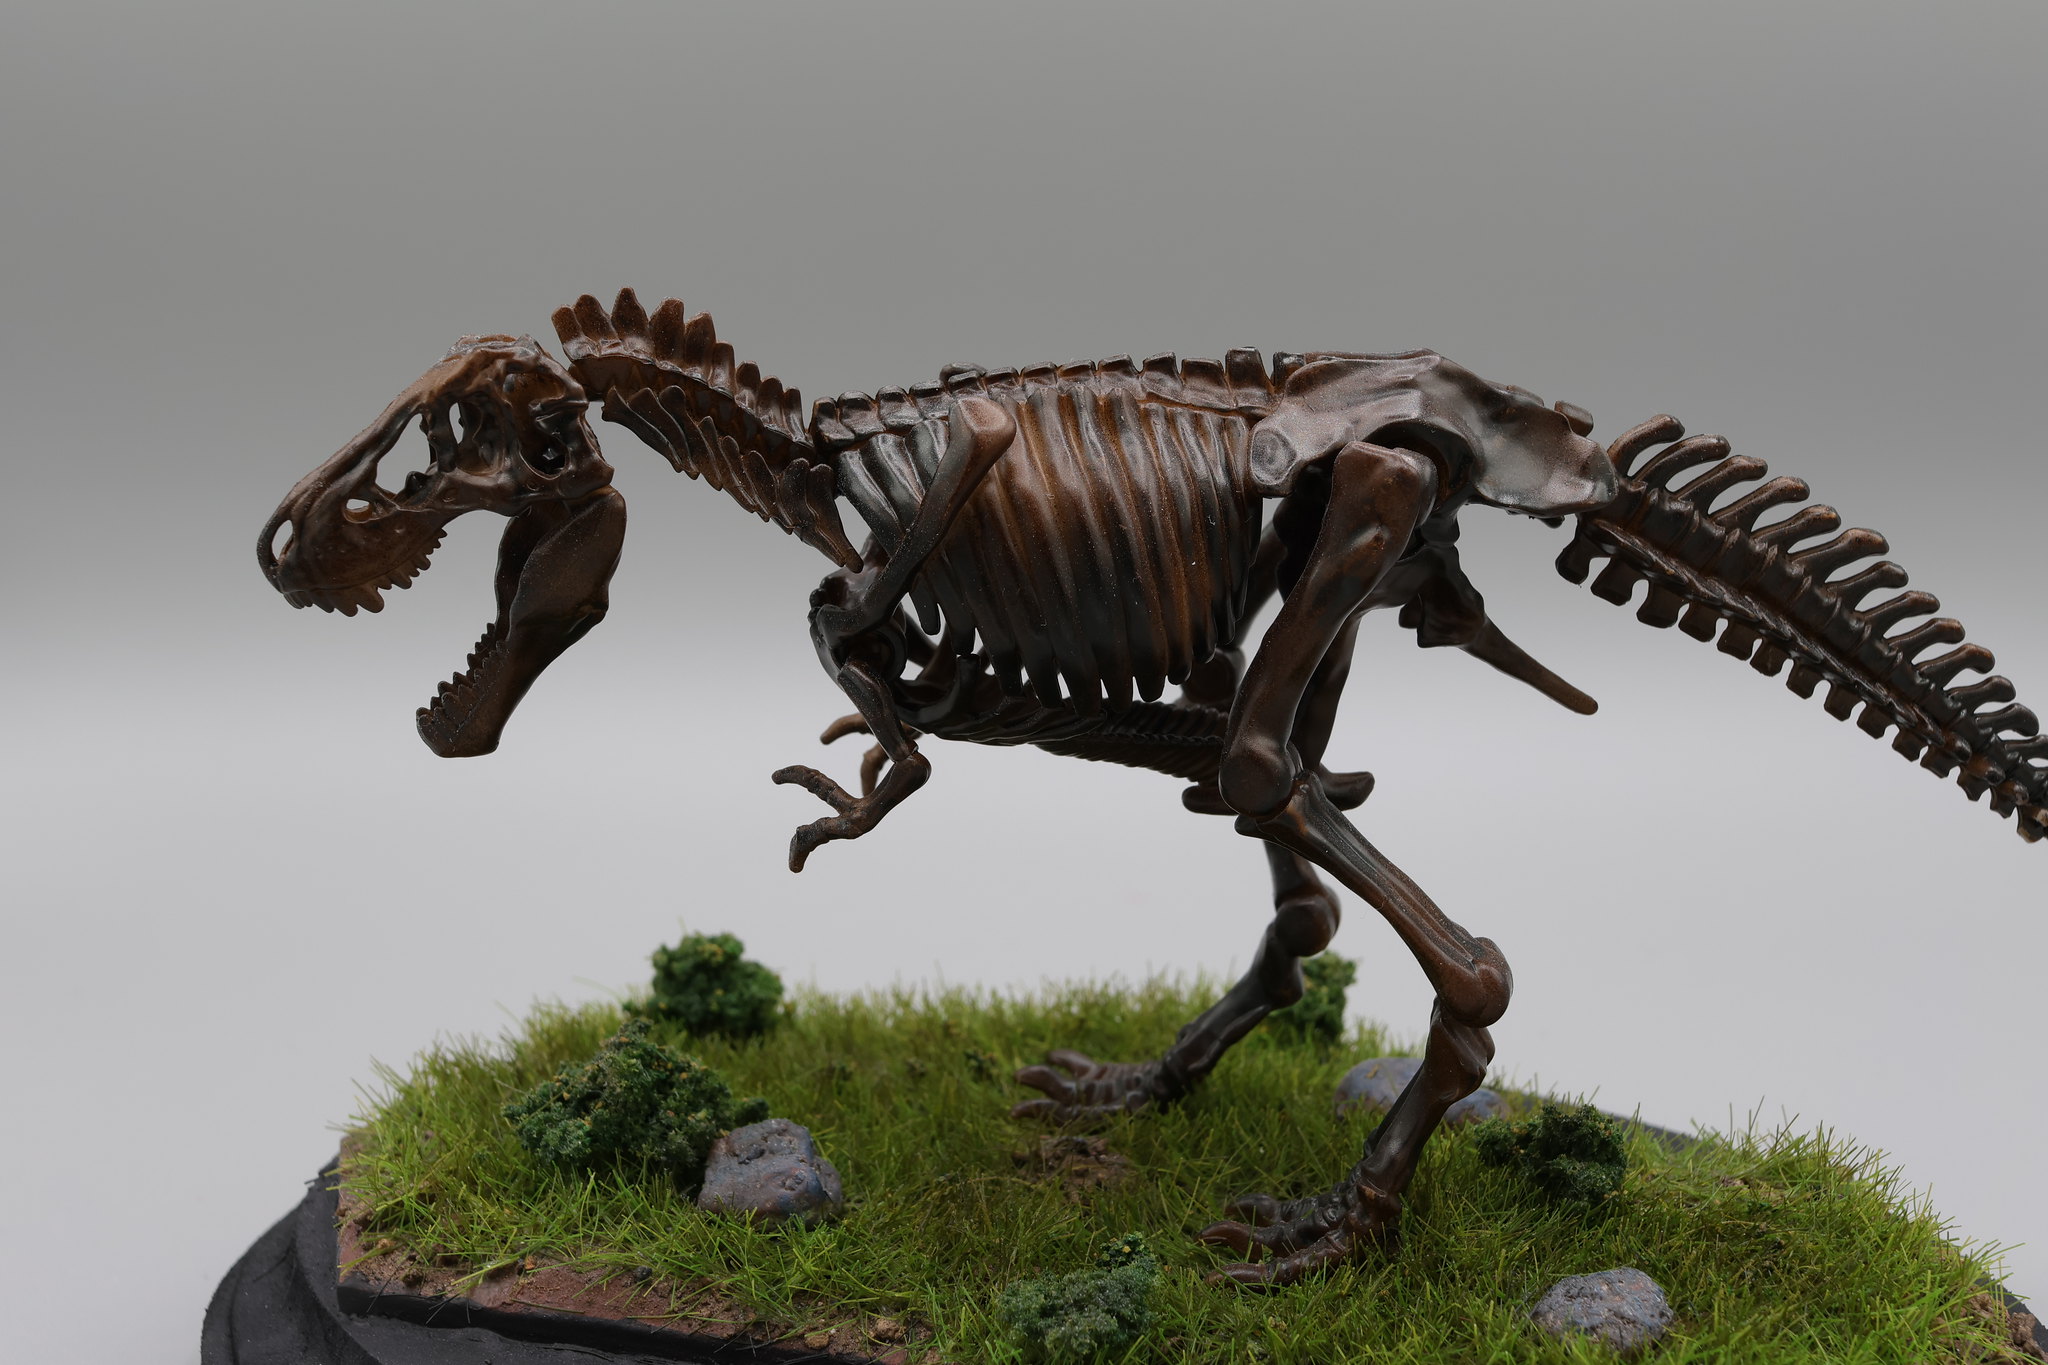 Trex by T E, on Flickr
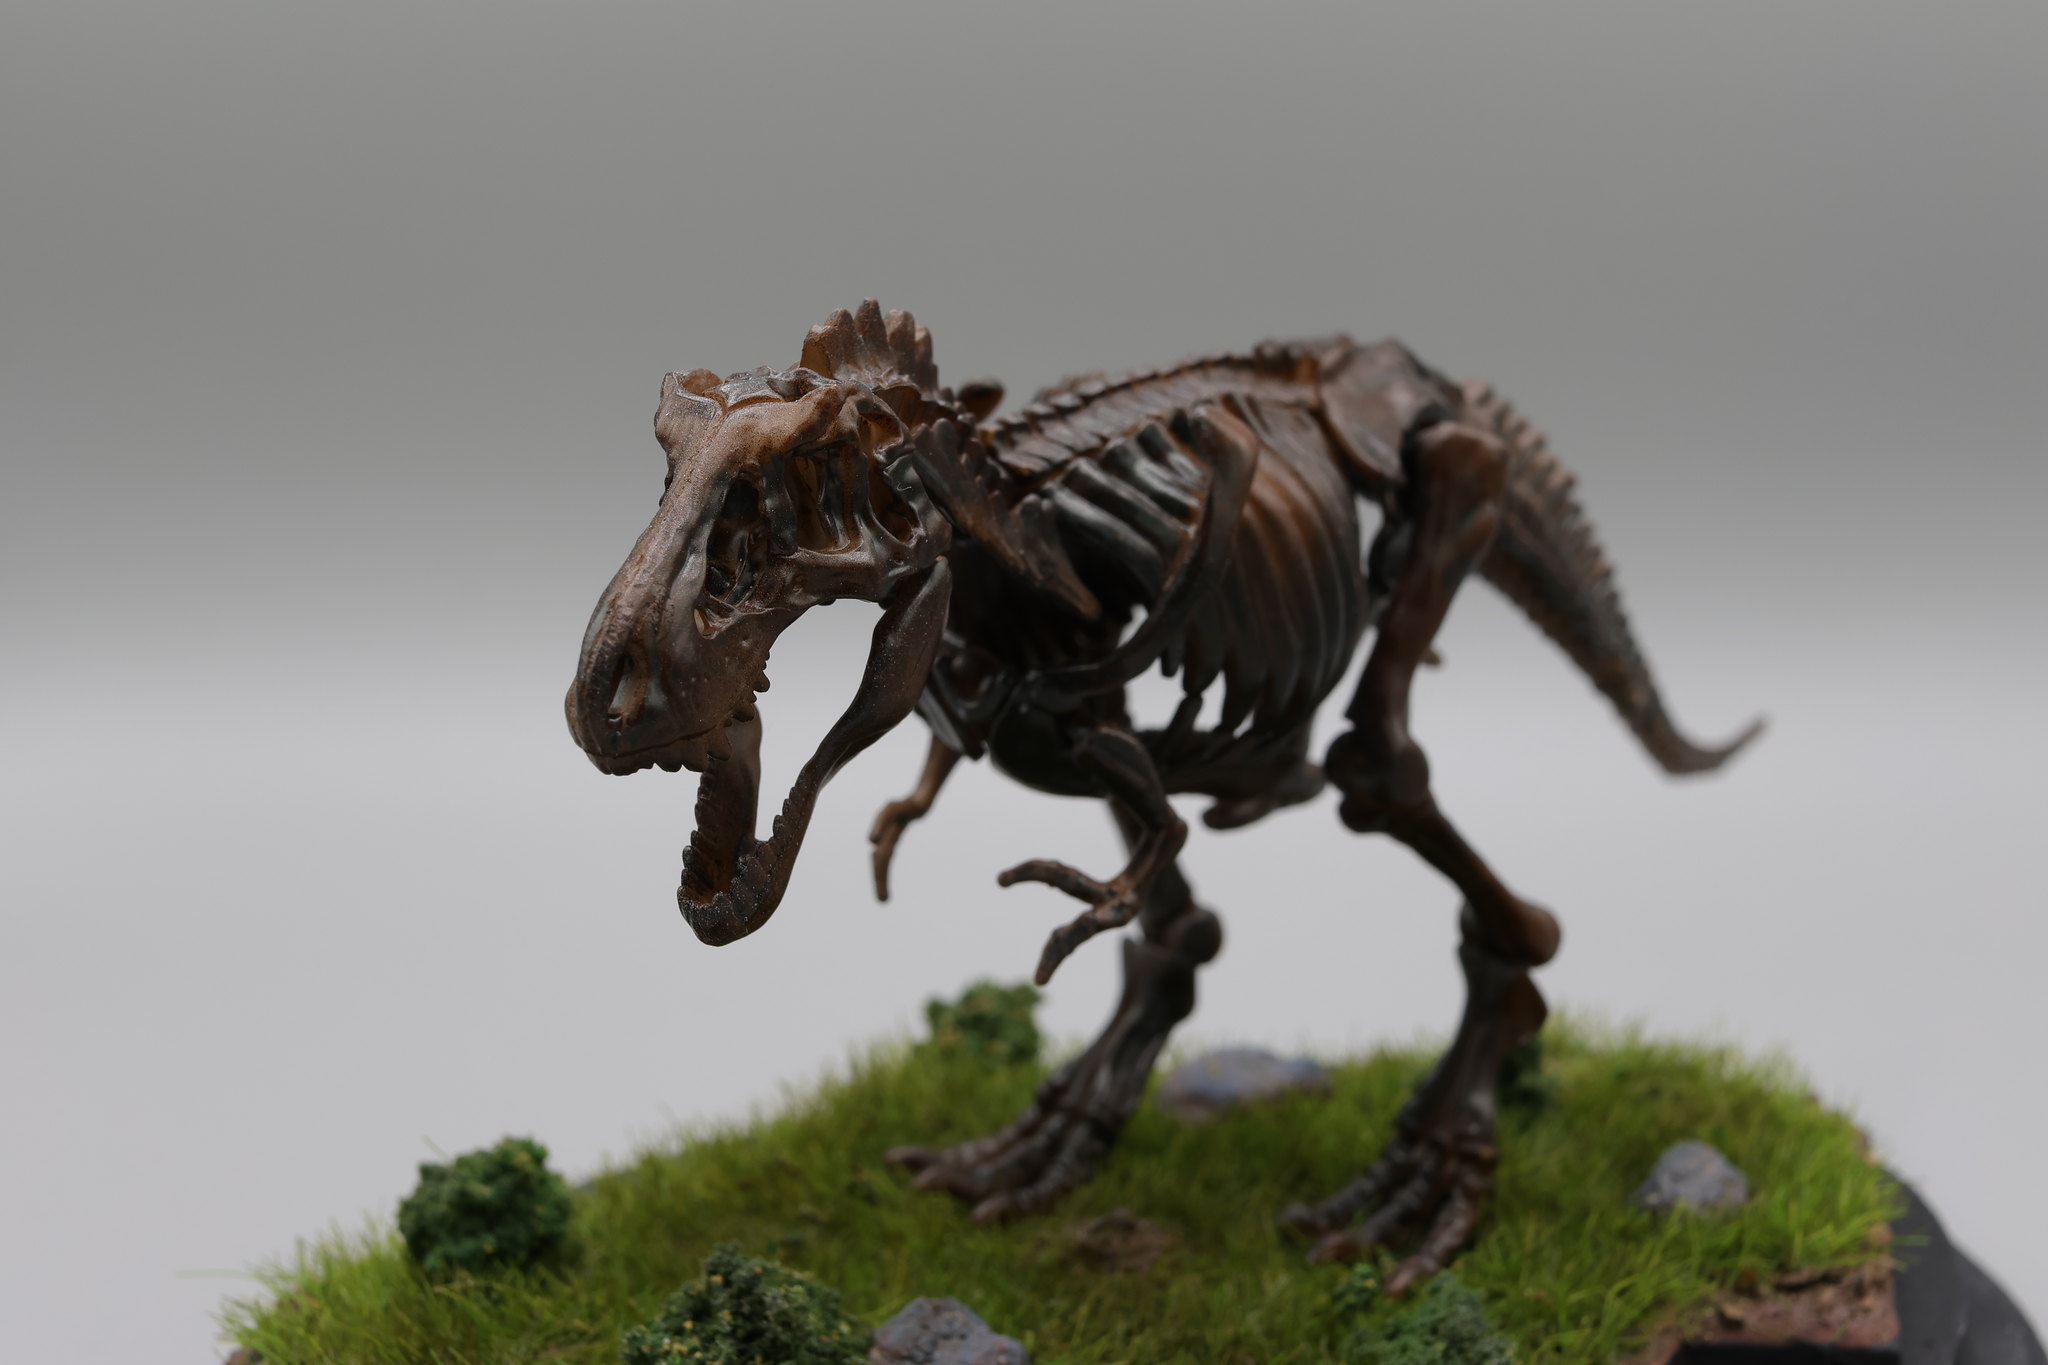 Trex by T E, on Flickr
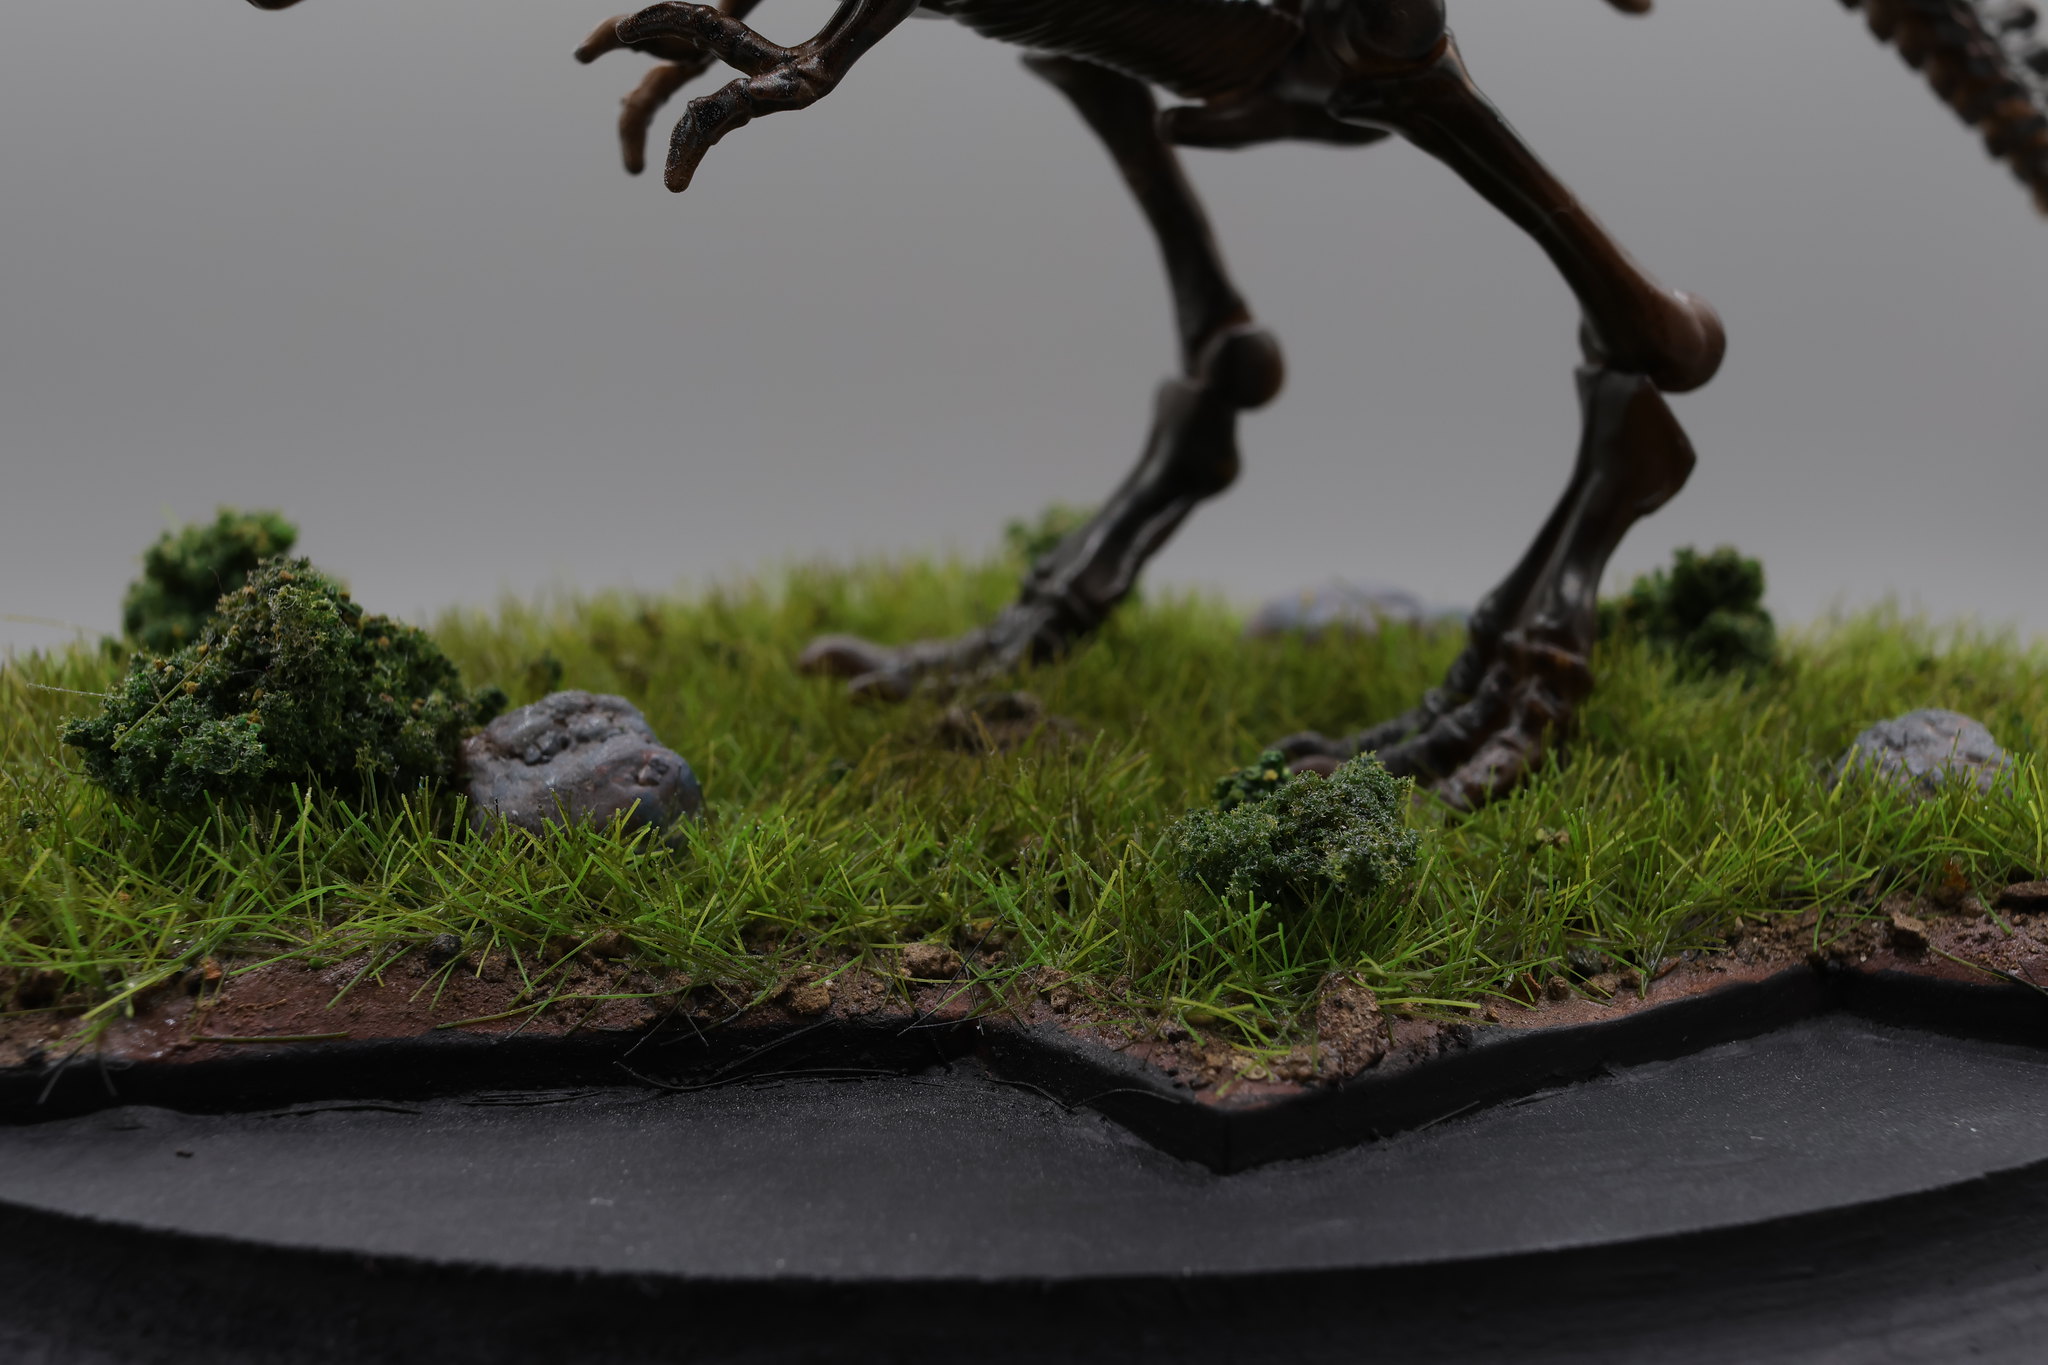 Trex by T E, on Flickr Re: MeMyself&Projects (to be updated continuously) Mon Jan 01, 2024 5:07 am
 Head sculpt Paint and Hair Tutorial Thu Jan 04, 2024 12:52 am
 The Sculpt by T E, on Flickr
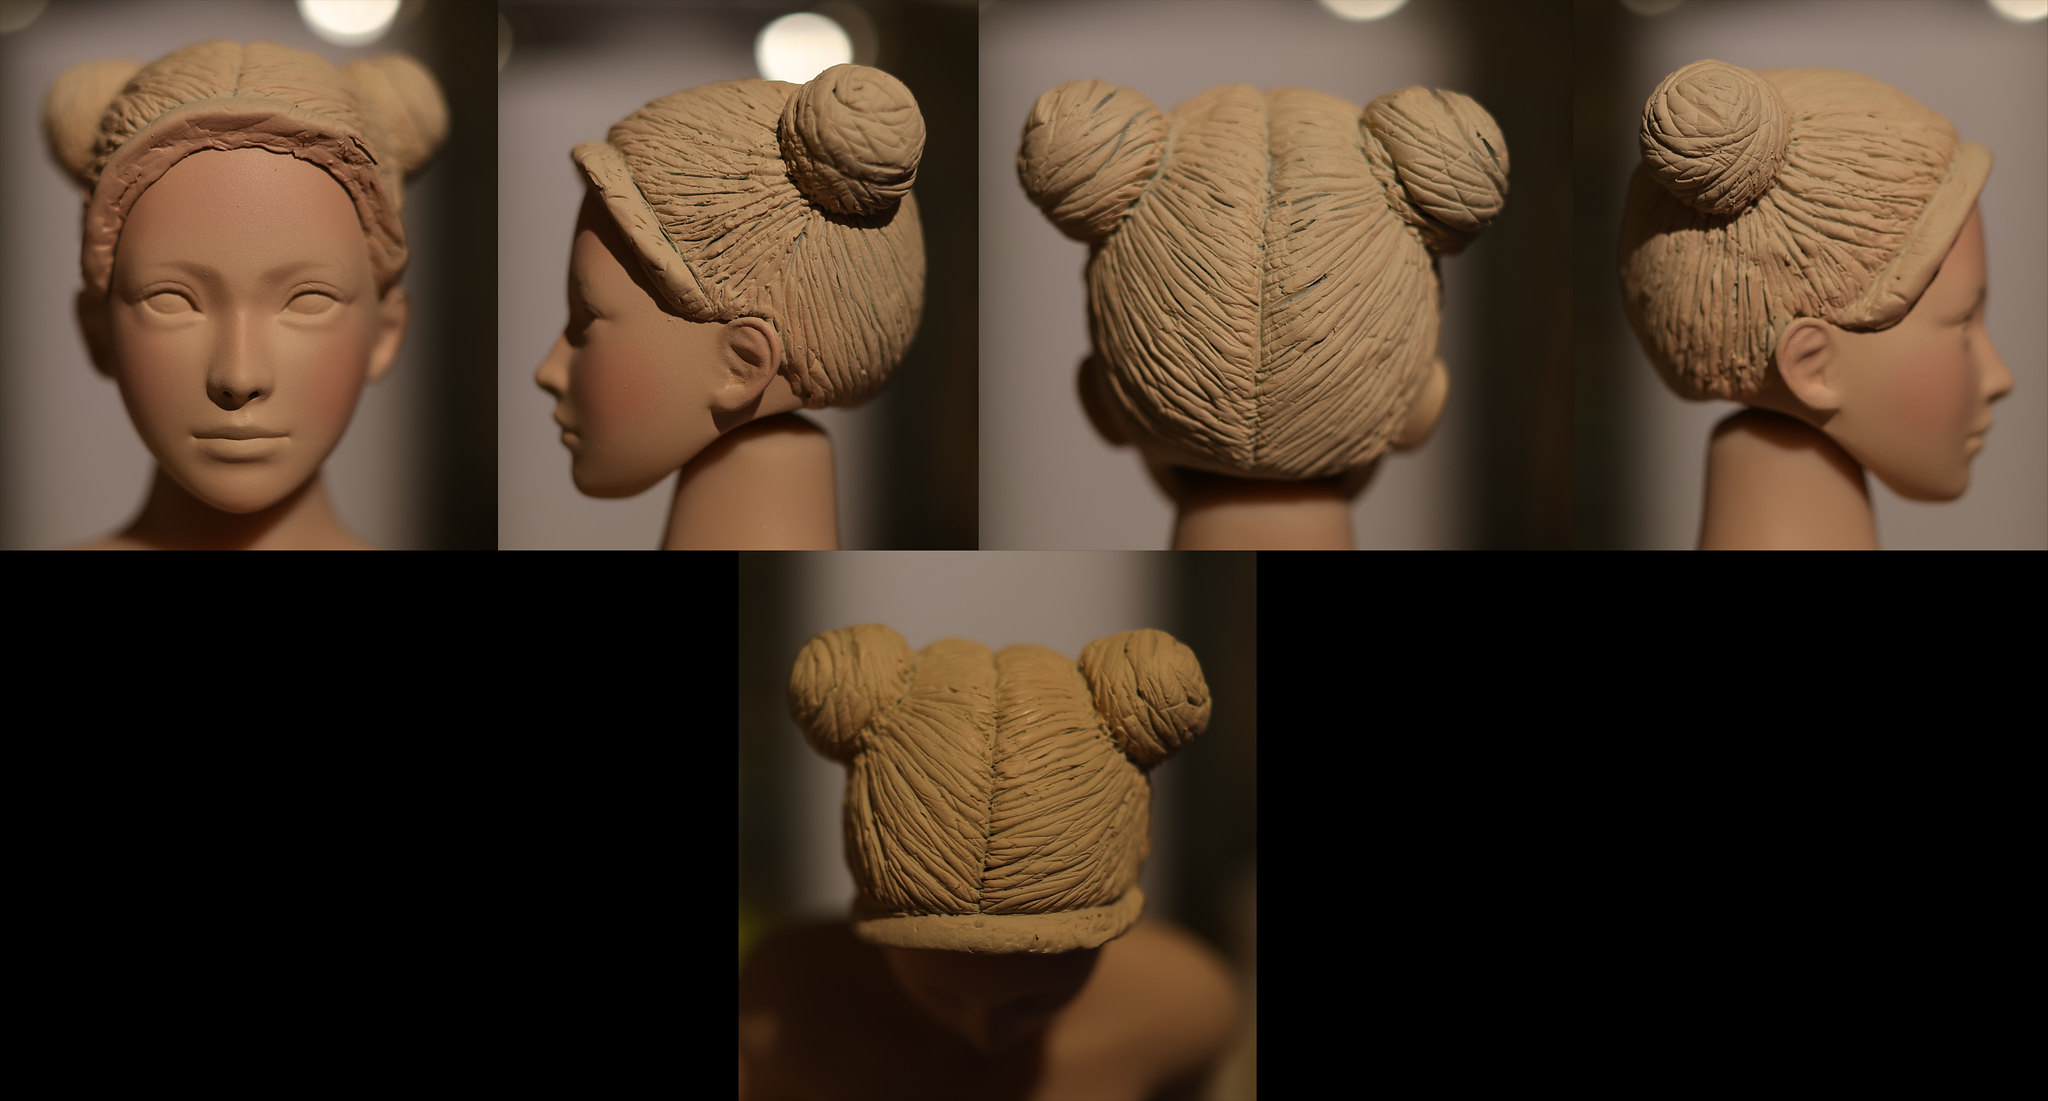 Repaint by T E, on Flickr
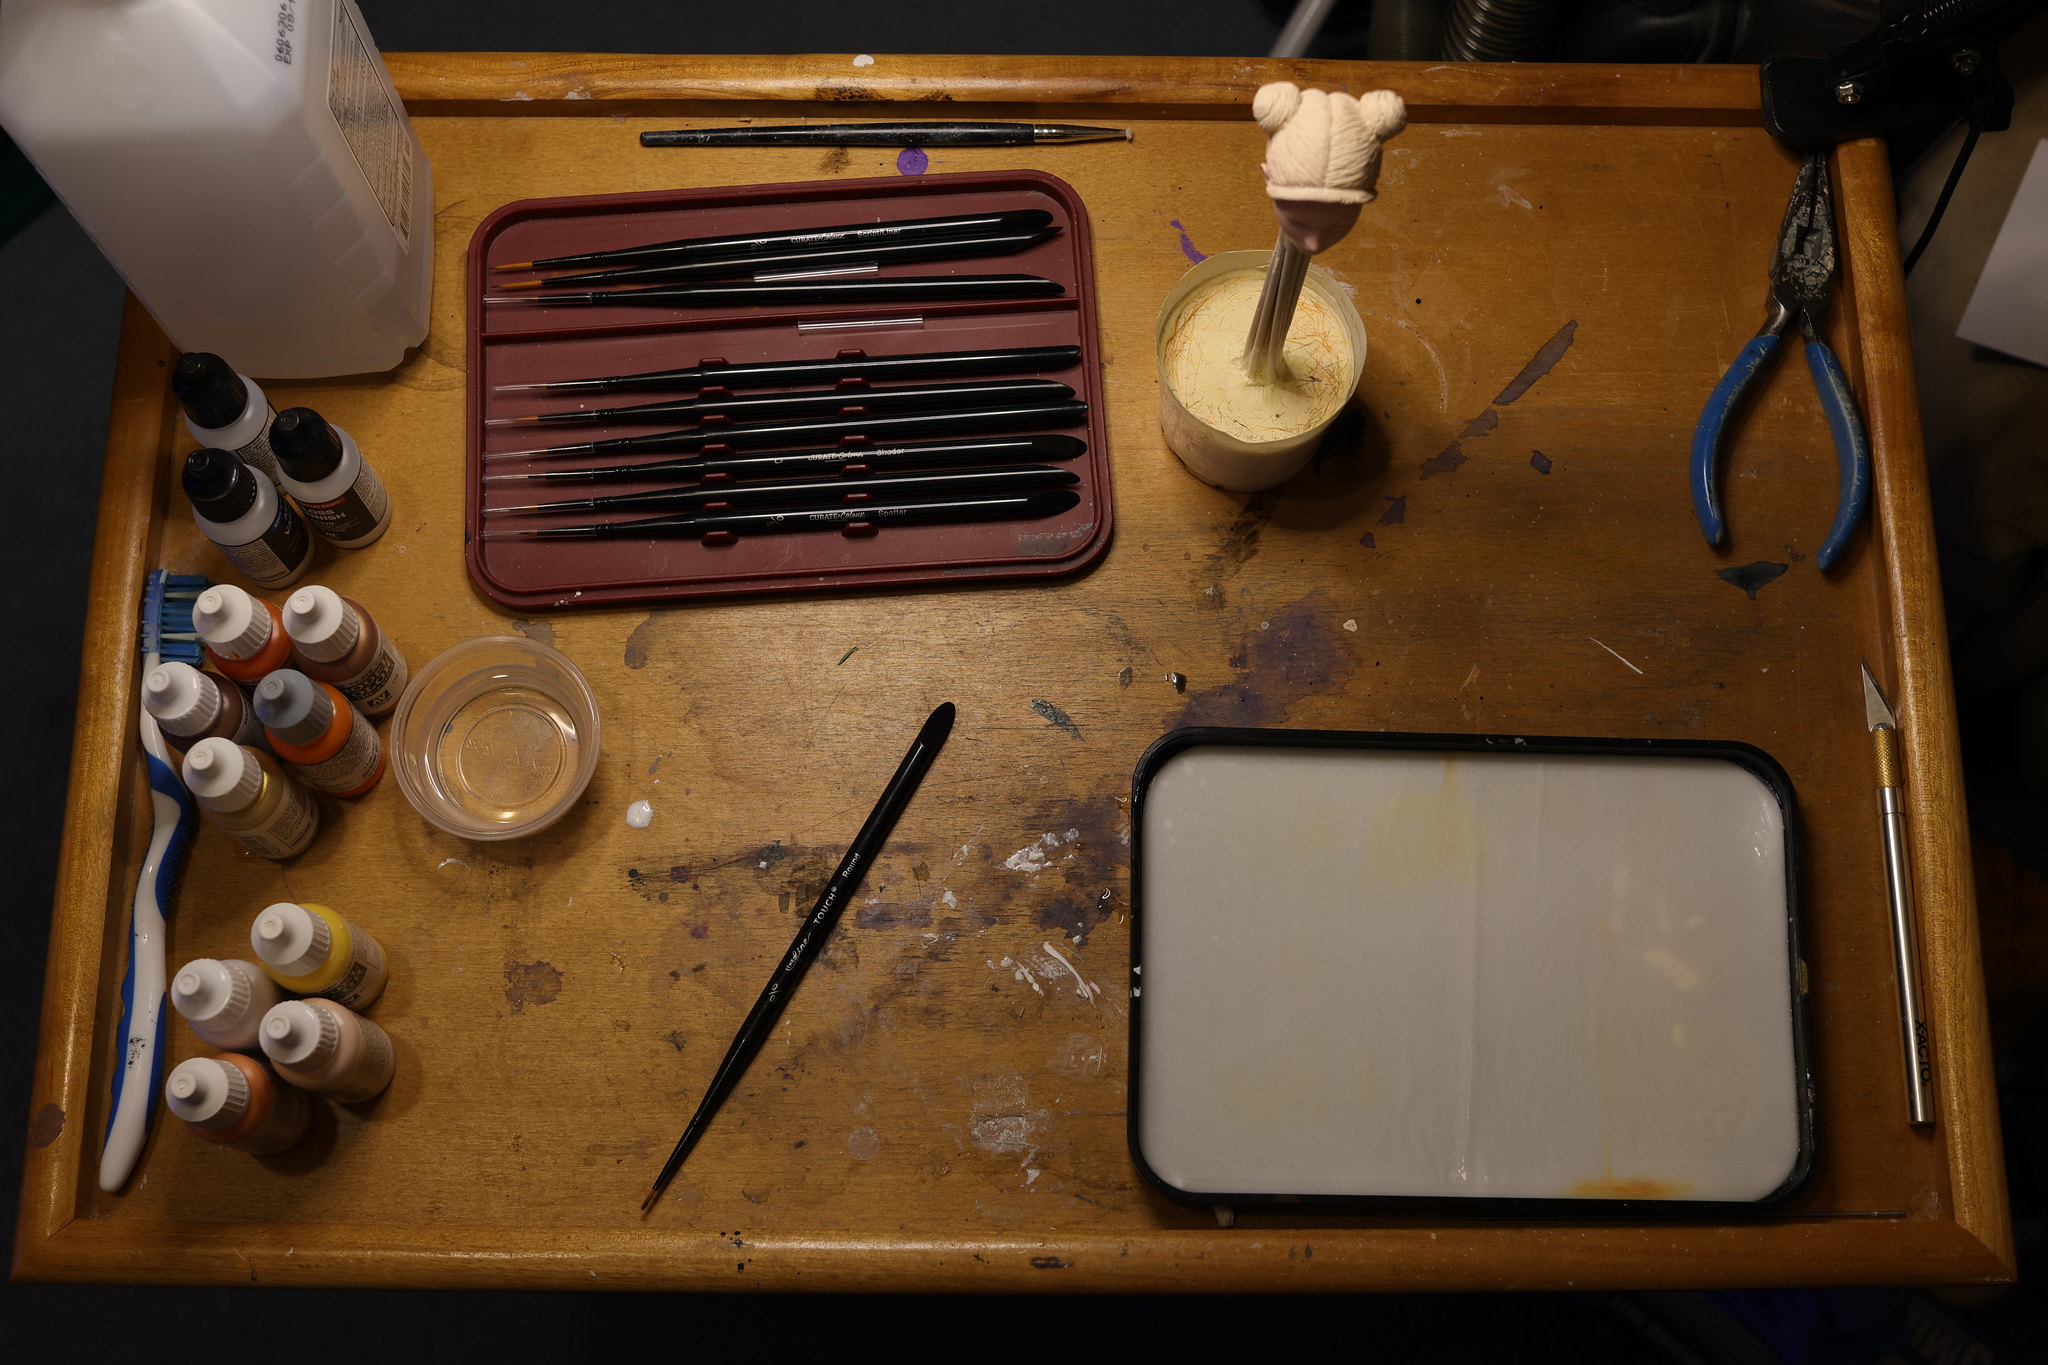 The Workspace by T E, on Flickr
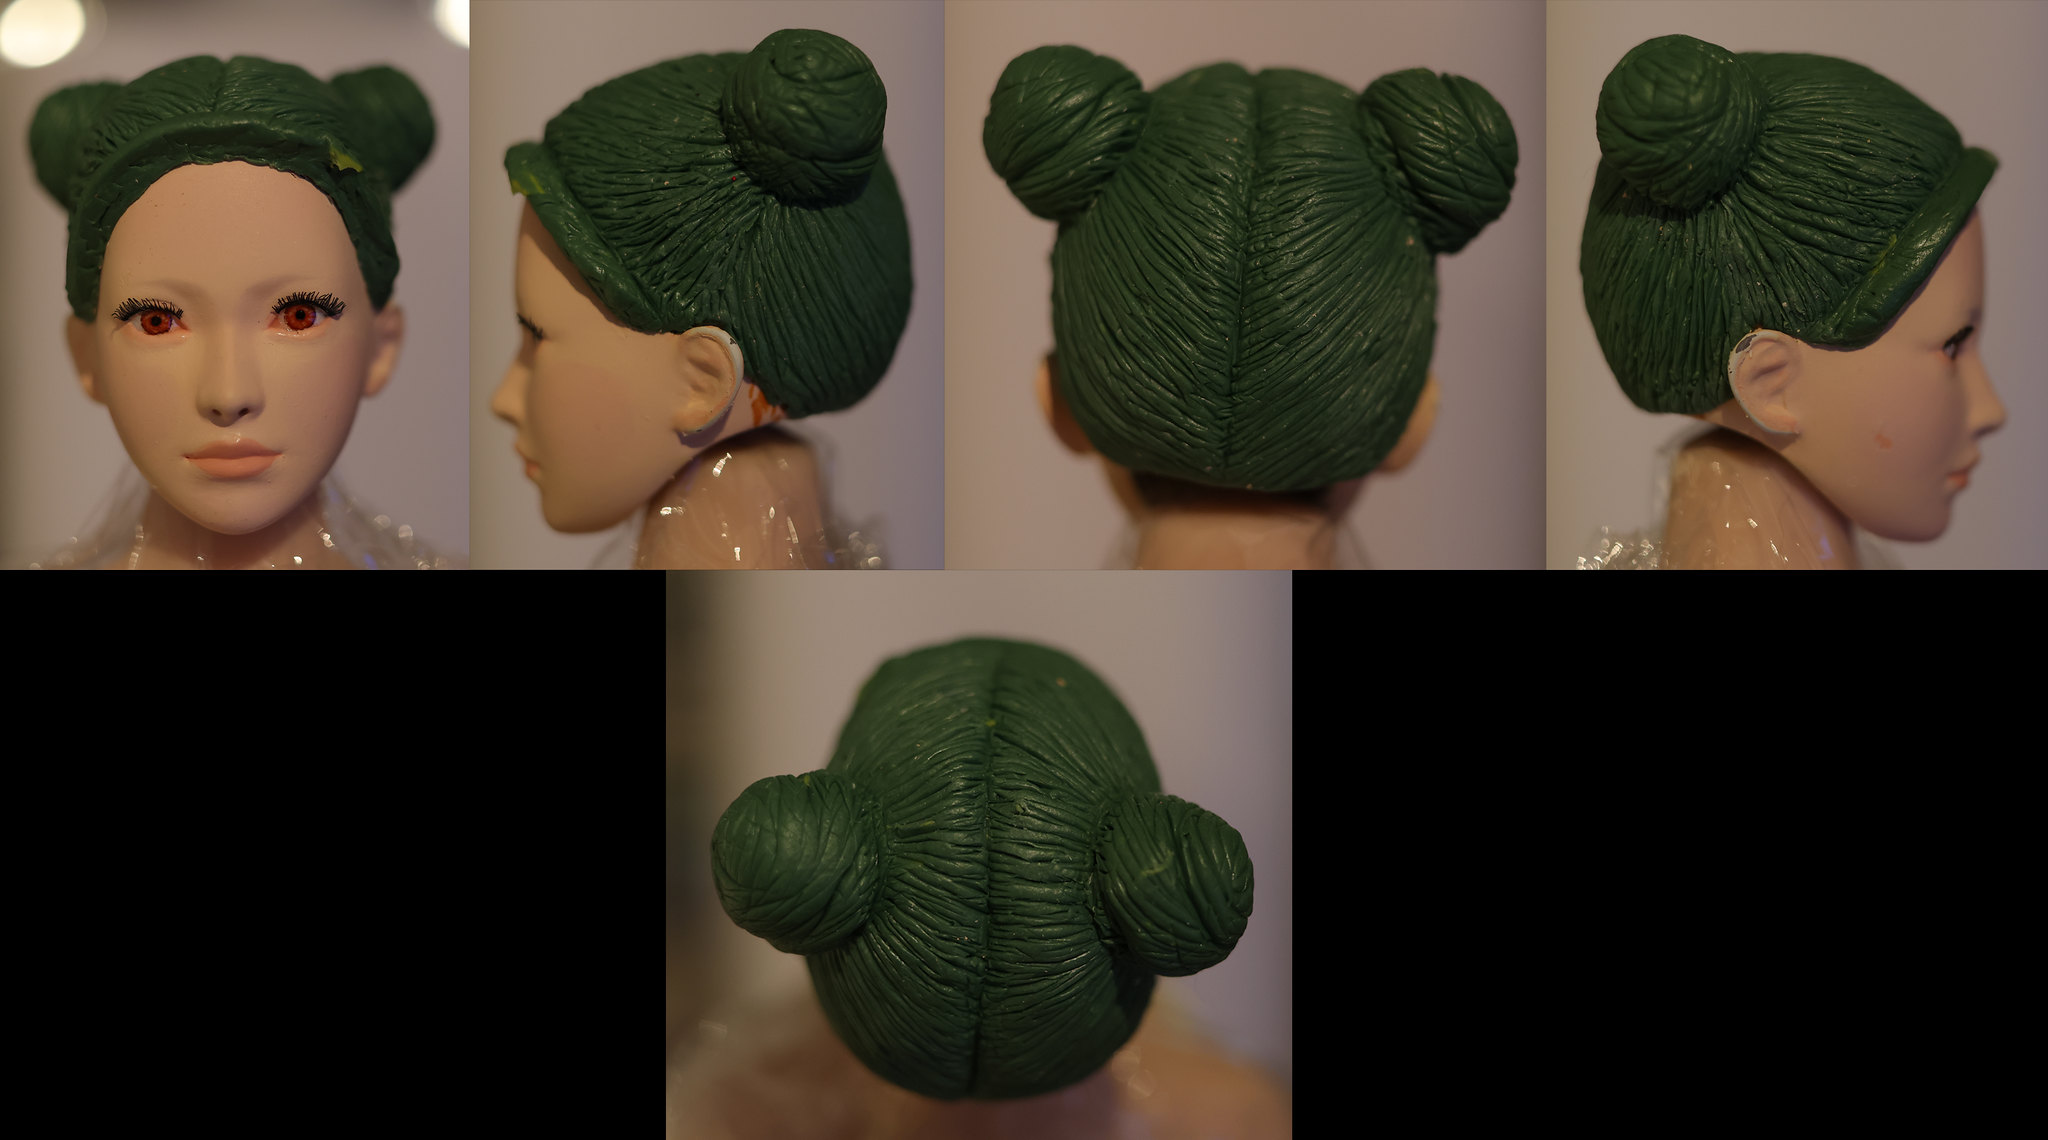
 Ears, Eyes, Lips by T E, on Flickr
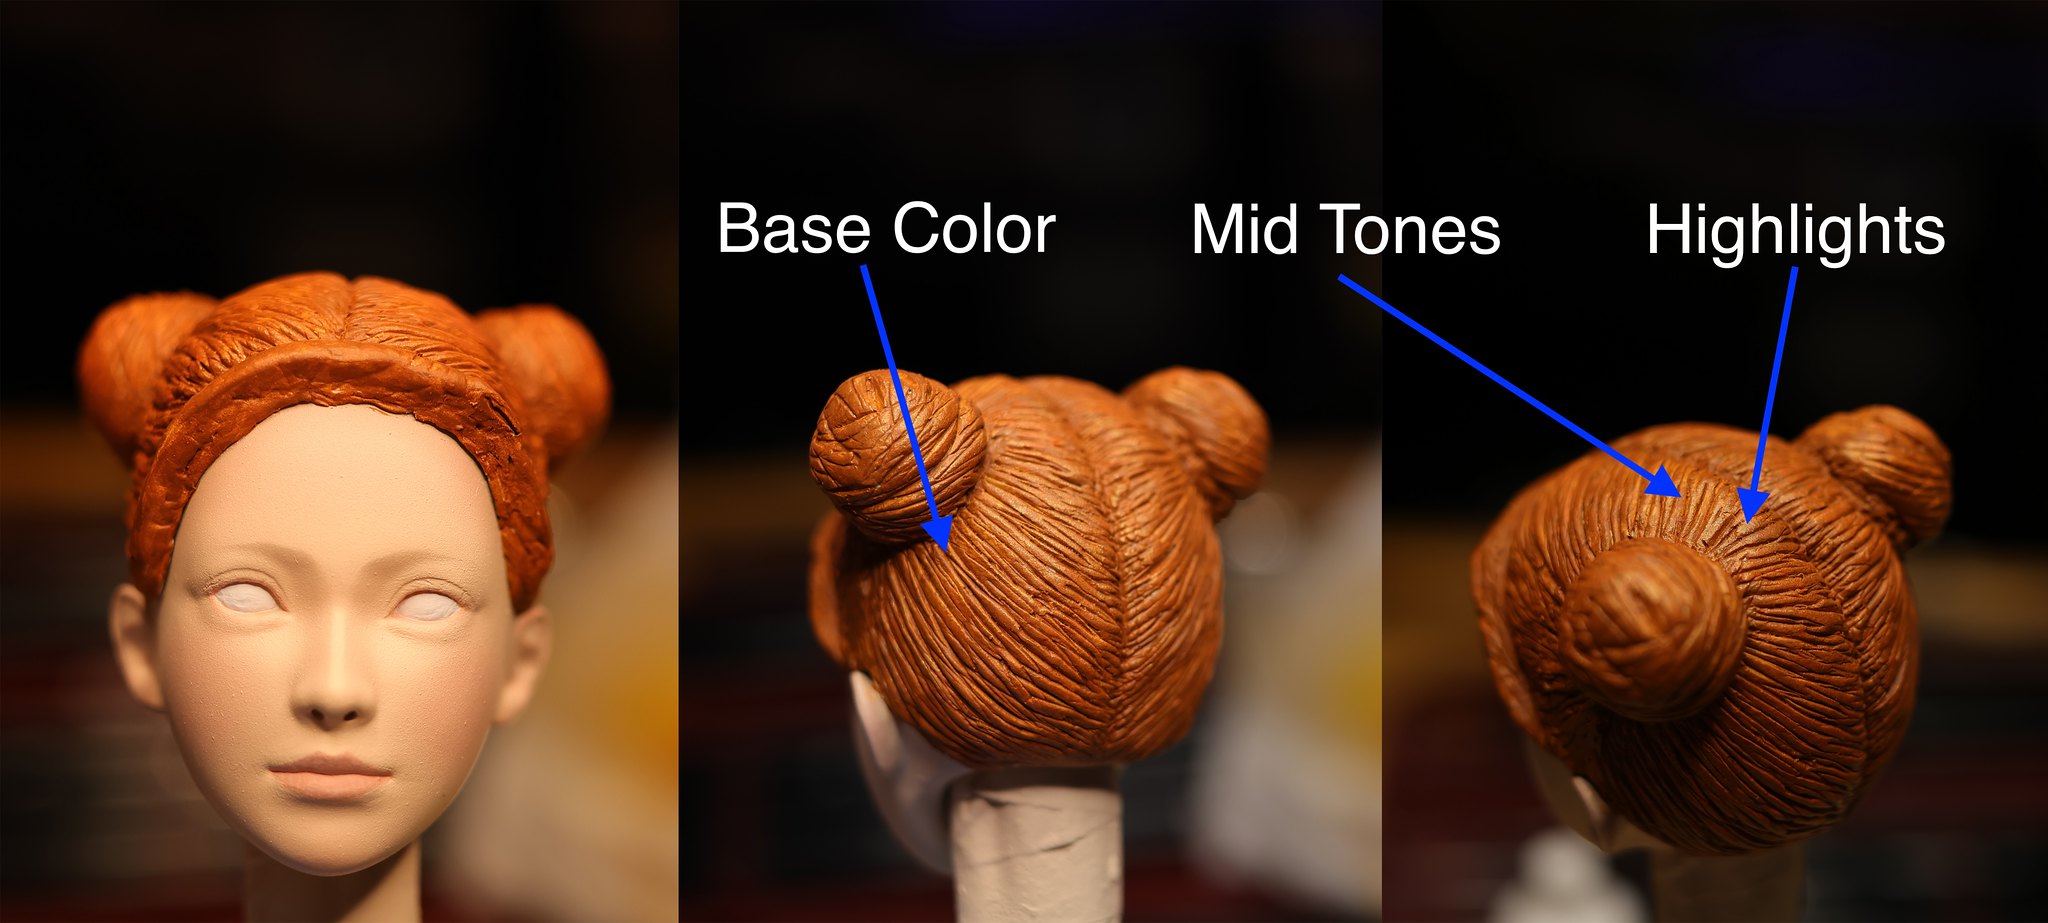 Hair Paint by T E, on Flickr
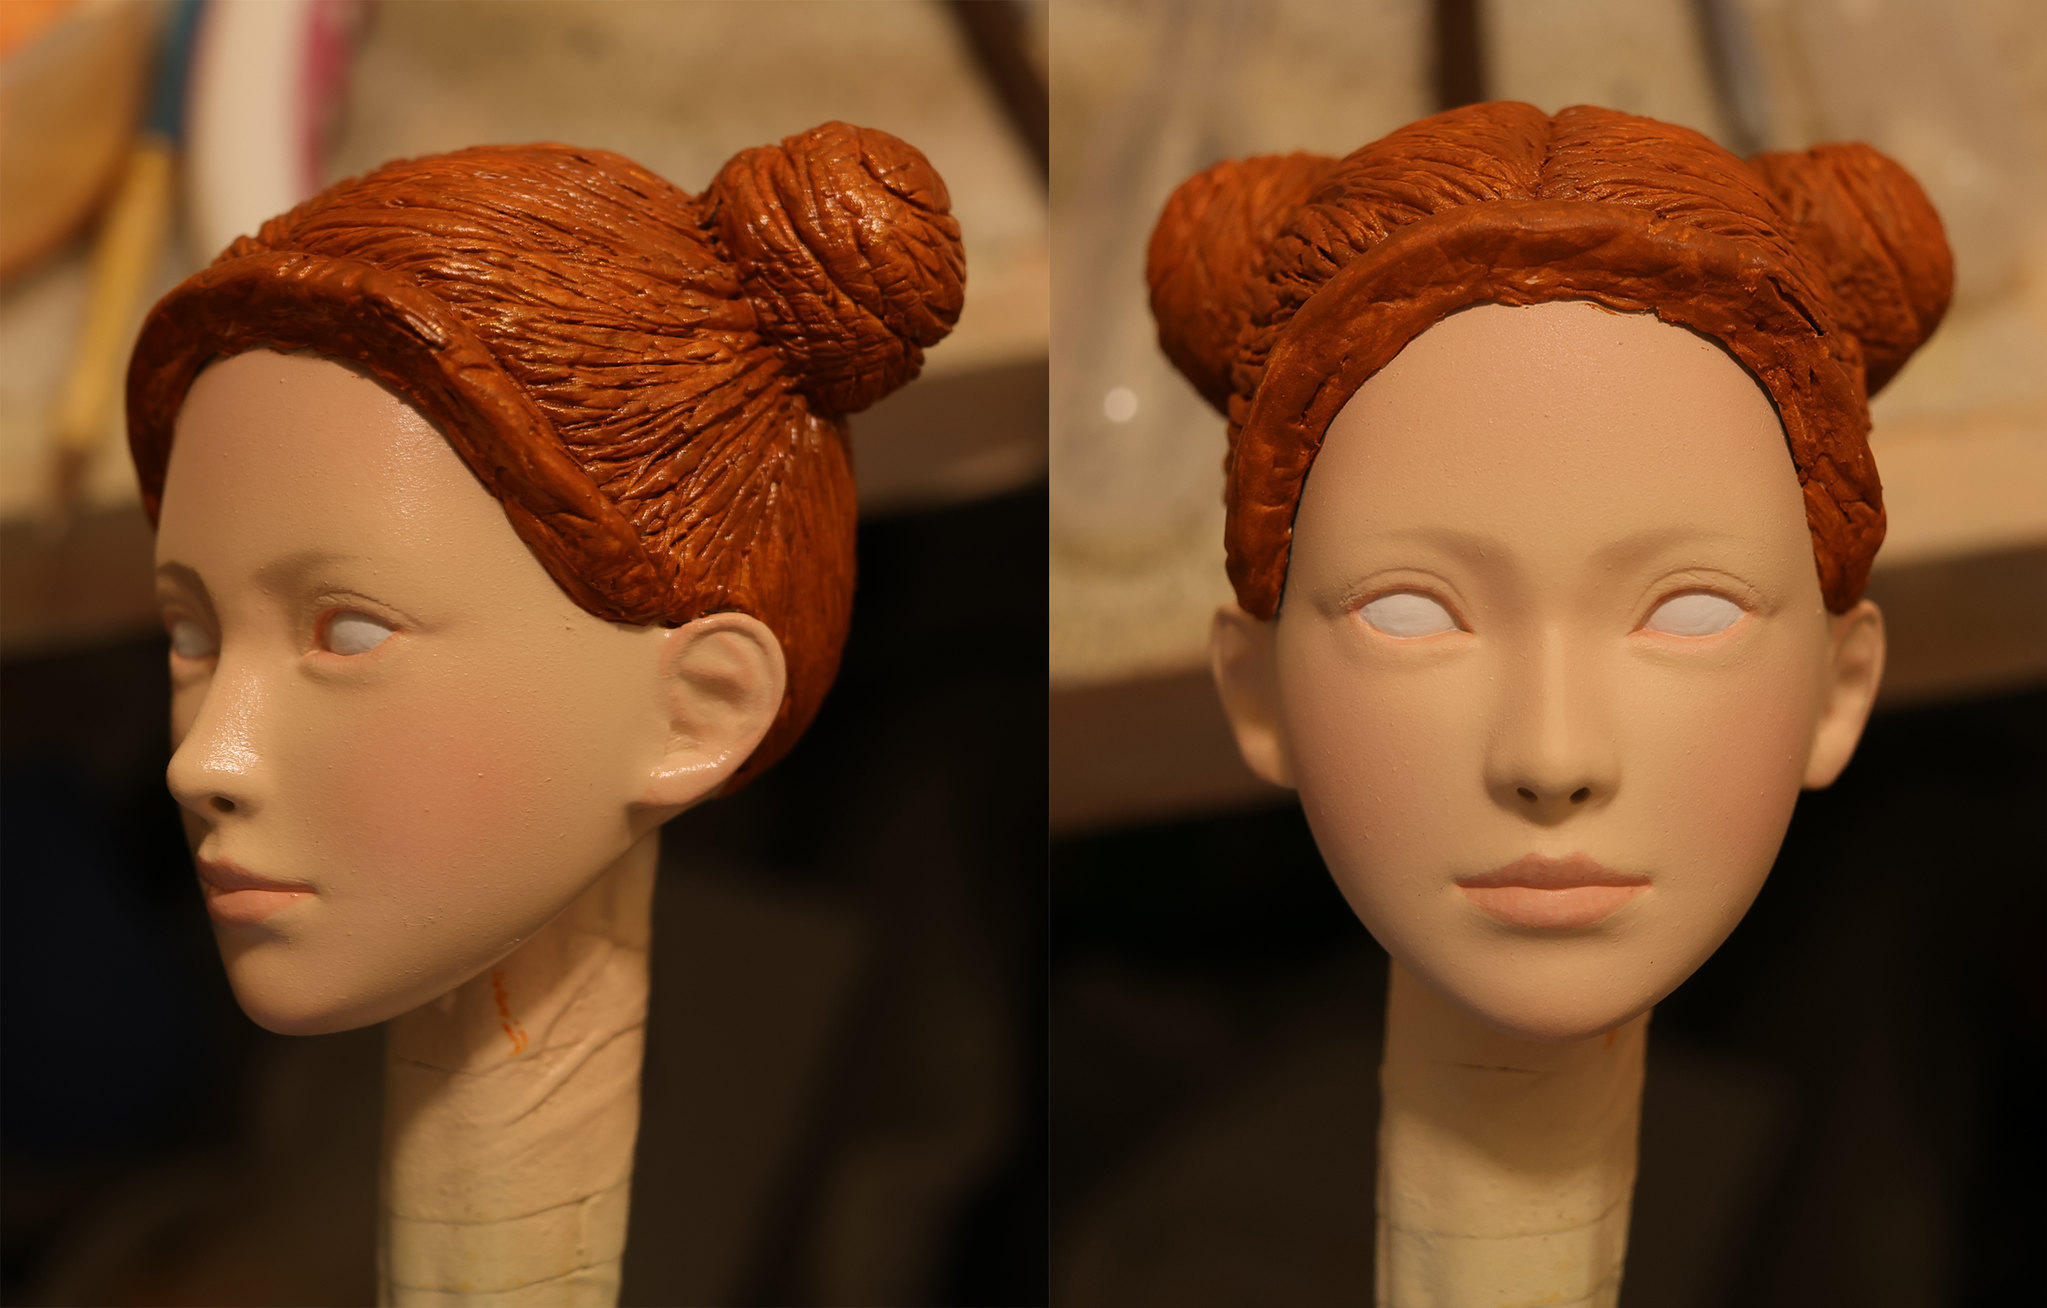 Sealing the work: Gloss v Matte by T E, on Flickr
 eyelashes eyes eyebrows by T E, on Flickr
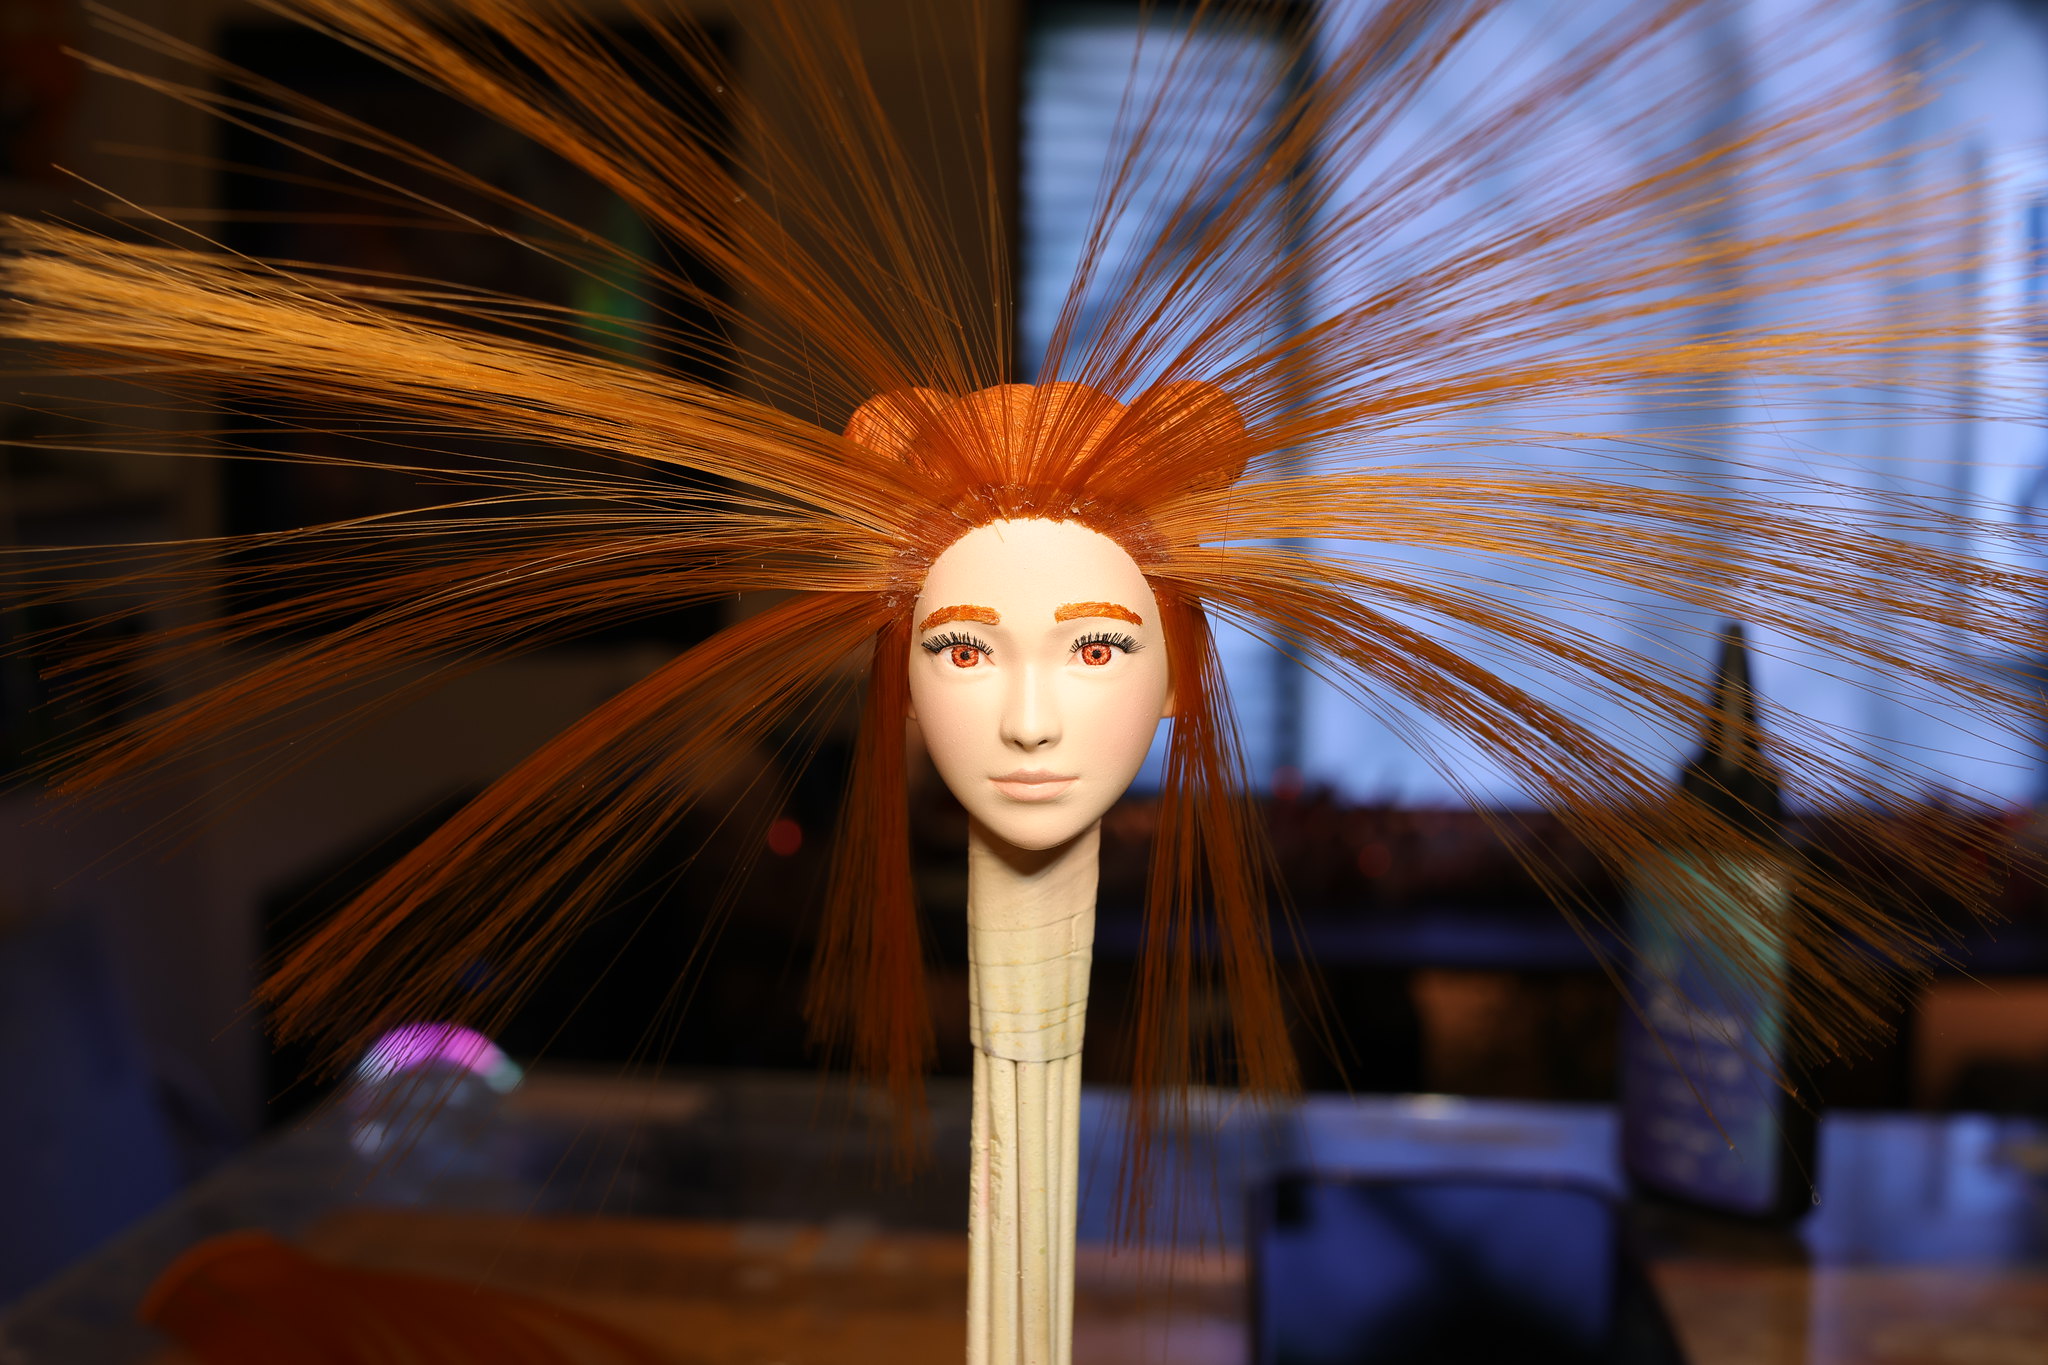 Bad hair day? by T E, on Flickr
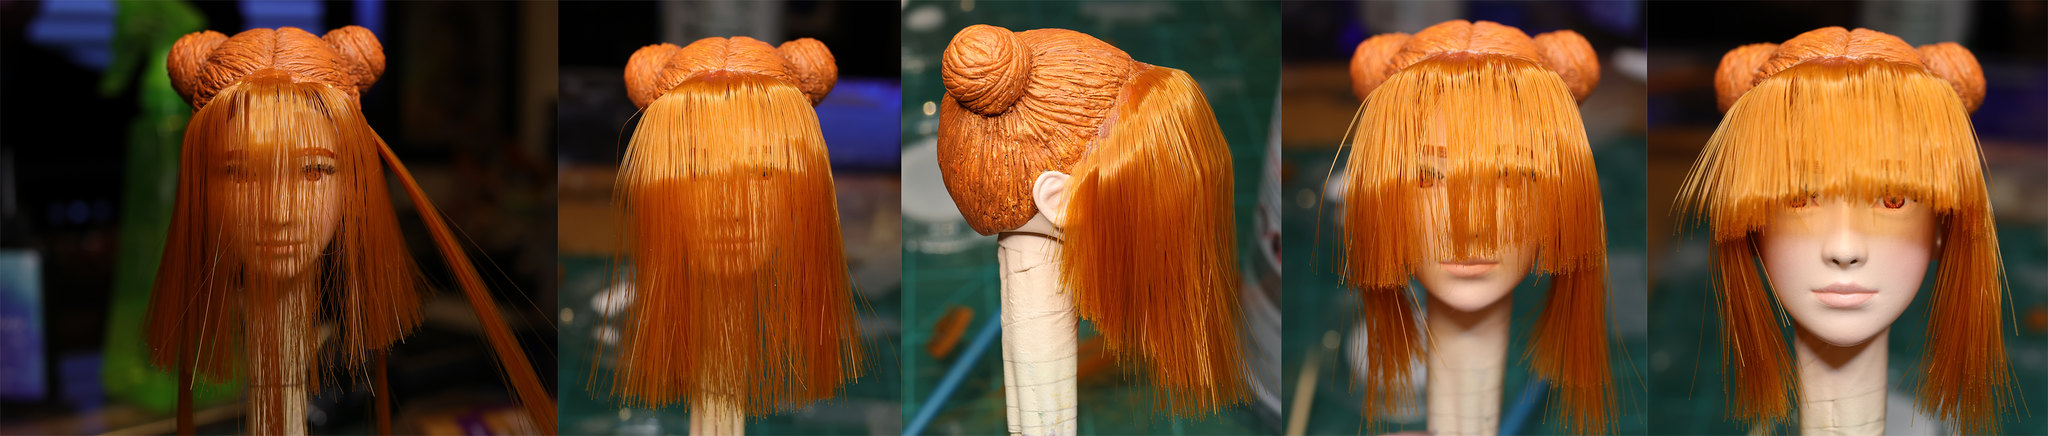 Hair Styling by T E, on Flickr
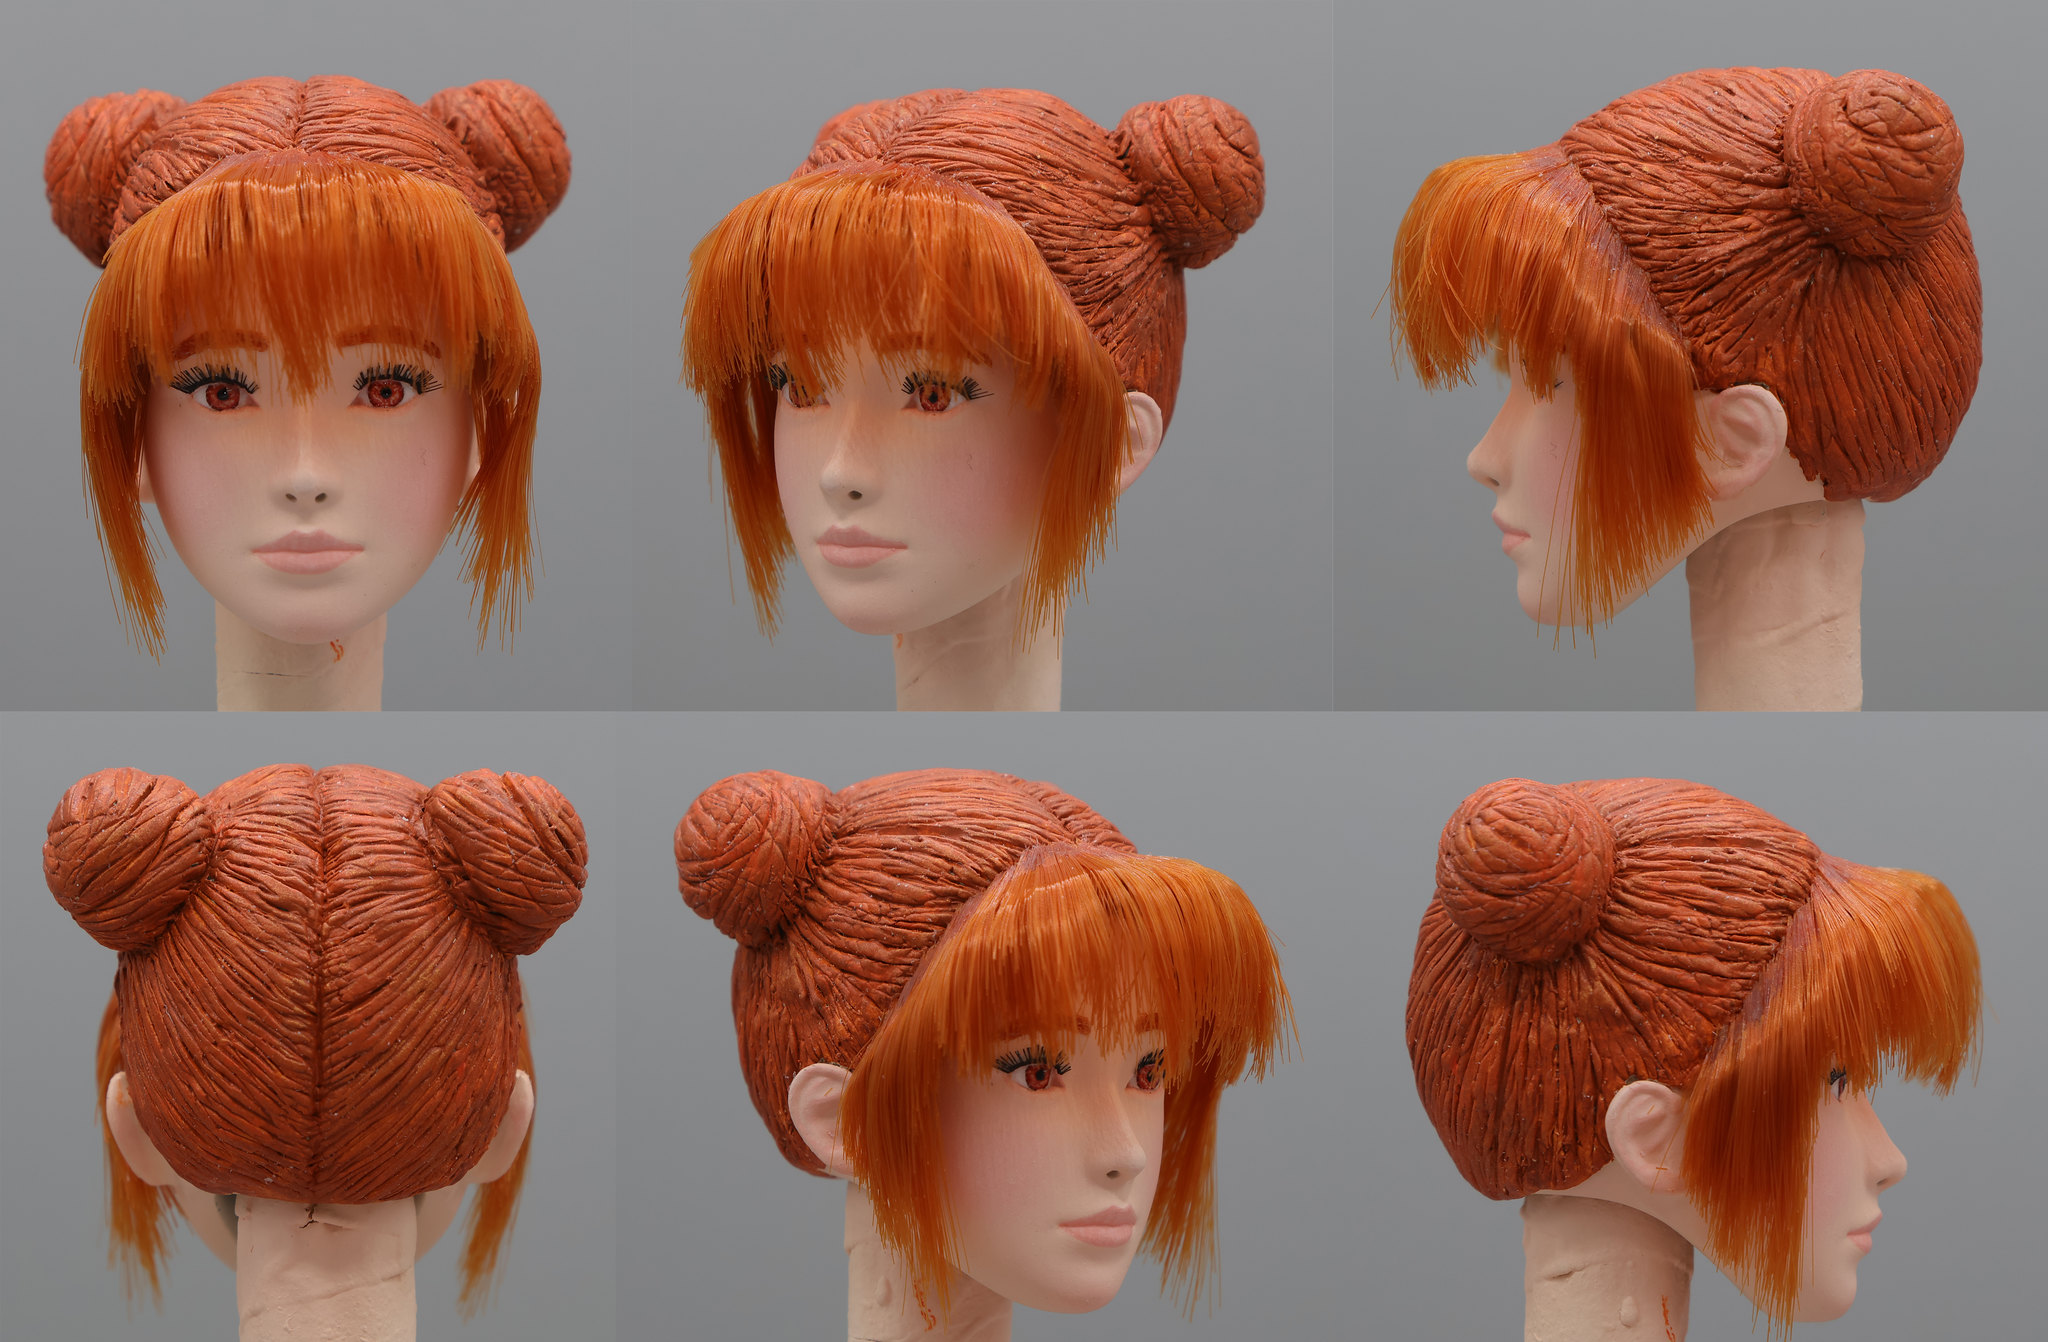 Finished look by T E, on Flickr
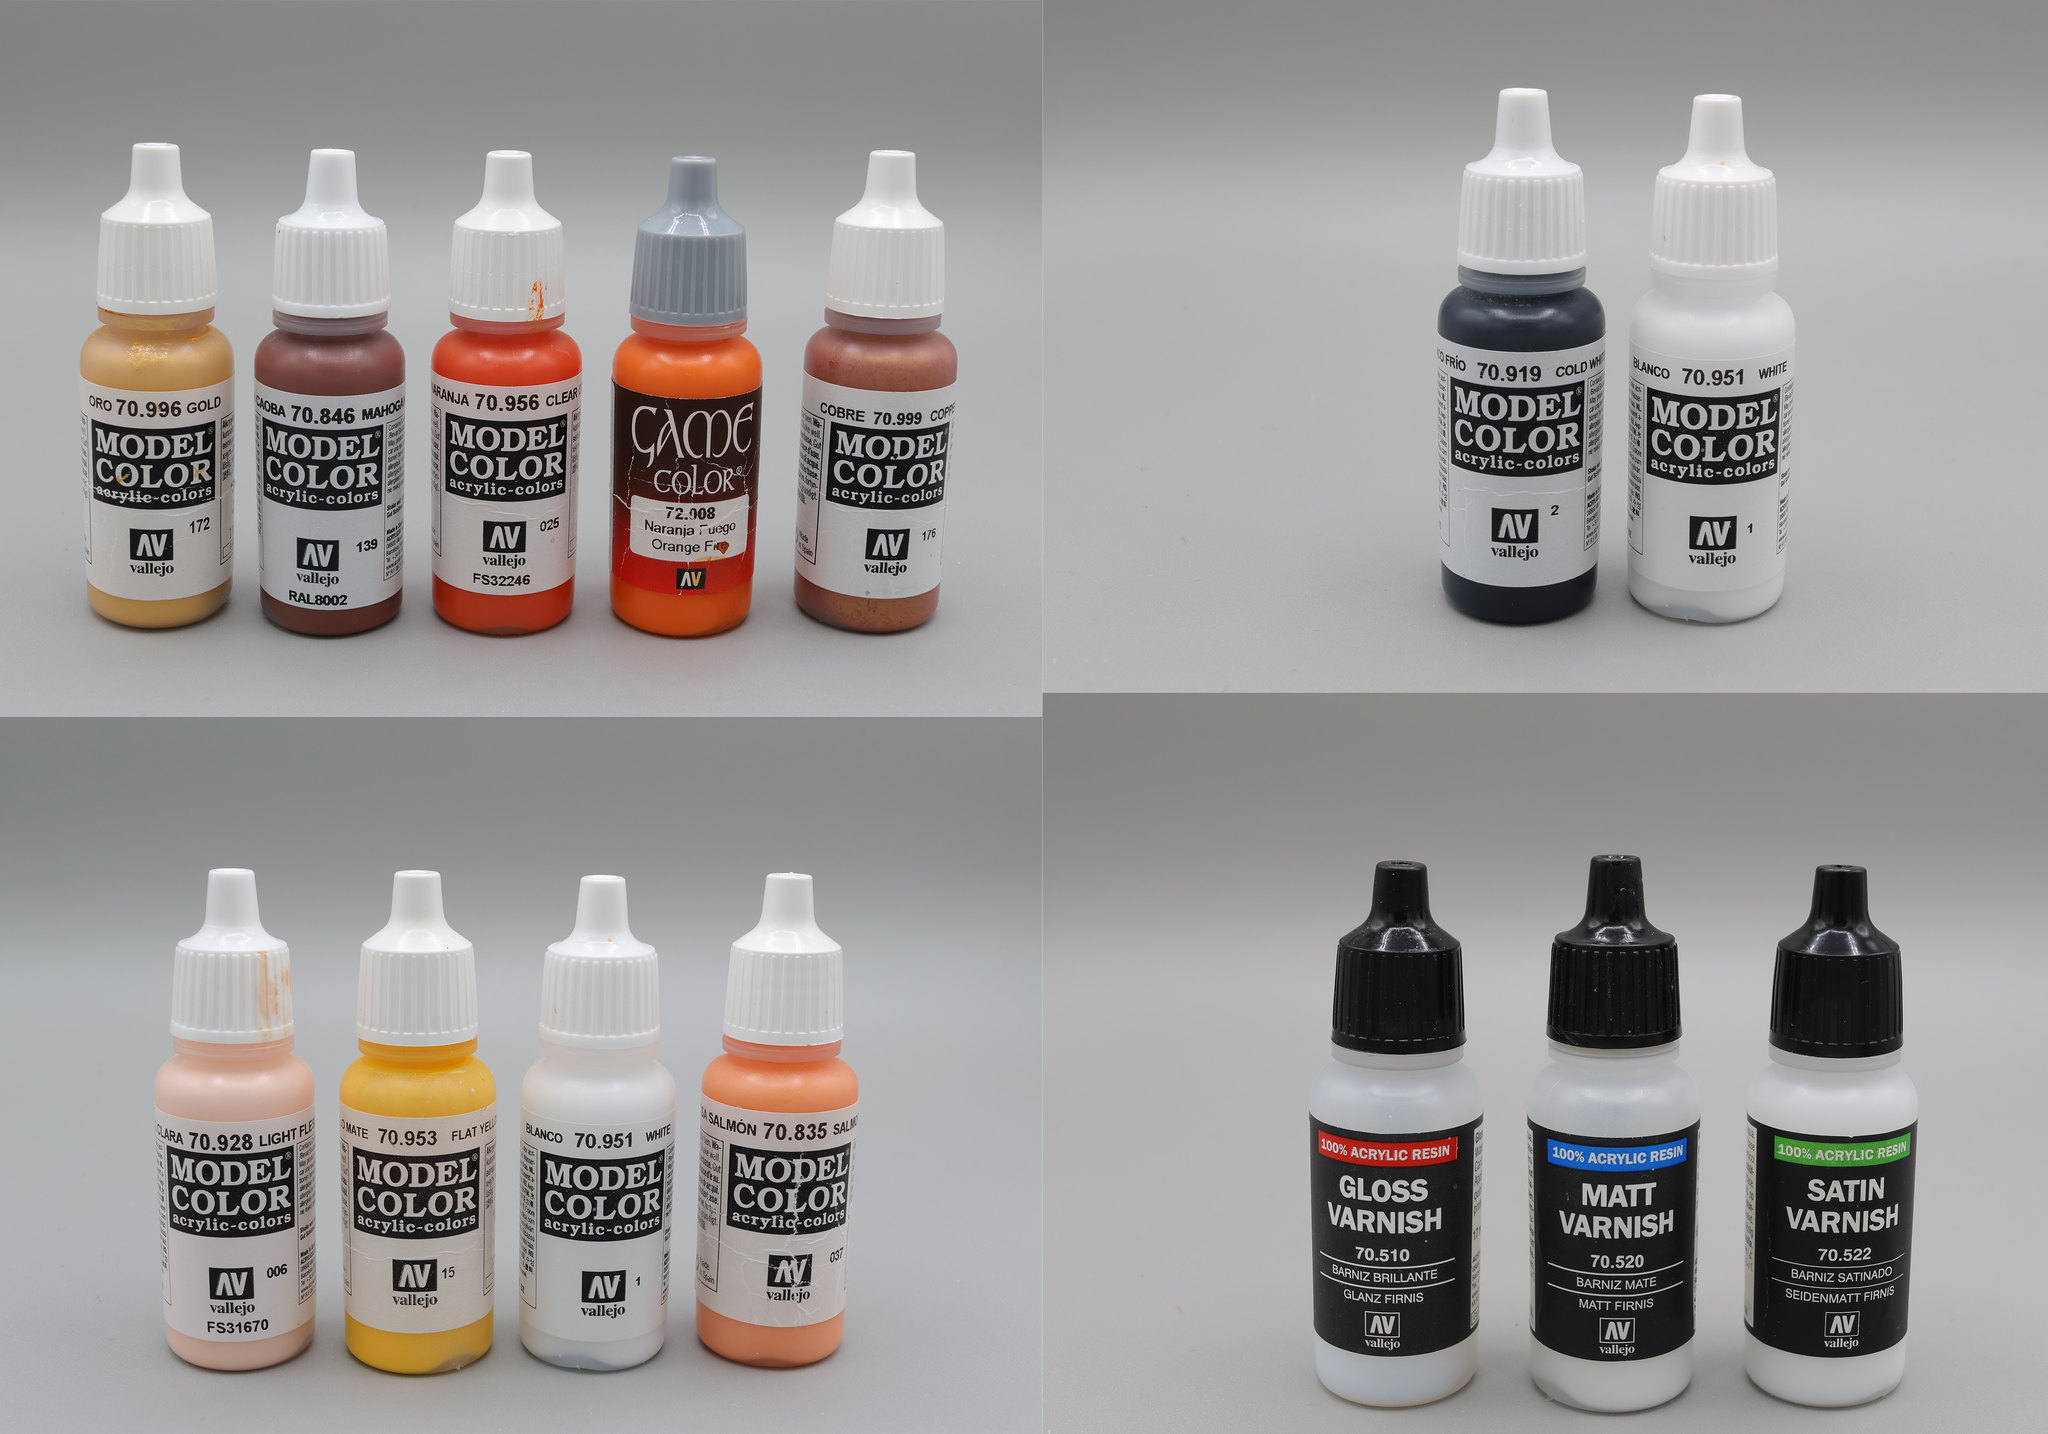 Paint by T E, on Flickr
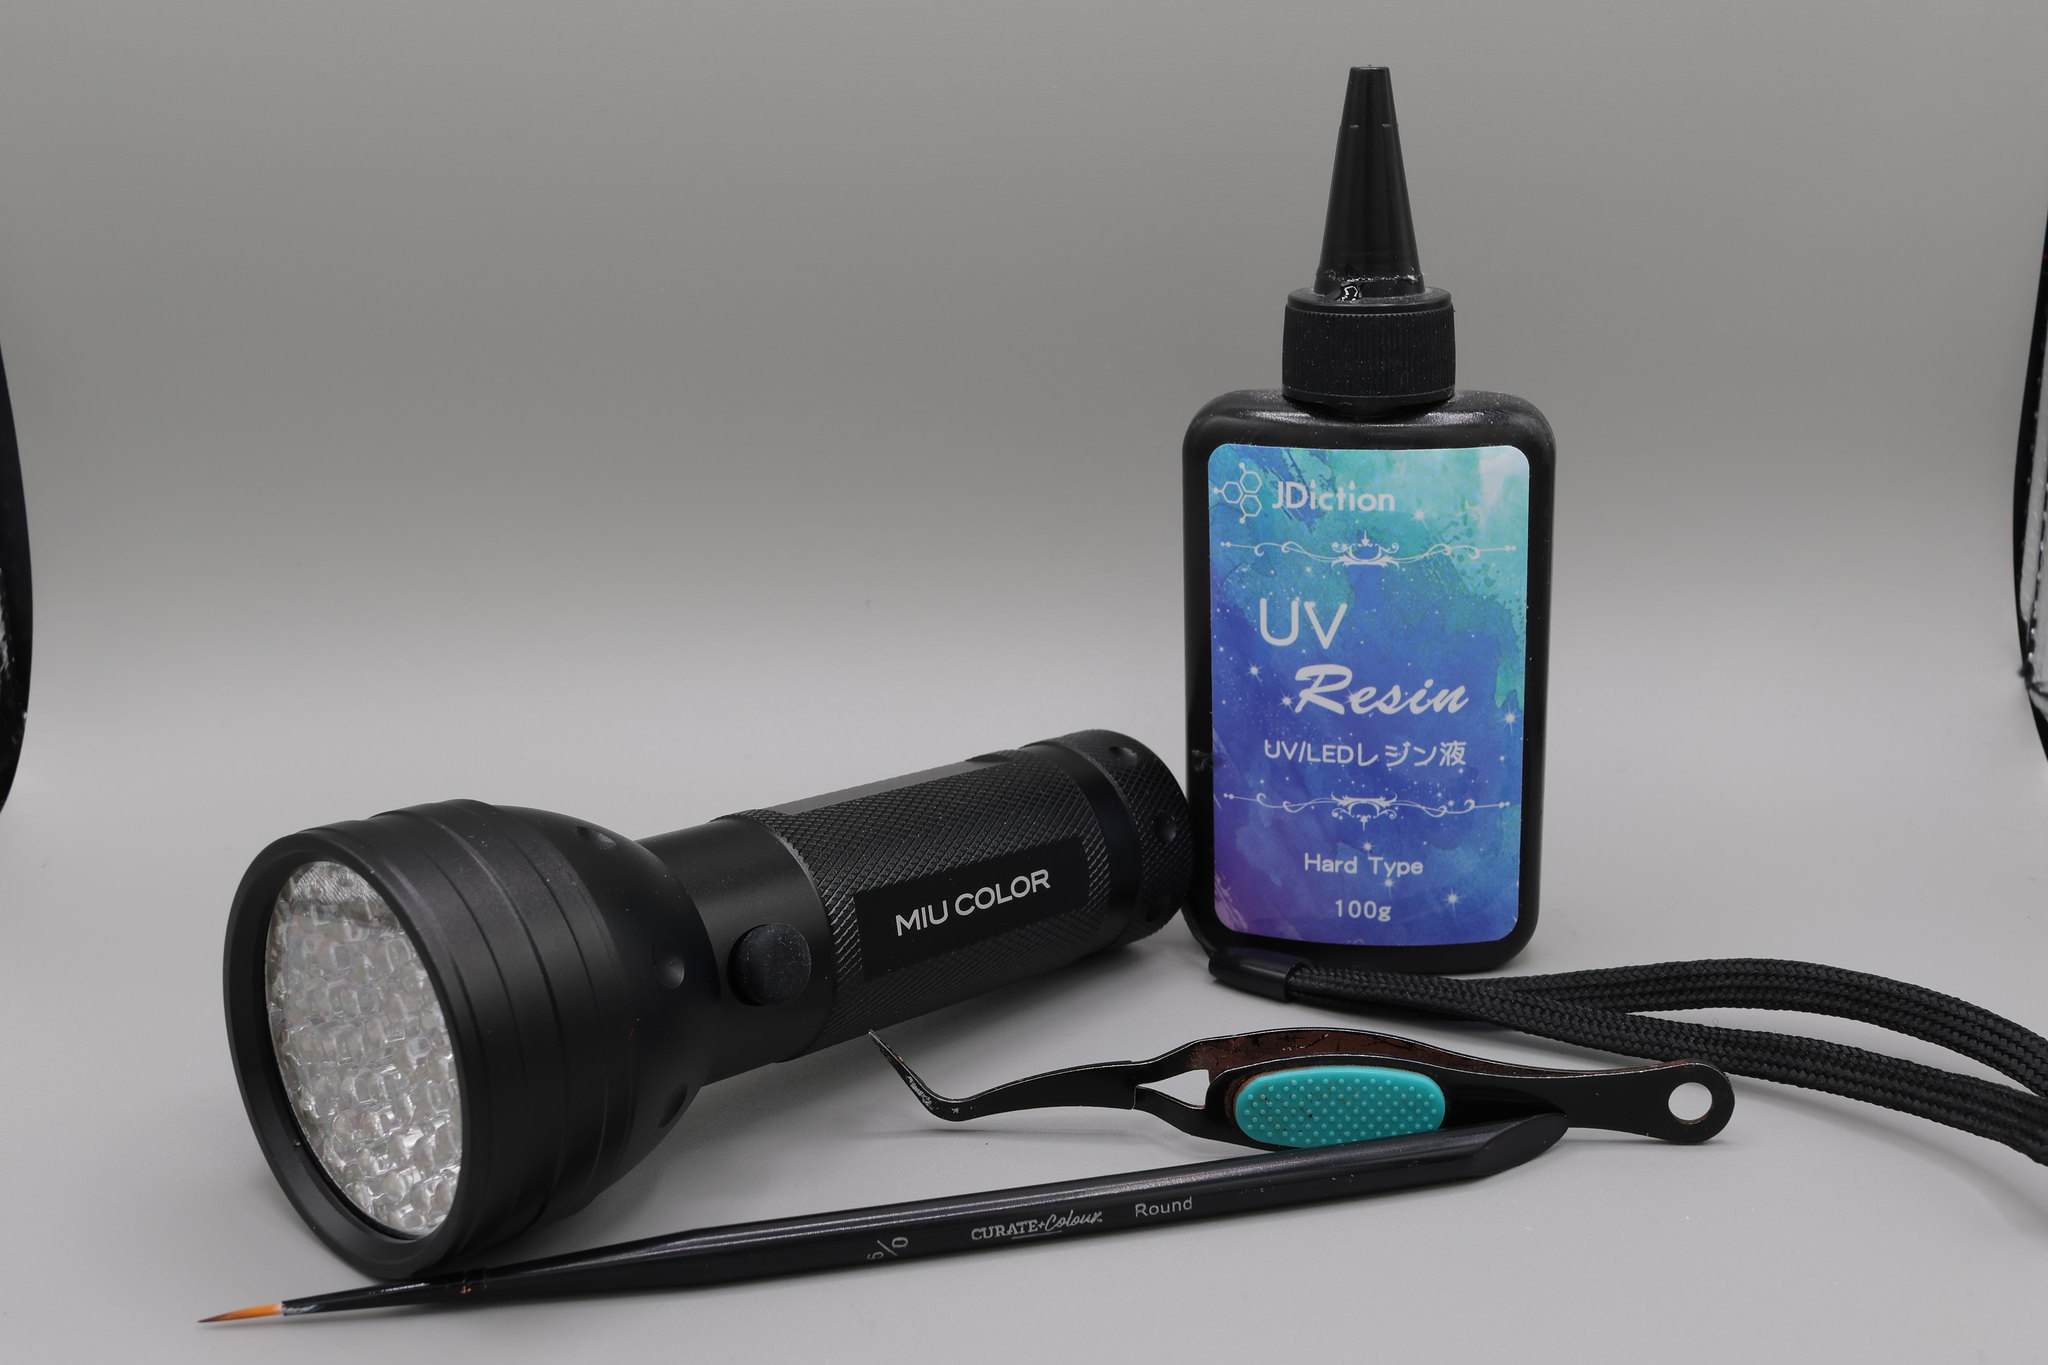 UV Lamp and Resin by T E, on Flickr Re: MeMyself&Projects (to be updated continuously) Thu Jan 04, 2024 2:16 am Re: MeMyself&Projects (to be updated continuously) Thu Jan 04, 2024 3:59 am
GubernatorFan wrote:Very cool result, despite the accident, thank your for sharing your process. There re things here I would never try (tacky glue, air brush), but still interesting and educational.
Re: MeMyself&Projects (to be updated continuously) Thu Jan 04, 2024 5:27 am Re: MeMyself&Projects (to be updated continuously) Thu Jan 04, 2024 8:21 am Re: MeMyself&Projects (to be updated continuously) Thu Jan 04, 2024 11:36 am
 Re: MeMyself&Projects (to be updated continuously) Thu Jan 04, 2024 3:39 pm
 Re: MeMyself&Projects (to be updated continuously) Thu Jan 04, 2024 5:05 pm

 Re: MeMyself&Projects (to be updated continuously) Thu Jan 04, 2024 8:01 pm Re: MeMyself&Projects (to be updated continuously) Thu Jan 04, 2024 10:45 pm
I think that is a worthwhile suggestion -- a few real hairs laid out and glued onto the sculpted ones can perhaps make the transition even better.Diana wrote:1) I'd play around with gluing a thin layer of real hair ton top of your sculpt.
I wouldn't have bothered with these nitpicks if you hadn't genuinely welcomes suggestions/ideas. Your work looks awesome!
Re: MeMyself&Projects (to be updated continuously) Fri Jan 05, 2024 3:31 amGubernatorFan wrote:Given the hairstyle, I think the mix of sculpted and "real" hair worked very well. Great color-matching, too.
I originally followed Morezmore's hairing tutorial with tacky glue and hate the thing with a passion. It takes too long to dry (patience is not one of my many virtues), makes a big mess when I try working with it, never again. But different approaches work for different people. As for the airbrushing, I prefer the traditional brush approach as it gives a touch more precision, without having to switch between the two, block, unblock, many superthin layers. But if you have the patience for it, you're a better man than I.
 I agree the airbrush is a pain, but it serves its purpose (priming and base coating) nicely. Cleaning it is the real annoyance!
BAMComix wrote:Wow! Incredible work! I never realized you made custom heads. Fantastic paintwork. I also really enjoy seeing your sets. It looks as if we're all in for a real treat as we follow your work through '24!
Valiarde wrote:Clean workspace and detailed work. Very well done
Zes wrote:Woah, nice tutorial! I'm impressed with that hair sculpting, especially.
Diana wrote:This looks sooo good!! I'm very impressed and happy to see your progress since version 1.
Having said that, you want some suggestions:
1) I'd play around with gluing a thin layer of real hair ton top of your sculpt.
2) Alternatively I would keep adding more detail to the sculpt, especially on the buns. While the hair will have some thicker sections, it would appear more flat overall, meaning your scratch tool needs to be finer. And to save you trouble maybe multiple tips would be nice. So... pipe cleaning brush?
I wouldn't have bothered with these nitpicks if you hadn't genuinely welcomes suggestions/ideas. Your work looks awesome!
GubernatorFan wrote: I think that is a worthwhile suggestion -- a few real hairs laid out and glued onto the sculpted ones can perhaps make the transition even better.
Stryker2012 wrote:Wow! Super impressive job on the hair and paint work. Thanks for sharing the process.
ukshaun wrote:Good thread..
Wedding bells (2-7-24) Wed Feb 07, 2024 6:37 am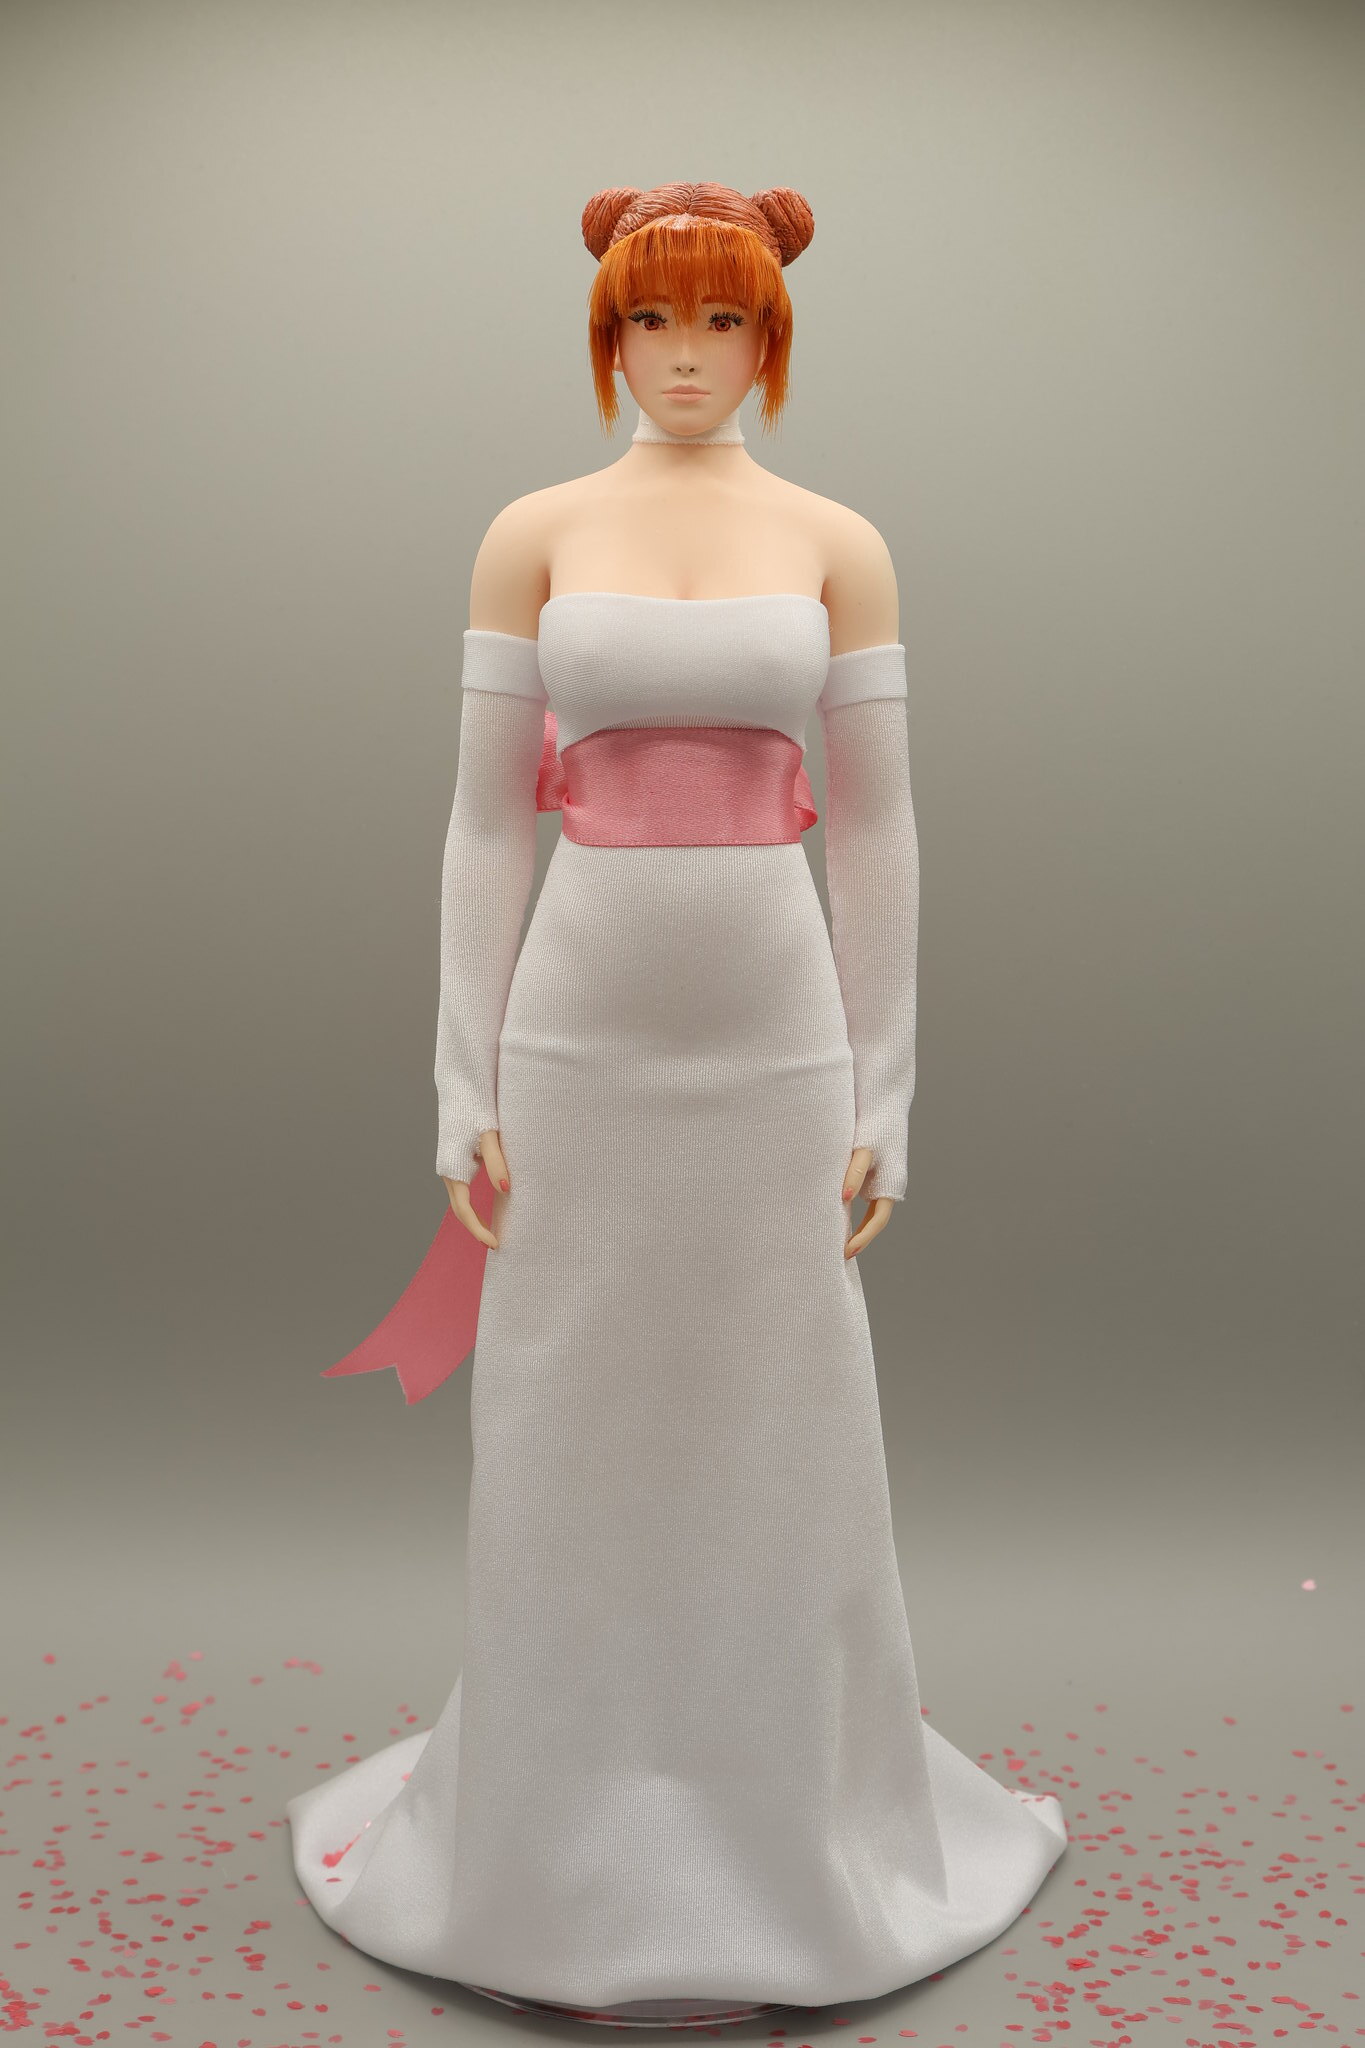 The Dress by T E, on Flickr
 Playing with her bow by T E, on Flickr
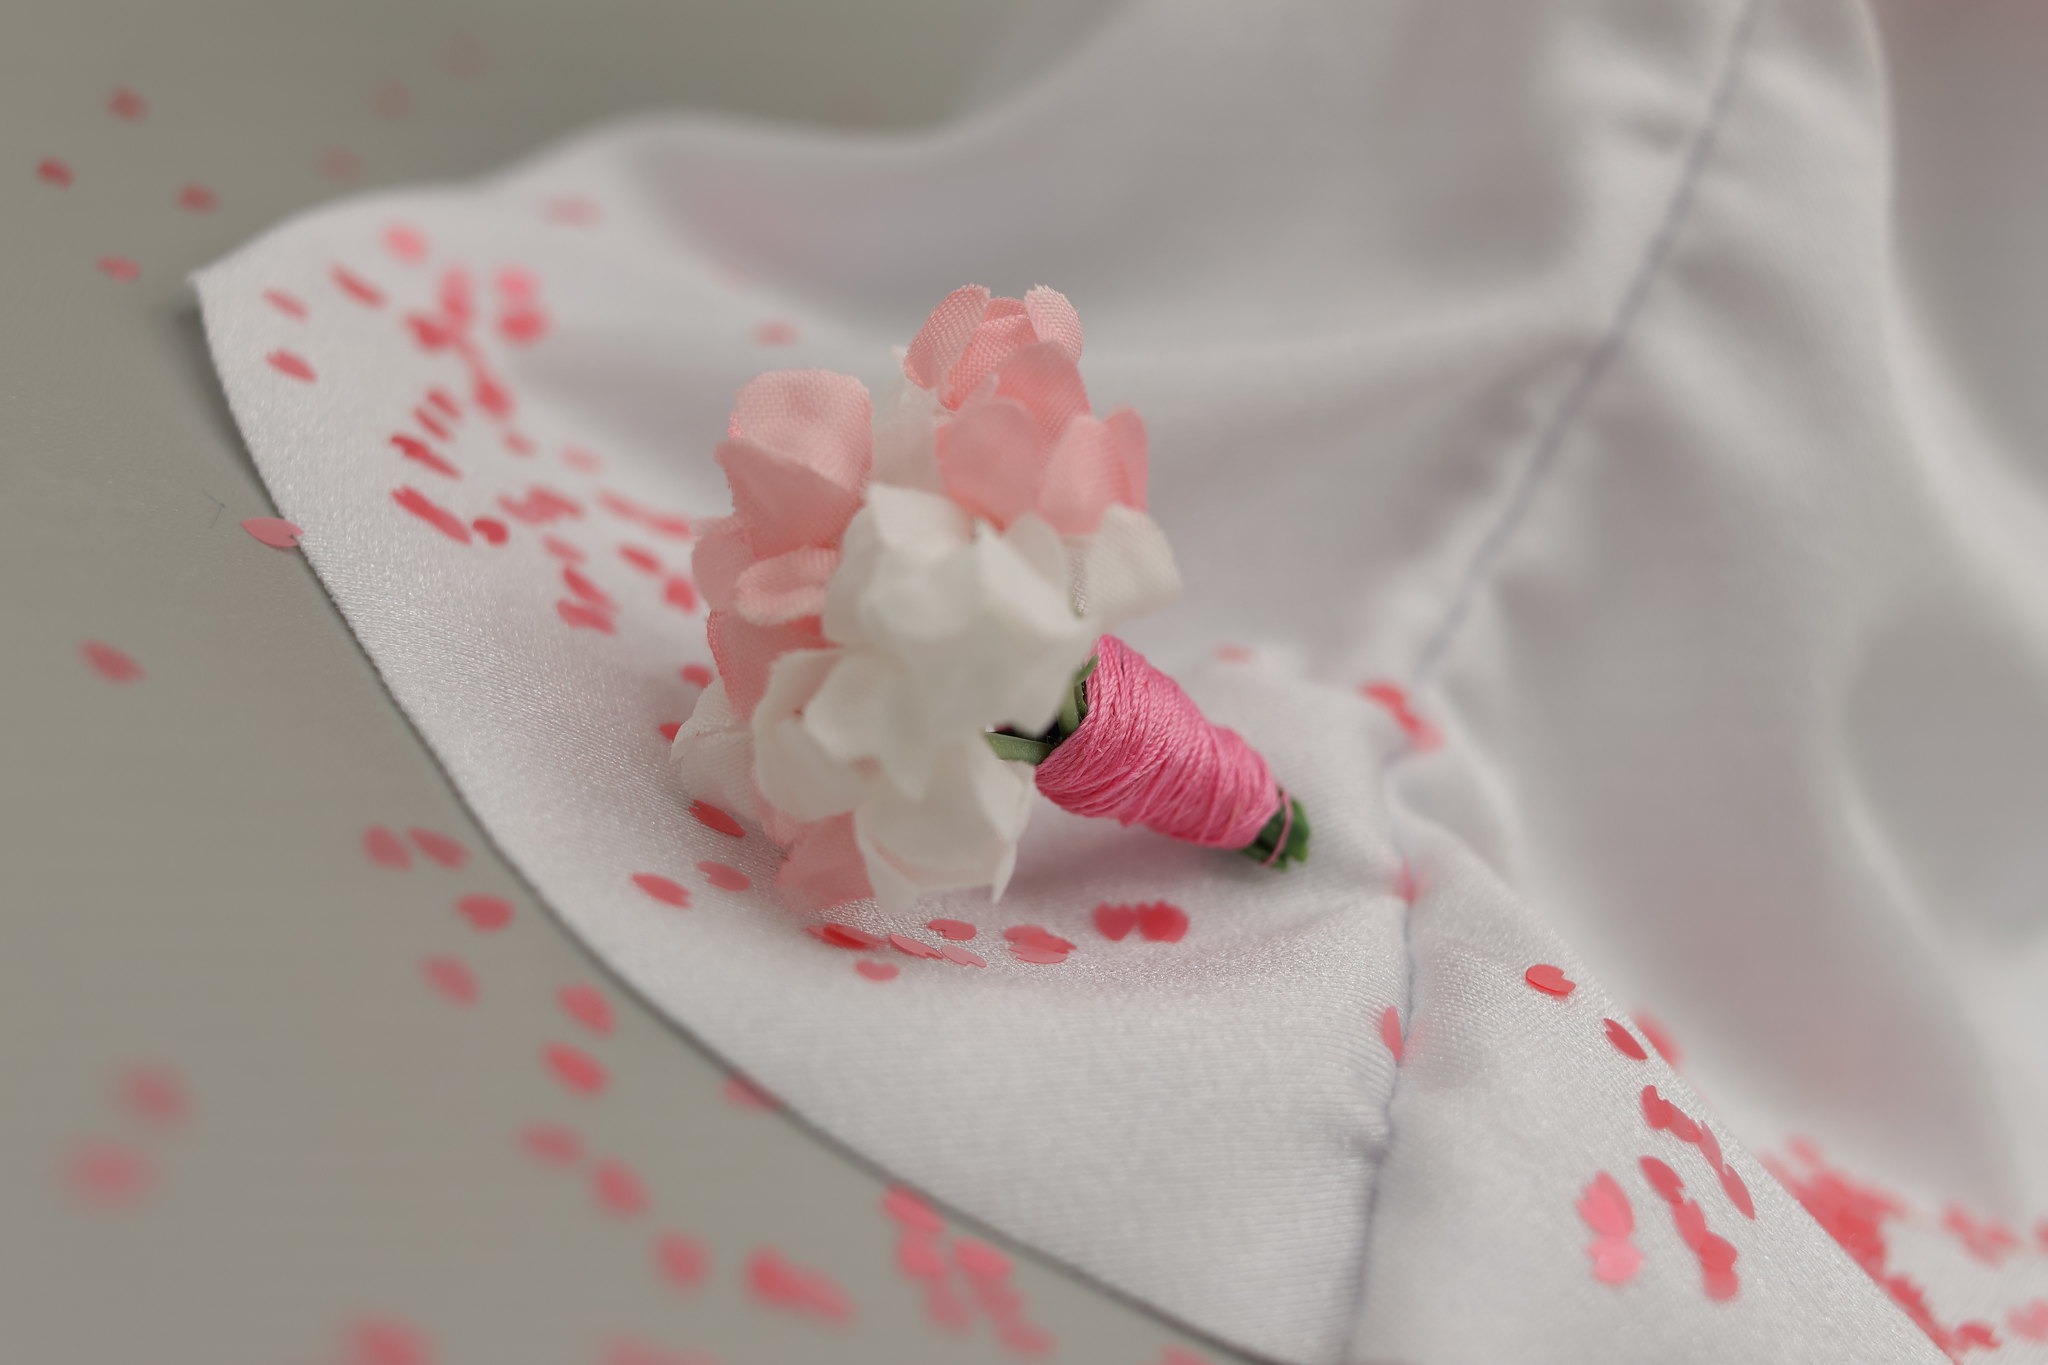 The bouquet by T E, on Flickr
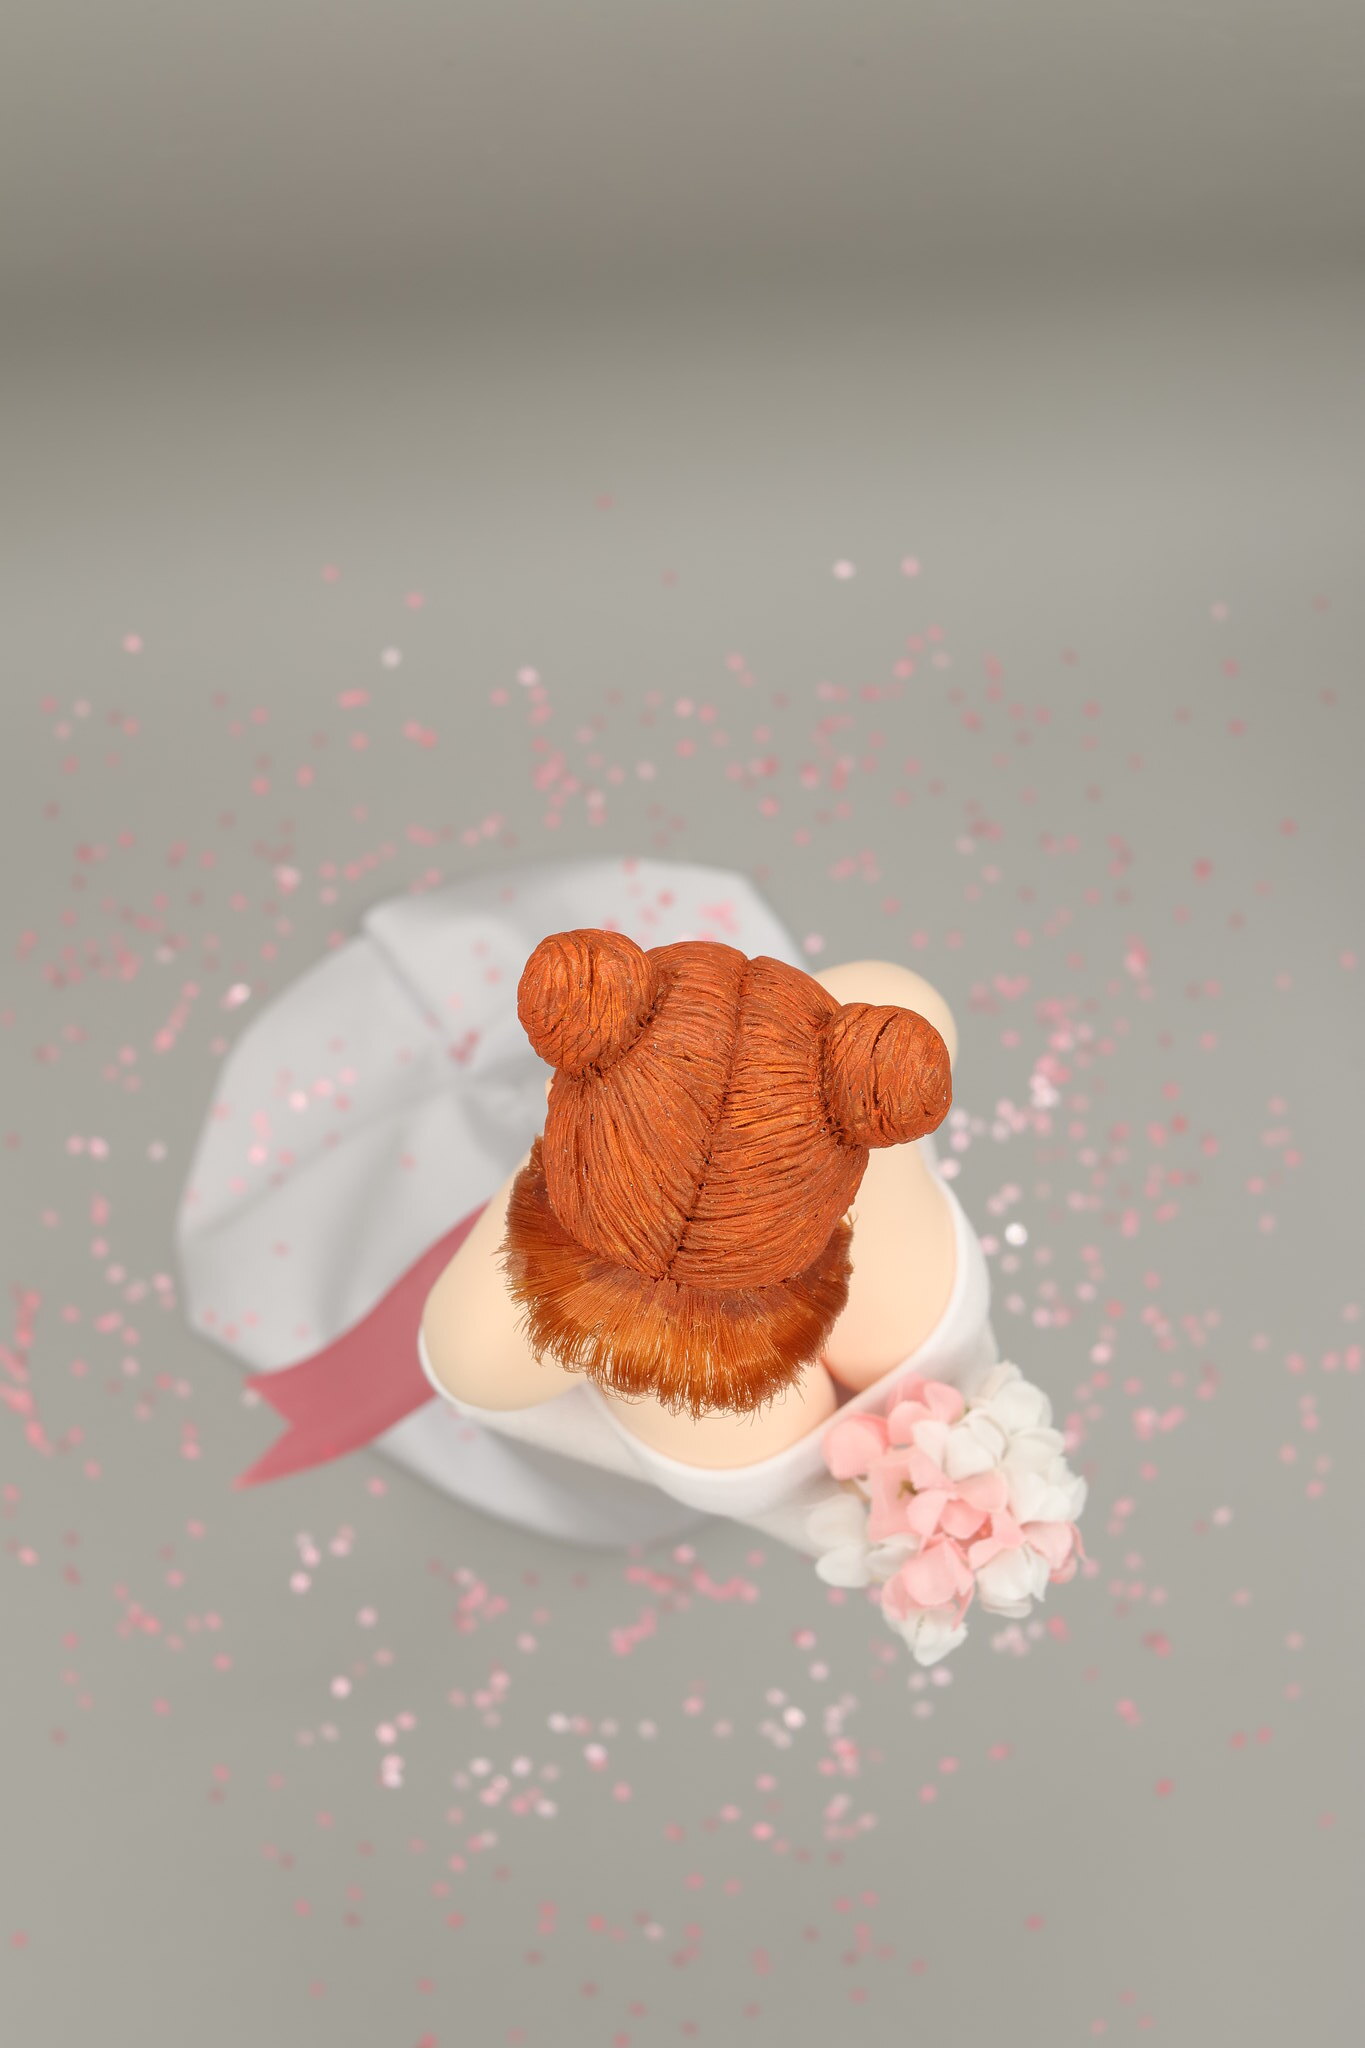 Sky views and f/numbers by T E, on Flickr
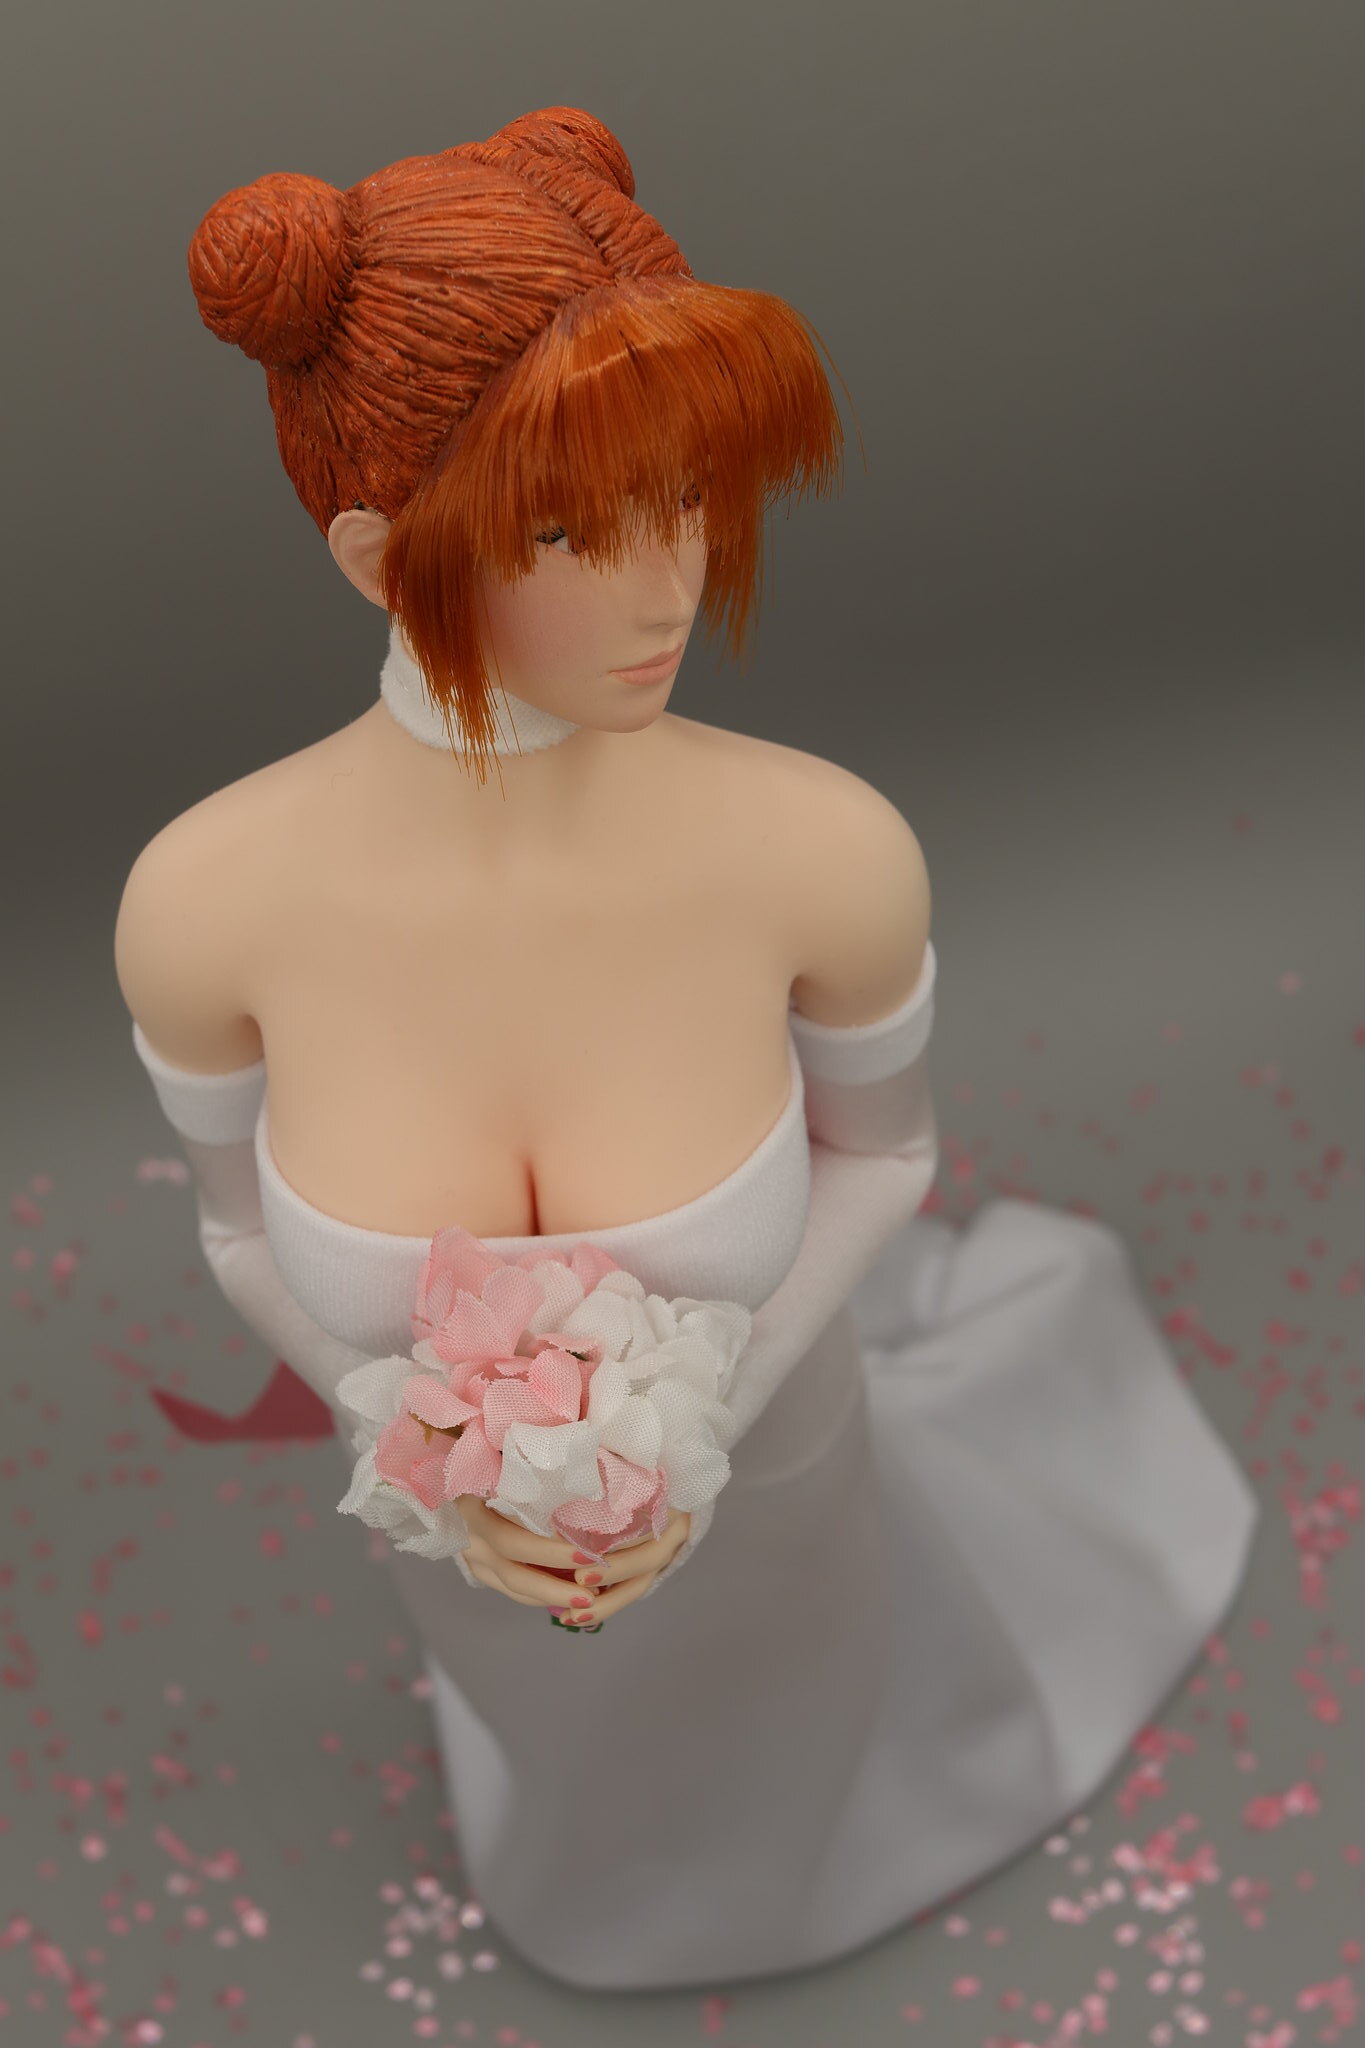 The best shot of the shoot by T E, on Flickr Re: MeMyself&Projects (to be updated continuously) Wed Feb 07, 2024 8:13 am Re: MeMyself&Projects (to be updated continuously) Wed Feb 07, 2024 3:26 pm Re: MeMyself&Projects (to be updated continuously) Wed Feb 07, 2024 8:07 pm Re: MeMyself&Projects (to be updated continuously) Wed Feb 07, 2024 9:40 pm
BAMComix wrote:She looks amazing my friend! so elegant and pretty!
Zes wrote:I think it's cool that you have multiple variations of the same character. You clearly like that look.
I also have pairs of some of my OCs as 1/6 scale figures.
That last shot is incredible!
Stryker2012 wrote:She looks lovely. Beautiful work. That head sculpt has to be my favorite rendition you’ve made of this character.
Re: MeMyself&Projects (to be updated continuously) Wed Feb 07, 2024 9:49 pm Re: MeMyself&Projects (to be updated continuously) Wed Feb 07, 2024 11:46 pm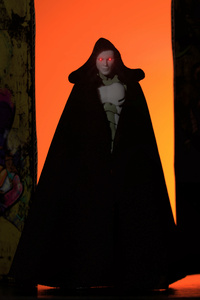 Re: MeMyself&Projects (to be updated continuously) Thu Feb 08, 2024 1:29 am
Visisonor wrote:Beautiful wedding photo sequence.
Is that a resin printer? Does the process require extra steps after the actual printing?
Re: MeMyself&Projects (to be updated continuously) Thu Feb 08, 2024 11:58 am
Message [Page 2 of 3]
Go to page : 1, 2, 3 ![]()
Similar topics
![]()
Permissions in this forum:
You cannot reply to topics in this forum
|
|
|
