
Since I'ven been experimenting with other styles of brick walls lately, here is a quick tutorial to make the typical red stone version. So far, I've only done it with the "lego" method - cutting stones and glueing them together to make a very rough wall. This time I used the most common way of doing a brick wall: Just carving or burning it into the styrofoam.
Step 1:
Get a sheet of Styrofoam (I used 3cm thickness) with a smooth surface.
Get a soldering iron
GEt a metal ruler
Carve in the horizontal lines. Depending on the size of your brick stones, you can use anything between 1-5cm.

Step 2:
Vertical lines. Use t he soldering iron and the ruler to make the vertical lines, you can choose the strucutre of your stones (all same size or variable, depending on look) I made them different size but not too much.

Step 3:
Use a pencil or a modelling clay tool to remove the sharp looking edges. They look unnatural so you have to make the stone edges more "round"

Step 4&5&6:
The next steps are interchangeable depending on your desired final look. PAINTING, PLASTERING, STRUCTURING.
Depending on the final look you might want to either structure your stones now with a ball of tin foil and then use plaster or tile grout for the gaps and then paint it or paint it first then use plaster and structure the stones at the last step.
The difference is, if you do the structuring/weathering first, it will get filled up with plaster - which might be good or not. I did it by accident, but it can work too,
For the plaster, I put it on the sheet with a trowel like a real mason. Then pull it of with the trowel again as good as possible minutes later.
Painted & structured first:
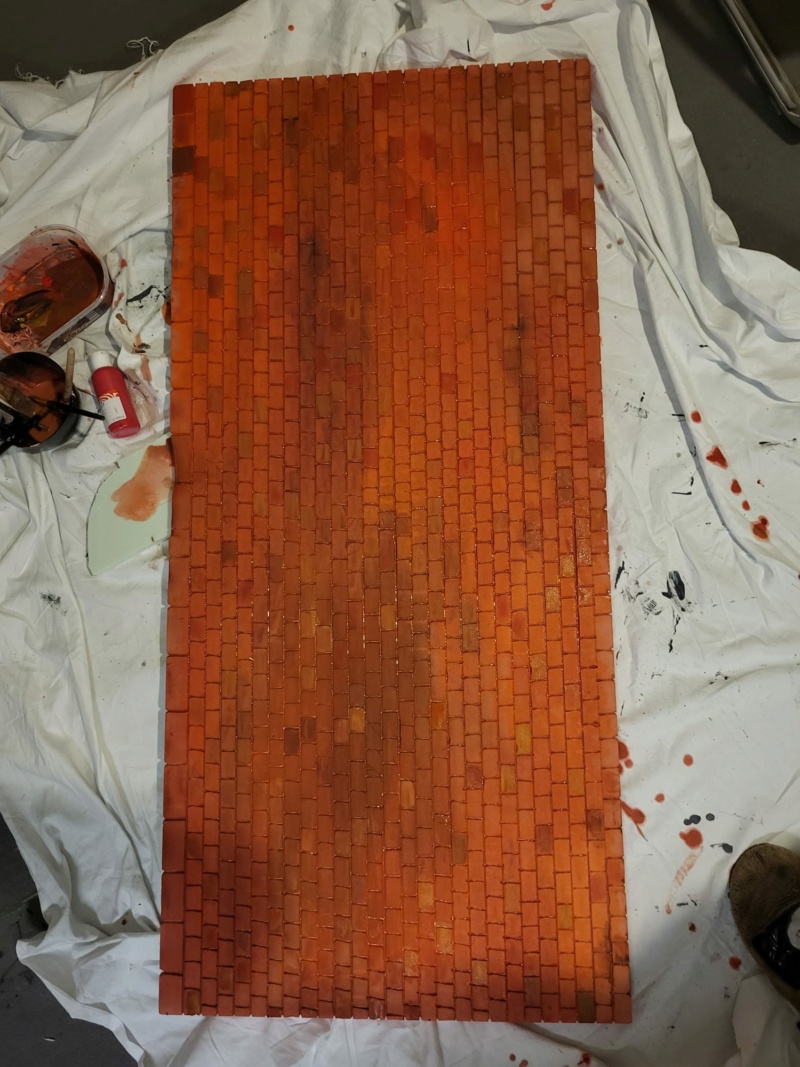
Using Plaster later, you can see the white dots. Which still can look natural.

Or you can buy a paper backdrop and have a similar wall. But crafting it is also hella fun
This method is much quicker than cutting the stones one by one. I did it in like two days (with having to wait for the paint to try and tile grout to dry)
You could also put in some windows or a door, which I did not do for this one.
If you have more tips and how you are doing it, feel free to put them into this thread. Thank you.