Since there was some interest in my diorama creations, I will shed some light on the way I'm working. There are many different ways to do it, I tried some and found MY personal solution that works best for me. A friend of mine thinks the best way is to use styrodur and a soldering iron to make walls or flooring - I tried that but couldn't come close to his works or at least anything I really liked.
I also experimented with plaster and tile glue - some of this was a success but it was hard to work with and the results are also very heavy! I still like this technique for flooring - might do another post on that in the future.
So after all this time and trial and error I got my hands on a proxxon thermocut. This helped me for my final quest:
Cutting the styrodur in small pieces of various sizes and going from there for the most realistic approach (imo).
STEP 1: Cutting your Styrodur plates into tiles of various sizes. I use Styrodur of 2, 2.5, and 3cm thickness. Depending on project.


STEP 2: Use Aluminium foil to make structures on the surface. (Some also put all the bricks in a big box with stones and shake it) Or you can use stones etc. to work on the surface. I also use an exacto knife to make some more holes or scratches.

STEP 3: Paint them (you can also skip that step here and do the paint job later, I do both ways)
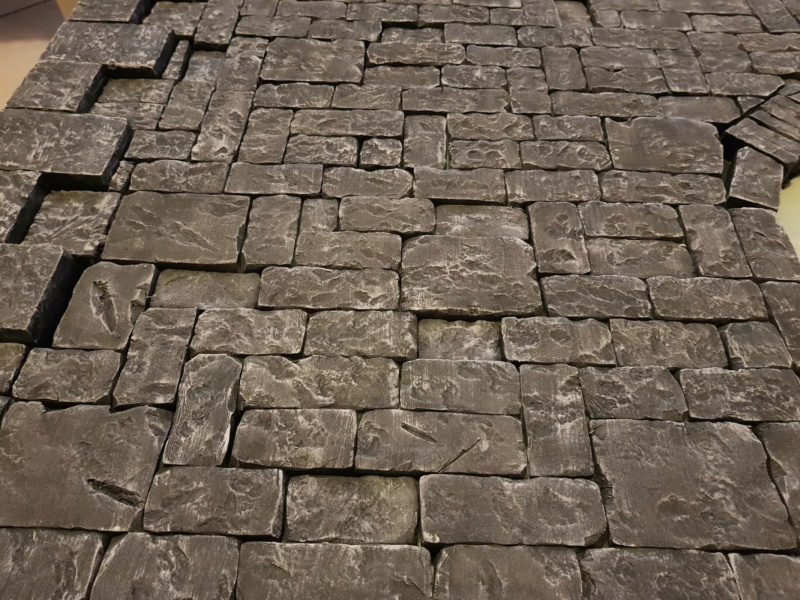
Depending on the color you want, go by darkest to lightest color. My basic color here was grey.
And then add lighter grey tones. Finish it off with a very bright grey and drybrushing it. You can also go the extra step 100% white color drybrush.

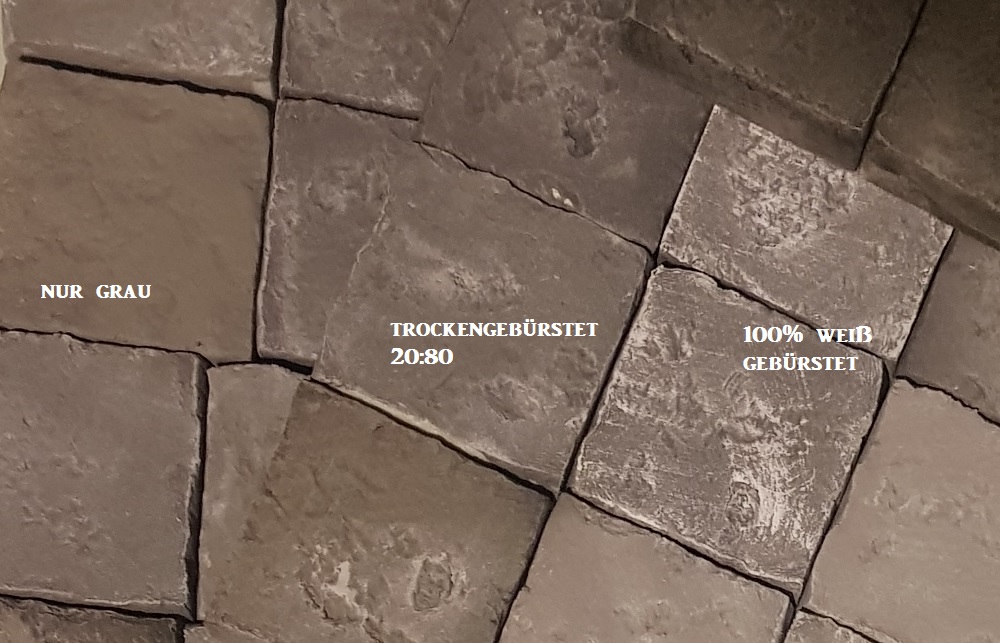
(left is basic grey, middle is 20%grey/80%white, right is 100% white drybrushed)
That is the basic work. It ain't that hard.
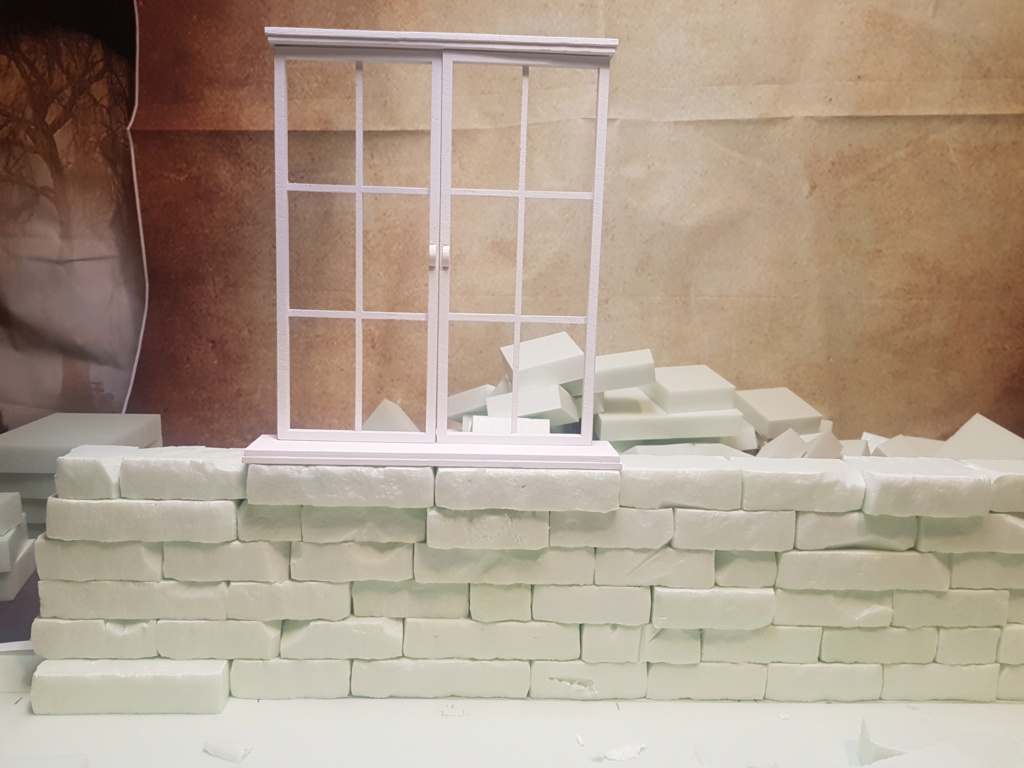
For building your wall, you have two options: a free standing wall or a glued-on wall.
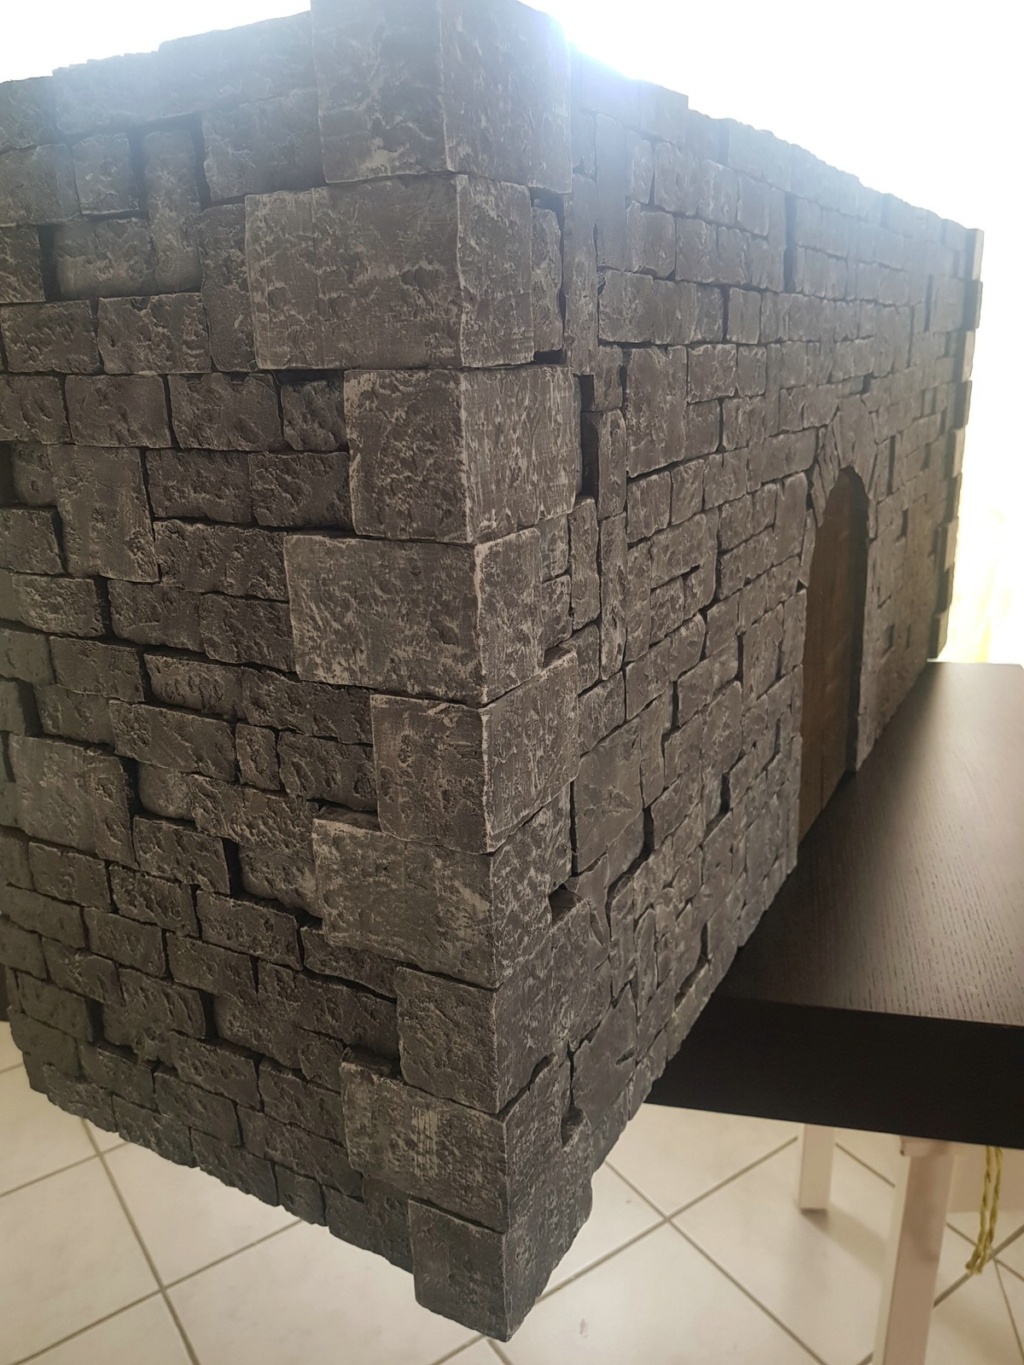
OPTION 1: Building a free standing wall.
The good thing about this one is, that you can easily use both sides and save some material. Just be careful it doesn't turn out too crooked (but there are tools for everyhting)
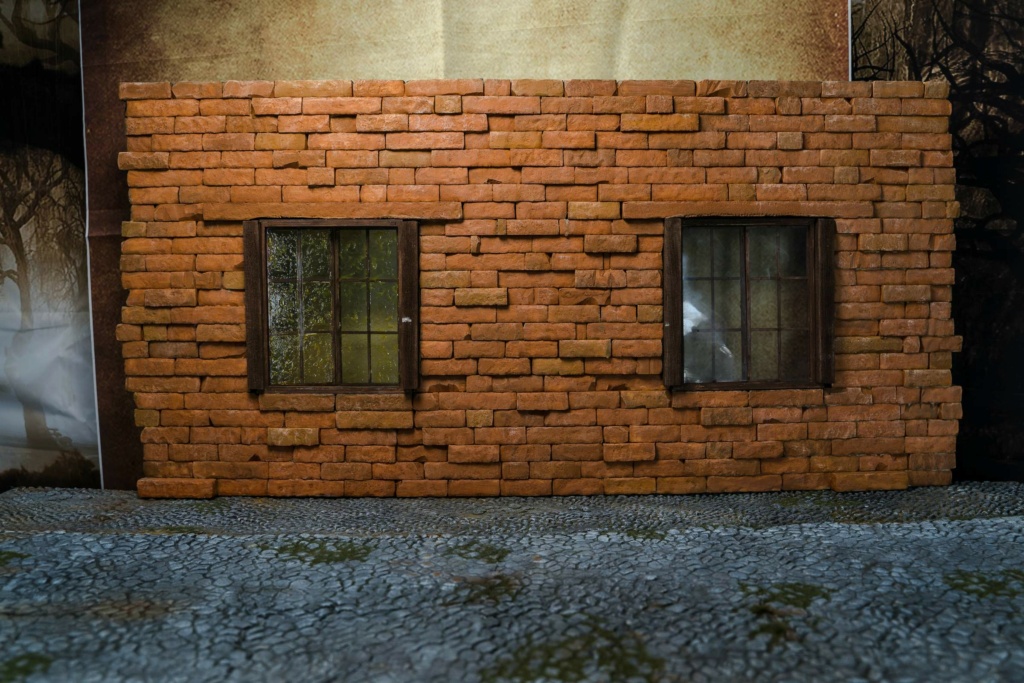
My Wall for the pig scene and the gangster diorama are made out of this single diorama wall piece, painted dark and red on each side accordingly.
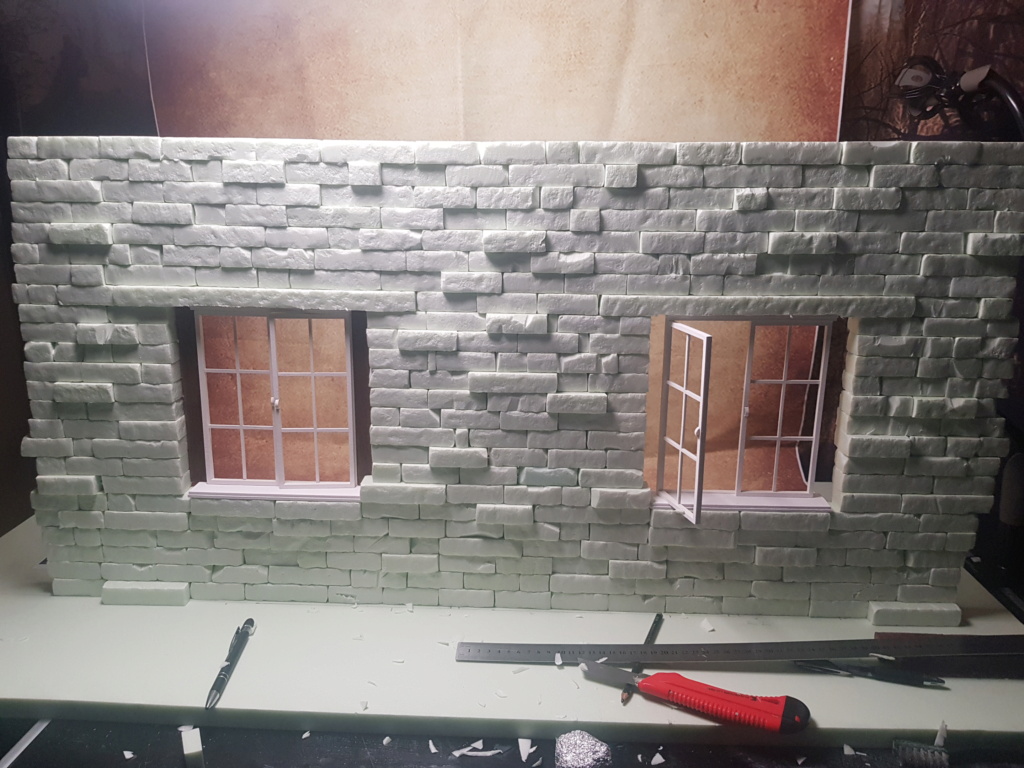
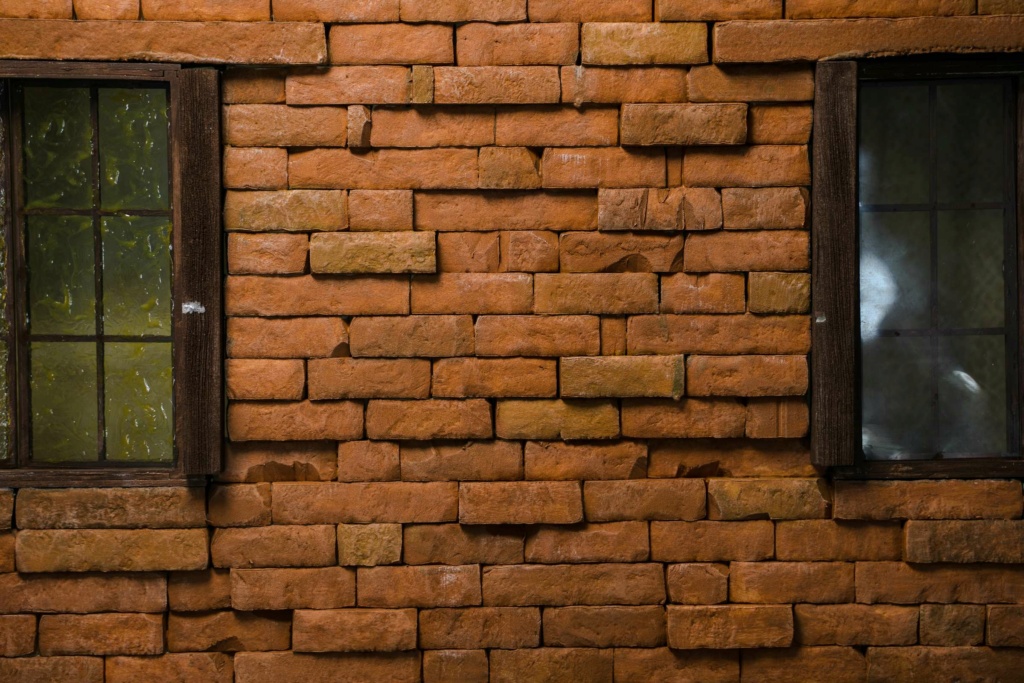
Painted and weathered front side:


And the backside:

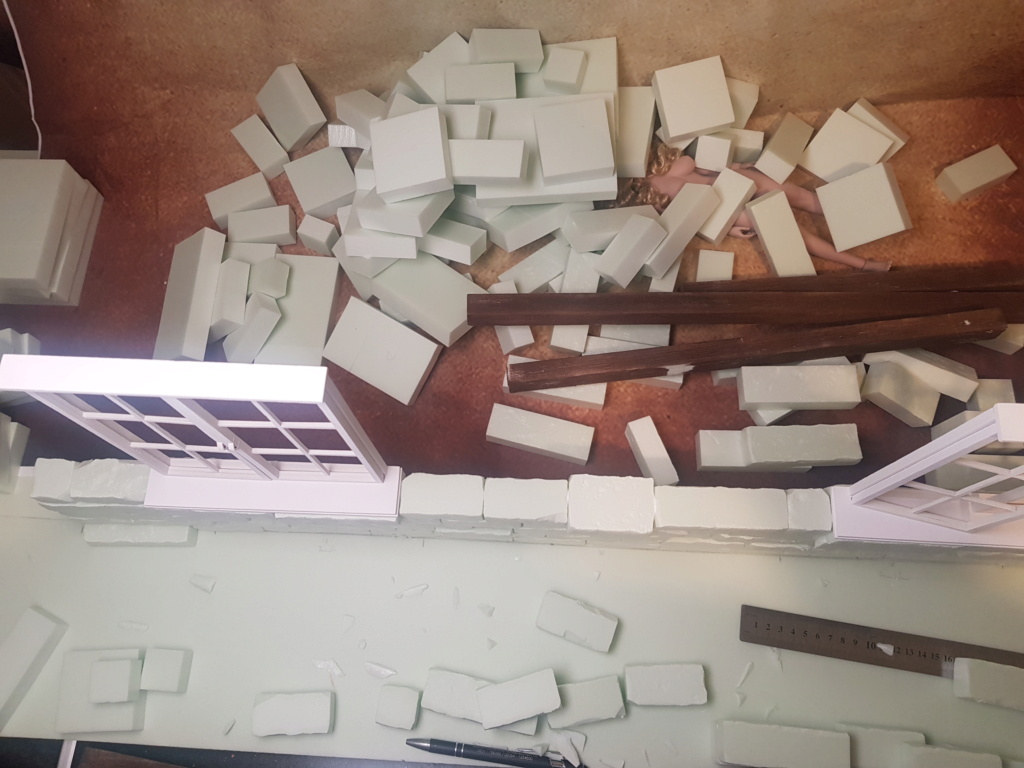
OPTION 2: Glue it onto another styrodur board:


(sneak peek time)
To glue styrodur, the best option is wood glue.
I hope this helps and have fun trying it out!
I also experimented with plaster and tile glue - some of this was a success but it was hard to work with and the results are also very heavy! I still like this technique for flooring - might do another post on that in the future.
So after all this time and trial and error I got my hands on a proxxon thermocut. This helped me for my final quest:
Cutting the styrodur in small pieces of various sizes and going from there for the most realistic approach (imo).
STEP 1: Cutting your Styrodur plates into tiles of various sizes. I use Styrodur of 2, 2.5, and 3cm thickness. Depending on project.


STEP 2: Use Aluminium foil to make structures on the surface. (Some also put all the bricks in a big box with stones and shake it) Or you can use stones etc. to work on the surface. I also use an exacto knife to make some more holes or scratches.

STEP 3: Paint them (you can also skip that step here and do the paint job later, I do both ways)
Depending on the color you want, go by darkest to lightest color. My basic color here was grey.
And then add lighter grey tones. Finish it off with a very bright grey and drybrushing it. You can also go the extra step 100% white color drybrush.


(left is basic grey, middle is 20%grey/80%white, right is 100% white drybrushed)
That is the basic work. It ain't that hard.
For building your wall, you have two options: a free standing wall or a glued-on wall.
OPTION 1: Building a free standing wall.
The good thing about this one is, that you can easily use both sides and save some material. Just be careful it doesn't turn out too crooked (but there are tools for everyhting)
My Wall for the pig scene and the gangster diorama are made out of this single diorama wall piece, painted dark and red on each side accordingly.


Painted and weathered front side:


And the backside:


OPTION 2: Glue it onto another styrodur board:


(sneak peek time)


To glue styrodur, the best option is wood glue.
I hope this helps and have fun trying it out!