That's looking great so far! 
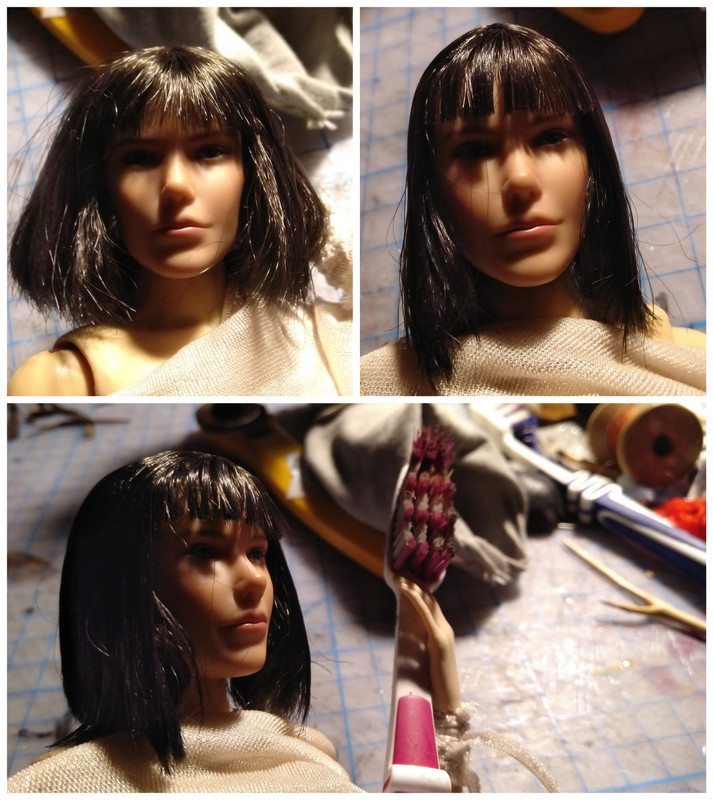
Regarding the hair... just be cautioned that synthetic hair doesn't always work or react well with hair products intended for real human hair. The only 1/6 hair I know that reacts similarly to human hair are made with natural fibers such as tibetan lamb hair or angora mohair. You may wish to look up methods of straightening synthetic 'doll' hair... from what I recall, sometimes heat can help, though of course it depends and one has to be careful not to melt the hair.
ETA: Alternatively, you could try to replace the Kumik wig/scalp piece with one that already has straight black hair. Kumik scalps are usually made to be interchangeable.